
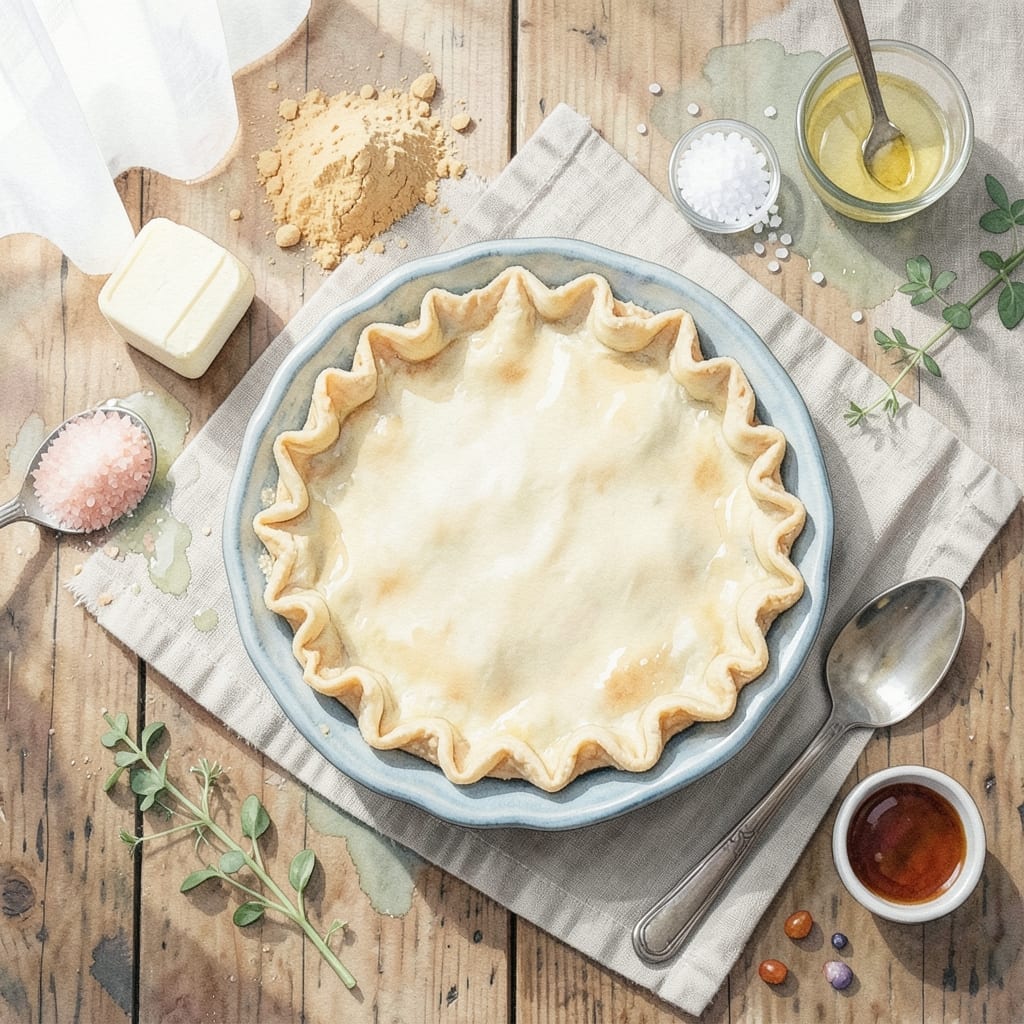
This pie crust proves that exceptional results don’t require special equipment. A simple method using just butter and flour creates flaky layers that rival any traditional recipe.
The technique relies on cold ingredients and gentle handling to prevent gluten development. By cutting the butter into the flour with a pastry blender or fork, you maintain the flaky texture without a food processor.
What emerges from the oven is a golden, tender crust with visible layers. The all-butter base delivers rich flavor while maintaining the structural integrity needed for any pie filling.
Rest the dough for 30 minutes before rolling for best results. This ensures a crust that’s both crisp and tender, with layers that separate beautifully when baked.
Ingredients for Easy Pie Crust Recipe Without Food Processor or Shortening
Six simple ingredients create a buttery, flaky pie crust without special tools.
| Ingredient | Amount | Notes |
|---|---|---|
| All-Purpose Flour 🌾 | 2 ½ cups | Spoon and level, plus extra for dusting |
| Unsalted Butter 🧈 | 1 cup | Cold, cut into small cubes |
| Fine Sea Salt 🧂 | 1 tsp | Adjust to taste preference |
| Granulated Sugar 🍚 | 1 tbsp | Optional for sweet crusts |
| Ice Water 💧 | ½ cup | Plus extra as needed |
| Apple Cider Vinegar 🍏 | 1 tbsp | Enhances flakiness and tenderizes |
The butter must stay cold—cut it into cubes and chill until ready to use. Use a high-quality all-purpose flour like King Arthur or Gold Medal for consistent results. The vinegar might seem odd, but it tenderizes the gluten just enough. For the ice water, fill a glass with ice cubes and water, then measure from that. Most supermarkets carry all these staples in the baking aisle.
No unsalted butter? Use salted and reduce the added salt by half. Swap apple cider vinegar for white vinegar or lemon juice in a pinch. For a richer flavor, replace 2 tbsp of water with cold vodka—it evaporates during baking, leaving extra flakiness. The sugar can be omitted for savory pies, or increased to 2 tbsp for sweeter crusts.
The dough can rest in the fridge for up to 2 days or freeze for 3 months (thaw overnight before rolling). Wrap tightly in plastic to prevent drying. Baked crusts keep at room temperature for 1 day in an airtight container.
Why You’ll Love This Recipe
- No Fuss Mixing: I just use my hands to cut the cold butter into the flour—no special tools, no mess.
- Buttery Perfection: The all-butter crust bakes up flaky and rich, with that hint of sugar balancing the salt.
- Endless Possibilities: Sweet pies, savory quiches, even hand pies—this crust handles it all.
- Pantry Staples: Flour, butter, salt, sugar, water. Honestly, I always have these on hand.
Step-by-Step Instructions for Easy Pie Crust Without Food Processor or Shortening
Here’s the method. Straightforward, tested, works every time.
Step 1: Mix Dry Ingredients and Cut in Cold Butter
In a large bowl, whisk together the 2.5 cups All-Purpose Flour, 1 tsp Fine Sea Salt, and 1 tbsp Granulated Sugar until evenly combined. The sugar is optional, but I always include it for sweet crusts—it adds a subtle depth of flavor.
Add the 1 cup Unsalted Butter, cut into small cubes. Using a pastry cutter or your fingers, work the butter into the flour mixture until the largest pieces are about pea-sized. You want visible butter chunks—this creates those flaky layers. Stop before it looks like fine crumbs; uneven pieces mean better texture.
Step 2: Add Liquid Ingredients and Form Dough
In a small bowl, combine the 0.5 cup Ice Water and 1 tbsp Apple Cider Vinegar. The vinegar might seem odd, but it tenderizes the gluten and makes the crust flakier. Stir lightly—you don’t want to dissolve the ice completely.
Make a well in the center of the flour mixture and pour in about ¾ of the liquid. Use a fork to gently mix, adding the remaining liquid 1 tbsp at a time until the dough just comes together. It should look shaggy, not smooth. Overworking it develops gluten, which makes the crust tough.
Step 3: Chill the Dough for Optimal Flakiness
Turn the dough onto a lightly floured surface and divide it into 2 equal portions. Shape each into a 1-inch thick disk—this makes rolling easier later. Wrap both disks tightly in plastic wrap.
Refrigerate for at least 1 hour, or up to 2 days. Chilling relaxes the gluten and firms the butter, which prevents shrinkage and ensures those coveted flaky layers. If you’re in a rush, 30 minutes in the freezer works in a pinch, but the texture won’t be as perfect.
Step 4: Roll and Shape the Crust
On a lightly floured surface, roll one disk into a 12-inch circle, about ⅛-inch thick. Roll from the center outward, turning the dough occasionally to prevent sticking. If it cracks, press the edges together with your fingers—it’s an easy fix.
Transfer the rolled dough to a 9-inch pie dish by loosely folding it in half, then unfolding it into the pan. Press gently into the bottom and up the sides. Trim excess dough, leaving a ½-inch overhang for crimping. For a double-crust pie, repeat with the second disk for the top.
Step 5: Pre-Bake or Fill and Bake as Directed
For a pre-baked crust (blind baking), prick the bottom all over with a fork to prevent puffing. Line with parchment paper, fill with pie weights or dried beans, and bake at 375°F for 15 minutes. Remove the weights and bake for another 5-7 minutes until light golden brown.
For a filled pie, add your filling, then top with the second crust if using. Crimp the edges, cut slits for steam to escape, and bake according to your recipe. The crust should be deep golden brown when done. Let it cool slightly before slicing to allow the filling to set.
Pro Tips For Making Easy Pie Crust Recipe Without Food Processor Or Shortening
- Chill the Butter: Cut your unsalted butter into small cubes and refrigerate for 15 minutes before mixing—I learned this the hard way after my first three crusts turned out tough and dense.
- Use Ice-Cold Water: Measure your water first, then add ice cubes to it; use only the water (not the ice) for mixing, about 1 tablespoon at a time, to keep the dough flaky.
- Skip Overworking: Mix just until the dough comes together, even if it looks shaggy; overmixing develops gluten, and your crust will be as chewy as bread.
- Rest the Dough: After shaping, let it rest in the fridge for at least 30 minutes—sounds tedious, but it prevents shrinking when you bake it.
Pro Cooking Tips for This Recipe
Butter Temperature Control
Keep your 1 cup Unsalted Butter ice-cold until the moment you use it. I cut mine into ½-inch cubes and return it to the fridge between steps. If your kitchen is warm, place the bowl of flour in the freezer for 10 minutes before starting.
Cutting Technique
Use a pastry blender for even results, but a fork works too. Press the butter into the flour with the fork tines until pieces are pea-sized. Avoid overmixing—visible butter flecks create those flaky layers we all love.
If using your hands, work quickly to prevent melting. The dough should look shaggy with visible butter pieces throughout. 💡
Liquid Management
Start with ¾ of the ice water mixture, then add more 1 tbsp at a time until the dough just holds together. Too much liquid = tough crust. The apple cider vinegar helps tenderize without affecting flavor.
Chilling Time
Don’t rush the 1-hour rest in the fridge. This relaxes the gluten and firms the butter. I’ve found 2 hours gives even better results. For true emergencies, 30 minutes in the freezer works.
Rolling Tips
Dust your surface with flour and roll from the center outward. If the dough cracks, patch it with your fingers—it won’t affect the final result. Aim for a 12-inch circle that’s ⅛-inch thick.
Blind Baking
For pre-baked crusts, dock the bottom with a fork and use pie weights or dried beans. Bake at 375°F for 15 minutes, then remove weights and bake until light golden. 🔥
Nutrition Facts
Frequently Asked Questions
Can I use margarine instead of butter?
Yes, but butter gives the best flavor and texture. If using margarine, ensure it’s cold and has at least 80% fat content for flakiness. Avoid low-fat spreads as they contain too much water.
Why does the dough need to rest?
Resting relaxes the gluten and re-chills the butter. This prevents shrinkage during baking and creates those perfect flaky layers. Skipping this step often results in a tougher crust.
What if my crust cracks while rolling?
Don’t worry! Press the edges together with your fingers. Small cracks won’t affect the final result. If it tears badly, patch with extra dough and use a bit of water to seal.
Can I make this dough ahead?
Wrap the dough tightly and refrigerate for up to 2 days or freeze for 3 months. Thaw overnight in the fridge before rolling for best results.

- BBQ Sausage Recipe Oven: Smoky Depth Without the Grill - September 28, 2026
- BBQ Chicken Bowl Recipe Rice: Smoky Sweetness Over Fluffy Grains - September 28, 2026
- Beef Cutlet Recipe Ideas: Crispy Breaded Patties With Bold Seasonings - September 28, 2026