
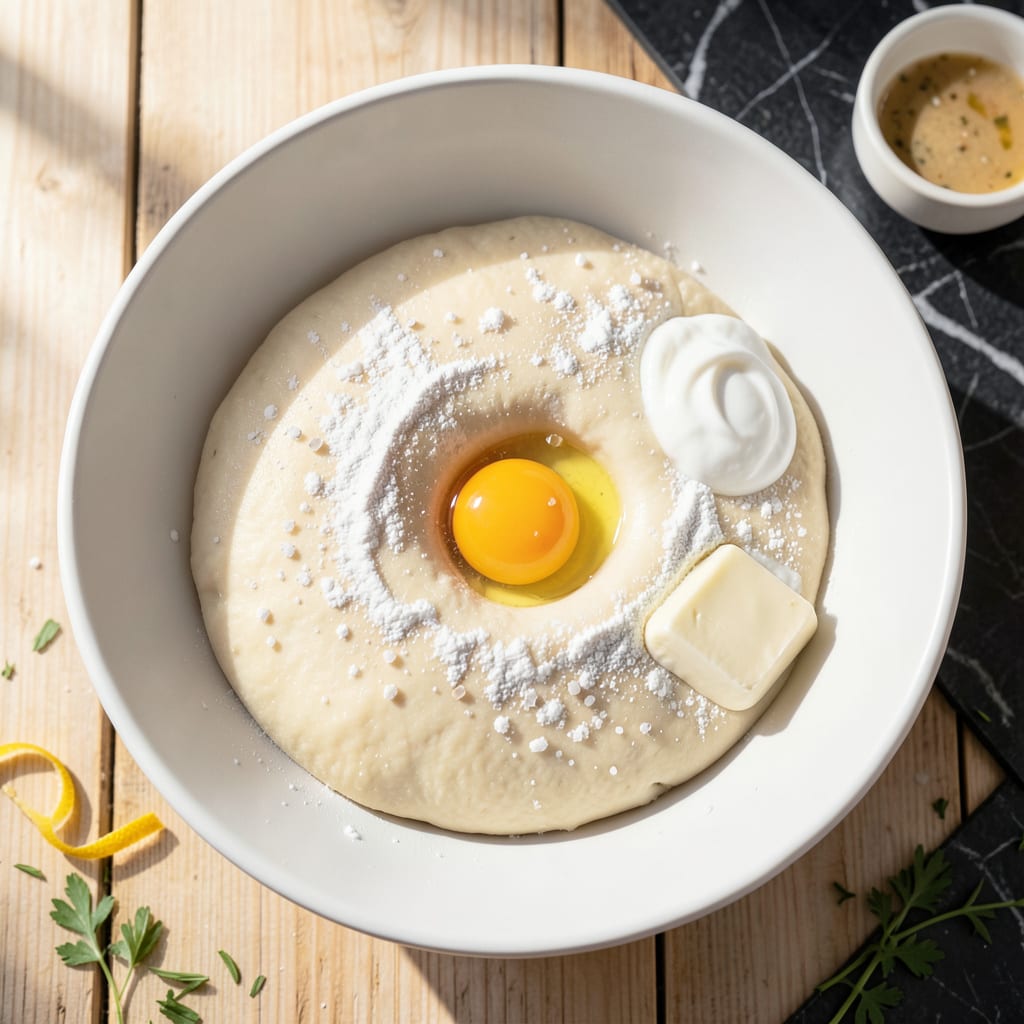
This no-fail dough delivers tender, elastic pierogi every time with minimal effort. The secret lies in the perfect flour-to-liquid ratio and proper resting to develop that signature soft texture.
After mixing and resting, the dough rolls out smoothly and seals beautifully around both traditional and modern fillings. It cooks up light and pillowy, never tough or dense.
Ingredients for Easy Pierogi Dough
Simple pantry ingredients create elastic dough that rolls out smooth and seals perfectly every time.
| Ingredient | Amount | Notes |
|---|---|---|
| All-Purpose Flour 🌾 | 3 cups | Plus extra for dusting |
| Warm Water 💧 | ¾ cup | About 110°F, not hot |
| Large Egg 🥚 | 1 whole | Room temperature preferred |
| Sour Cream 🥛 | ½ cup | Full-fat for tenderness |
| Unsalted Butter 🧈 | 4 tbsp | Melted and cooled slightly |
| Salt 🧂 | 1 tsp | Fine sea salt preferred |
| Vegetable Oil 🫒 | 1 tbsp | For bowl and rolling |
| White Vinegar 🍶 | 1 tsp | Helps tenderize dough |
The flour forms the foundation here. King Arthur or Gold Medal all-purpose deliver consistent results. Weighing your flour (about 12.5 oz per 3 cups) ensures precision—scooping can compact it. The sour cream is non-negotiable for that signature tenderness; full-fat Daisy or Breakstone’s are reliable choices at most supermarkets.
No sour cream? Plain Greek yogurt at the same quantity works in a pinch. Want richer dough? Substitute heavy cream at half the volume. The vinegar might seem odd but don’t skip it—it relaxes the gluten for that pillowy texture. For egg-free dough, use 1/4 cup applesauce plus an extra tablespoon of water.
Rest the dough 30 minutes at room temperature before rolling. Wrapped tightly, it keeps in the fridge for 2 days or freezes beautifully for 1 month. Bring to room temp before using if chilled.
Why You’ll Love This Recipe
- No-Knead Magic: I just mix, rest, and roll—no fancy techniques or stand mixer required.
- Buttery Richness: The sour cream and butter make the dough so tender it melts in your mouth.
- Freezer Friendly: I double the batch, freeze half, and have pierogi ready for lazy dinners.
- Budget Stretcher: Honestly, five pantry staples turn into a meal that feeds my whole family twice.
Step-by-Step Instructions for Pierogi Dough
This method ensures a smooth, elastic dough that rolls out effortlessly and creates tender dumplings.
Step 1: Combine Wet Ingredients for a Smooth Base
In a large mixing bowl, whisk together the 0.75 cup Warm Water, 1 whole Large Egg, 0.5 cup Sour Cream, 4 tbsp Unsalted Butter, 1 tsp Salt, 1 tbsp Vegetable Oil, and 1 tsp White Vinegar until fully emulsified. The mixture should appear creamy with no visible separation.
The vinegar and sour cream work together to tenderize the gluten, ensuring your dough stays soft rather than tough. I always verify the water temperature with my wrist—it should feel comfortably warm, never hot, to prevent cooking the egg prematurely.
Step 2: Incorporate Flour Gradually
Add 1 cup of the 3 cups All-Purpose Flour at a time to the wet mixture, stirring with a wooden spoon until a shaggy dough forms. The texture should resemble thick, lumpy pancake batter after the first addition.
After incorporating all the flour, the dough will pull away from the bowl sides but remain slightly sticky. This gradual addition prevents overworking the flour and developing excess gluten, which would make the dough tough and difficult to roll out.
Step 3: Knead to Develop Proper Texture
Turn the dough onto a lightly floured surface and knead for 5-7 minutes until smooth and elastic. Dust with additional flour only as needed to prevent sticking—too much extra flour will make the dough dry and dense.
You’ll know it’s ready when the dough springs back gently when pressed with a finger and the surface appears silky rather than rough. The kneading process develops just enough gluten to give your pierogi structure while maintaining the desired tenderness.
Step 4: Rest the Dough for Optimal Workability
Shape the dough into a ball and place it in a lightly oiled bowl. Cover with a clean kitchen towel and let rest at room temperature for 30 minutes. This relaxation period allows the gluten strands to unwind, making the dough much easier to roll out.
During this time, the dough will rise slightly due to the chemical reactions between the vinegar and baking soda naturally present in the flour. After resting, the dough should be soft, pliable, and ready to roll to your desired thickness without springing back.
Divide the rested dough into 4 portions before rolling—this makes handling more manageable and ensures even thickness throughout. Roll each portion to ⅛-inch thickness for traditional pierogi, using additional flour as needed to prevent sticking.
Pro Tips For Making Easy Pierogi Dough
- Knead Just Enough: Work the dough until it stops sticking to your hands—about 5-7 minutes by hand. Over-kneading makes pierogi tough, and I learned this the hard way with my first batch.
- Warm the Sour Cream: Take the sour cream out of the fridge 30 minutes before mixing. Cold sour cream can cause the butter to clump, and your dough won’t come together smoothly.
- Skip the Extra Flour: Resist the urge to dust your surface with too much flour when rolling. A little is fine, but too much makes the dough dry and cracks when boiling.
- Rest 20 Minutes: After kneading, let the dough sit covered at room temp for at least 20 minutes. This relaxes the gluten so it rolls out thin without springing back—my grandmother swore by this, and she was right.
Perfect Pairings for This Recipe
Classic Fillings
Traditional potato and cheddar filling pairs perfectly with this tender dough. I mix 2 cups mashed potatoes with 1 cup shredded sharp cheddar and ½ cup sautéed onions for that authentic Eastern European flavor. 💛
Sweet Variations
For dessert pierogi, try blueberry filling with 1½ cups fresh berries, 2 tbsp sugar, and 1 tsp cornstarch. The dough’s slight tang from sour cream balances the sweetness beautifully.
Sauce Pairings
Top savory pierogi with melted butter and crispy fried onions for a classic presentation. For sweet versions, a drizzle of honey or dusting of powdered sugar works wonders.
Beverage Matches
A cold Polish beer like Żywiec or Tyskie complements the richness perfectly. For non-alcoholic options, sparkling water with lemon cleanses the palate between bites.
Side Dish Ideas
Serve with sautéed cabbage and crispy bacon for a hearty meal. The acidity from sauerkraut also cuts through the dough’s richness nicely.
Dipping Options
Offer sour cream mixed with chopped chives for dipping. For sweet pierogi, vanilla yogurt or whipped cream adds a creamy contrast. 🥄
Nutrition Facts
Frequently Asked Questions
Can I make the dough ahead of time?
Yes! Wrap the dough tightly in plastic and refrigerate for up to 2 days. For longer storage, freeze for 1 month. Thaw overnight in the fridge before using.
Why does the recipe include vinegar?
The 1 tsp vinegar tenderizes the gluten, creating a softer, more pliable dough. It also helps prevent toughness during cooking.
What if my dough is too sticky?
Add flour 1 tbsp at a time while kneading until smooth. Avoid over-flouring, as this can make the dough dry and dense.
Can I use a stand mixer?
Use the dough hook on low speed for 4-5 minutes. This mimics hand-kneading and develops the perfect texture.

- BBQ Sausage Recipe Oven: Smoky Depth Without the Grill - September 28, 2026
- BBQ Chicken Bowl Recipe Rice: Smoky Sweetness Over Fluffy Grains - September 28, 2026
- Beef Cutlet Recipe Ideas: Crispy Breaded Patties With Bold Seasonings - September 28, 2026