
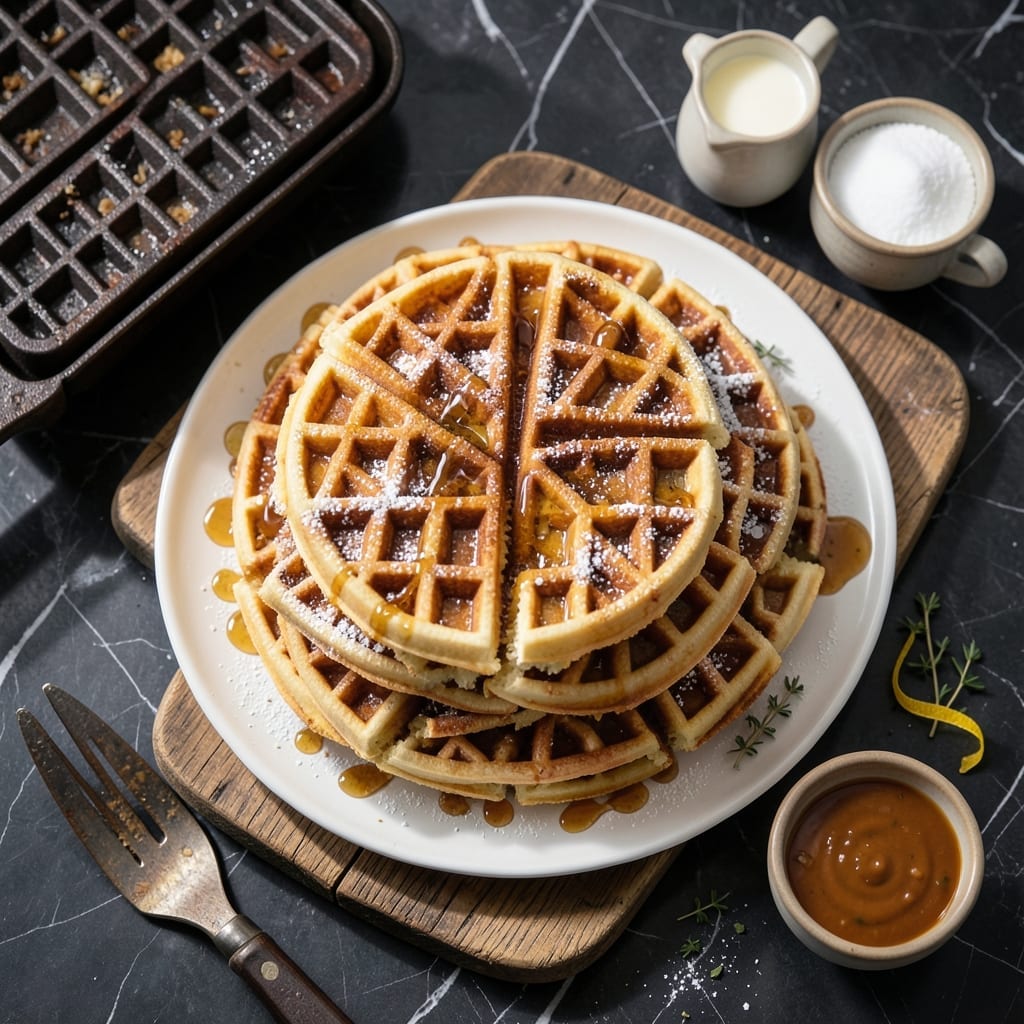
There’s nothing like the satisfaction of pulling golden, crisp waffles from your maker, knowing they took minutes to prepare.
This method uses simple pantry staples and a foolproof technique to ensure even cooking and perfect texture every time.
Ingredients for Easy Waffle Recipe for Waffle Maker
Simple pantry staples create golden, crisp waffles with perfect texture every time.
| Ingredient | Amount | Notes |
|---|---|---|
| All-Purpose Flour 🌾 | 2 cups | Sifted for smooth batter |
| Granulated Sugar 🍚 | 2 tbsp | For subtle sweetness |
| Baking Powder 🧂 | 2 tsp | Ensures light texture |
| Salt 🧂 | ½ tsp | Balances sweetness |
| Large Eggs 🥚 | 2 whole | Room temperature preferred |
| Whole Milk 🥛 | 1 ¾ cups | Full-fat for richness |
| Unsalted Butter 🧈 | ½ cup | Melted and cooled |
| Vanilla Extract 🌿 | 1 tsp | Pure for best flavor |
| Vegetable Oil 🫒 | 2 tbsp | For waffle iron greasing |
| Cinnamon 🌿 | ½ tsp | Optional for warmth |
The flour is foundational here. King Arthur all-purpose is my go-to for consistent results—its protein content hits the sweet spot for structure without toughness. Baking powder loses potency over time, so check the expiration date and replace if it’s been more than six months. For the milk, whole milk yields the richest flavor, but 2% works in a pinch (avoid skim—it lacks the fat needed for crispness).
No buttermilk? Milk with 1 tbsp vinegar or lemon juice per cup works as a substitute. Out of vanilla? Skip it—sugar and cinnamon carry enough flavor. For dairy-free, oat milk or almond milk can replace whole milk, though texture may be slightly less rich. The eggs are non-negotiable for structure, but in emergencies, flax eggs (1 tbsp ground flax + 3 tbsp water = 1 egg) can work.
Batter keeps 1 day in the fridge—whisk before using. Cooked waffles freeze beautifully for up to 3 months. Reheat in a toaster or oven to restore crispness. Always preheat the waffle iron to ensure even cooking and that signature golden hue.
Why You’ll Love This Recipe
- Dump and Mix: I just toss the flour, sugar, baking powder, salt, and eggs in a bowl—no fancy steps, no stress.
- Golden Crisp: The baking powder gives them that perfect lift, and the sugar caramelizes just enough for a crispy exterior.
- Breakfast or Brunch: I make a double batch on Sunday and freeze half for rushed Tuesday mornings.
- Pantry Staples: Honestly, I always have these ingredients on hand, so waffles happen whenever the craving hits.
Step-by-Step Instructions for Easy Waffles
Here’s the method. Straightforward, tested, works every time.
Step 1: Combine Dry Ingredients for Even Distribution
In a large mixing bowl, whisk together the 2 cups All-Purpose Flour, 2 tsp Baking Powder, 0.5 tsp Salt, 2 tbsp Granulated Sugar, and 0.5 tsp Cinnamon. I always sift the flour first to prevent lumps in the batter.
The baking powder reacts with the wet ingredients to create that light, airy texture, while the cinnamon adds a subtle warmth. Make sure all dry ingredients are thoroughly combined before adding liquids—this prevents pockets of concentrated baking powder that can leave a metallic taste.
Step 2: Incorporate Wet Ingredients Gently
In a separate bowl, whisk the 2 whole Large Eggs, then add the 1.75 cups Whole Milk, 0.5 cup Unsalted Butter (melted and cooled), and 1 tsp Vanilla Extract. The butter should be cool to the touch but still liquid to avoid cooking the eggs when combined.
Create a well in the center of your dry ingredients and pour in the wet mixture. Stir gently with a spatula until just combined—small lumps are fine. Overmixing develops gluten, which makes waffles tough instead of tender. The batter should be thick but pourable.
Step 3: Preheat and Grease the Waffle Iron
Preheat your waffle maker to medium-high heat. Most irons have an indicator light that signals when it’s ready. While it heats, brush the grids lightly with 2 tbsp Vegetable Oil using a pastry brush or paper towel. This thin, even coating ensures easy release and crisp edges.
Real talk: even nonstick irons need greasing for the first batch. The oil creates a barrier that helps the batter crisp without sticking. If you’re making multiple batches, re-grease between each if needed—you’ll know it’s time when the waffles start to resist releasing.
Step 4: Cook to Golden Perfection
Pour about ½ cup of batter onto the center of the preheated waffle iron, spreading it slightly toward the edges but leaving room for expansion. Close the lid and cook for 3-5 minutes until the waffle is golden brown and crisp.
Resist the urge to open the iron early—this releases steam that’s crucial for cooking the center. You’ll know it’s ready when steam stops escaping from the sides and the waffle releases easily when you lift the lid. The exterior should be crisp and the interior light and fluffy.
Step 5: Serve Immediately for Maximum Crispness
Transfer the waffle to a wire rack to maintain crispness—stacking them directly on a plate traps steam and makes them soggy. If you need to keep waffles warm while cooking the rest, place them in a 200°F oven on a rack for up to 15 minutes.
Serve with your favorite toppings while still hot. The contrast of crisp exterior and tender interior is at its peak right out of the iron. This batter yields about 8 standard waffles, perfect for serving 4.
Pro Tips For Making Easy Waffle Recipe For Waffle Maker
- Preheat the Iron: I learned this the hard way—always let your waffle maker heat up for at least 5 minutes before adding batter. Cold irons create pale, gummy waffles that stick like glue.
- Separate the Eggs: Whip the egg whites to soft peaks before folding them in last. Sounds like extra work, but it makes fluffier waffles that don’t turn into hockey pucks.
- Skip Overmixing: Stir the batter just until the flour disappears—lumps are fine. Overmixing develops gluten, and suddenly you’ve got tough waffles instead of tender ones.
- Use a Scoop: A ½-cup measure or ice cream scoop keeps portions consistent and prevents spillover. I used to eyeball it and ended up with half the batter on the counter.
Serving Suggestions for This Dish
Classic Toppings
You can’t go wrong with pure maple syrup and a pat of salted butter—the warmth melts everything together perfectly. I also love a dusting of powdered sugar for a snow-like finish that kids adore. 💛
Fresh Fruit Pairings
Sliced strawberries or bananas add natural sweetness and vibrant color. For extra flair, toss them in 1 tbsp honey and a squeeze of lemon juice before spooning over your waffles. The acidity brightens the richness beautifully.
Decadent Indulgences
For special occasions, top with whipped cream and a drizzle of chocolate sauce. My family loves Hershey’s syrup for its thick, fudgy consistency. Add chopped nuts like pecans or walnuts for satisfying crunch.
Savory Twist
Ditch the syrup and try waffles with fried chicken and hot honey for a Southern-inspired brunch. The sweet-heat combination is irresistible. I discovered this combo at a Nashville diner and haven’t looked back.
Breakfast Buffet
Set up a toppings bar with Greek yogurt, berries, and granola. Guests can customize their plates. For protein, offer crispy bacon or scrambled eggs on the side.
Beverage Pairings
Hot coffee or chilled orange juice cuts through the richness. For kids, warm cocoa with marshmallows makes waffle mornings magical. My kids beg for this combo every weekend. 🔥
Frequently Asked Questions
Can I make the batter the night before?
Yes! Mix dry and wet ingredients separately, cover, and refrigerate. Combine just before cooking for best results.
What if my waffles stick to the iron?
Ensure the iron is fully preheated and properly greased. Use a nonstick spray or brush with oil between batches for easy release.
How do I keep waffles crispy while serving?
Place cooked waffles on a wire rack in a 200°F oven. This prevents steam buildup that makes them soggy.
Can I substitute ingredients for dietary needs?
Use almond milk for dairy-free or flax eggs for egg-free. For gluten-free, swap in a 1:1 baking flour blend.
Nutrition Facts

- BBQ Sausage Recipe Oven: Smoky Depth Without the Grill - September 28, 2026
- BBQ Chicken Bowl Recipe Rice: Smoky Sweetness Over Fluffy Grains - September 28, 2026
- Beef Cutlet Recipe Ideas: Crispy Breaded Patties With Bold Seasonings - September 28, 2026