
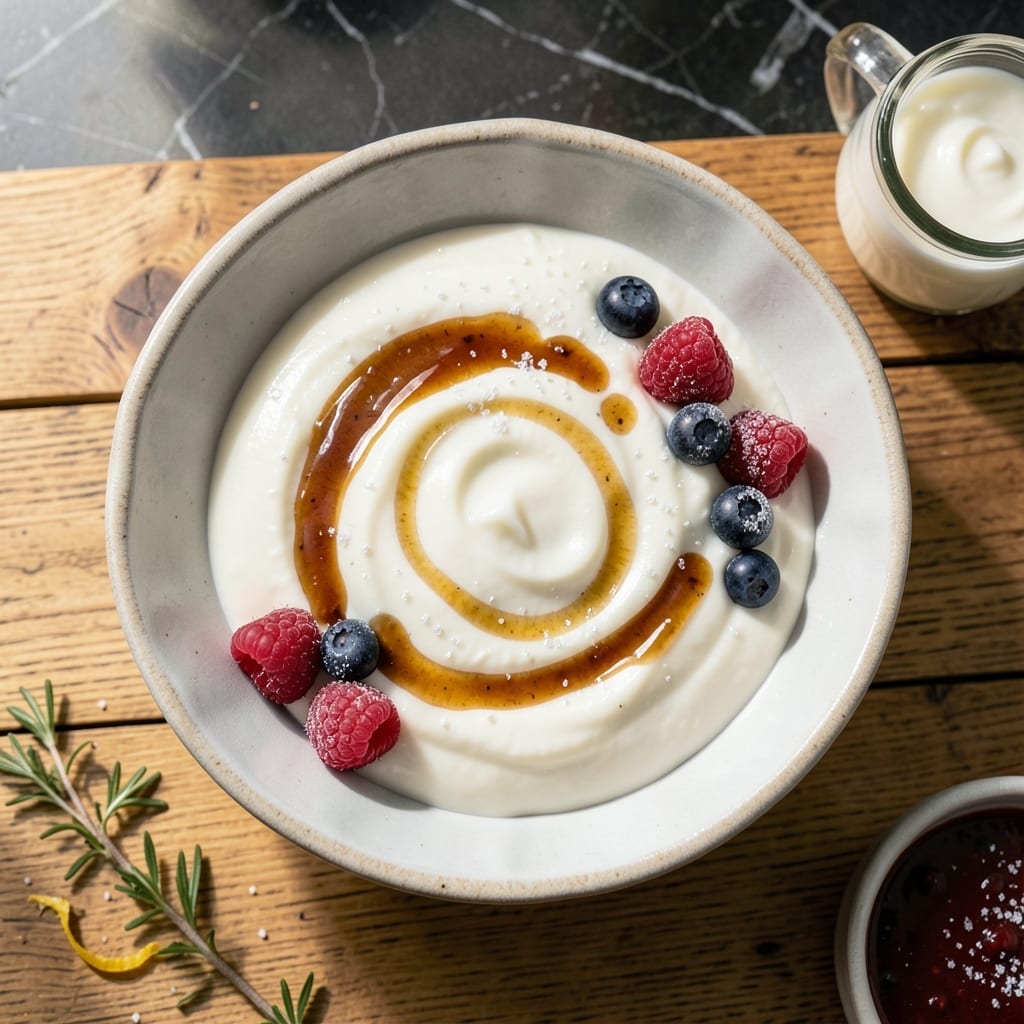
Crafting homemade fermented yogurt is simpler than you think, and the results are far superior to store-bought. This method yields a tangy, probiotic-rich product with minimal effort and maximum control over texture and flavor.
With just milk and a starter culture, you can create a batch that’s thicker, creamier, and packed with live cultures. The process requires patience but rewards you with a fresh, homemade dairy staple that’s versatile and nutritious.
Maintaining a consistent temperature during fermentation is key to achieving the perfect balance of tang and creaminess. In 24 hours, you’ll have yogurt ready to enjoy plain, sweetened, or in savory dishes.
This recipe puts you in full control of ingredients and quality, ensuring a result that’s both delicious and beneficial for gut health.
Ingredients for Fermented Yogurt
Just milk, starter, and patience create this creamy probiotic-rich homemade yogurt.
| Ingredient | Amount | Notes |
|---|---|---|
| Whole Milk 🥛 | ½ gallon | Ultra-pasteurized for best results |
| Plain Yogurt with Live Cultures 🥣 | 2 tbsp | Store-bought or previous batch |
| Heavy Cream 🥛 | ¼ cup | Optional for thicker texture |
| Granulated Sugar 🍚 | 1 tsp | Optional for sweetness |
| Pure Vanilla Extract 🌿 | ½ tsp | Optional for flavor |
| Honey 🍯 | 2 tbsp | Optional sweetener for serving |
| Fresh Berries 🍓 | 1 cup | Optional for serving |
| Thermometer 🌡️ | 1 piece | Candy or instant-read |
| Cheesecloth 🧻 | 1 sheet | For straining thicker yogurt |
| Glass Jars 🍶 | 4 pieces | For fermentation and storage |
| Blanket or Towel 🧺 | 1 piece | For insulation during fermentation |
The milk quality is non-negotiable here. Ultra-pasteurized whole milk from Organic Valley or Stater Bros gives the creamiest results—avoid raw milk since pasteurization kills unwanted bacteria. The starter culture can be any plain yogurt with live cultures (Fage or Chobani work perfectly). If using a previous homemade batch, make sure it’s less than 7 days old for best activity.
No yogurt starter? Yogurt starter packets from Cultures for Health are foolproof. Skipping the heavy cream? The result will be tangier but thinner—still delicious. Want it sweeter? Maple syrup or agave work as vegan honey substitutes. The thermometer is key for temperature accuracy (110°F is the sweet spot for culturing).
Store finished yogurt in glass jars in the coldest part of your fridge—lasts 2-3 weeks. Save 2 tbsp as starter for your next batch. Cheesecloth can be reused if washed and boiled first.
Why You’ll Love This Recipe
- Five-Minute Mix: I just heat the milk, stir in the live-culture yogurt, and let it sit—no fancy equipment.
- Rich Vanilla Comfort: The vanilla and heavy cream make it taste like dessert, but it’s still good-for-you.
- Breakfast or Dessert: I serve it plain with granulated sugar or layer it with fruit for a quick parfait.
- Budget Staple: A quart of whole milk turns into a week’s worth of yogurt for pennies.
Step-by-Step Instructions for Fermented Yogurt
Here is my tested method for creating rich, tangy homemade yogurt with minimal effort.
Step 1: Heat and Cool the Whole Milk
Pour the 0.5 gallon Whole Milk into a heavy-bottomed pot and heat over medium heat until it reaches 180°F on the thermometer. Stir occasionally to prevent scorching and ensure even heating. This step pasteurizes the milk and denatures proteins for thicker yogurt.
Once at temperature, remove from heat and let it cool to 110-115°F. I speed this up by placing the pot in a sink of ice water, stirring gently. The milk should feel warm but not hot to the touch—like a comfortable bath temperature.
Step 2: Temper and Inoculate with Starter Culture
In a small bowl, whisk together 2 tbsp Plain Yogurt with Live Cultures with a ladle of the cooled milk until smooth. This tempers the starter, preventing thermal shock. Slowly pour this mixture back into the remaining milk while stirring gently.
If using, stir in the 0.25 cup Heavy Cream and 1 tsp Granulated Sugar now. The cream adds richness, while the sugar provides additional food for the cultures. The mixture should look slightly thicker than plain milk at this stage.
Step 3: Ferment in Glass Jars
Ladle the inoculated milk into the 4 pieces Glass Jars, filling each about ¾ full. Secure the lids loosely to allow gas escape. Arrange the jars in a warm spot—ideally 110-115°F—and wrap them with the 1 piece Blanket or Towel for insulation.
Let ferment undisturbed for 6-12 hours. I check at 8 hours for my preferred tanginess. The yogurt is ready when it has the consistency of soft pudding and pulls away slightly from the jar walls. Longer fermentation yields a tarter flavor.
Step 4: Strain for Thickness (Optional) and Chill
For Greek-style thickness, line a colander with the 1 sheet Cheesecloth and set it over a bowl. Pour in the yogurt and let strain for 1-4 hours in the refrigerator. The longer it strains, the thicker it becomes—stop when it reaches your desired consistency.
Transfer the finished yogurt to clean jars and refrigerate for at least 4 hours to halt fermentation and develop flavor. This chilling step is crucial—it sets the texture and makes the yogurt safer to store for up to 2 weeks.
Before serving, stir in the 0.5 tsp Pure Vanilla Extract if using, and top with 2 tbsp Honey and 1 cup Fresh Berries for a delightful treat.
Pro Tips For Making Fermented Yogurt
- Heat Milk Slowly: Bring whole milk to 180°F over medium-low heat—I learned this the hard way after scorching two batches. Sudden high heat kills the cultures before fermentation even starts.
- Use Fresh Starter: Always check the expiration date on your plain yogurt with live cultures. After burning through stale starters, I now pick the freshest container on the shelf for reliable fermentation.
- Skip Metal Utensils: Stir with a wooden or silicone spoon when mixing in the starter culture. Metal can react with the acids and I’ve had off flavors ruin otherwise perfect batches.
- Warm Your Jars: Pour boiling water into your fermentation jars for 2 minutes before adding the milk mixture—this keeps the temperature steady. I was skeptical until I tried it, and my yogurt set perfectly every time after.
Wine and Beer Pairings for This Recipe
White Wine Pairings
A crisp Sauvignon Blanc from New Zealand cuts through the tang beautifully, with its citrus notes complementing the yogurt’s acidity. I love Kim Crawford or Oyster Bay brands for their bright, refreshing profiles.
Red Wine Options
For a bolder pairing, try a light-bodied Pinot Noir like Meiomi. Its red fruit notes work surprisingly well with the yogurt’s creaminess, especially when served with honey and berries. Serve slightly chilled.
Beer Pairings
A wheat beer like Blue Moon or Hoegaarden enhances the probiotic flavors with its citrusy, spiced profile. The effervescence cleanses your palate between bites. 🍺
Non-Alcoholic Choices
Sparkling water with a squeeze of lemon or lime makes a simple, refreshing pairing. For tea lovers, a chilled hibiscus tea adds a floral note that pairs beautifully with the yogurt’s tang.
Dessert Wine Match
A Moscato d’Asti from Italy offers a sweet contrast to the yogurt’s acidity. Its light fizz and peach notes create a delightful combination, especially when the yogurt is served with fresh berries.
Coffee Pairing
For breakfast servings, a light roast coffee with citrus notes works wonderfully. I recommend Starbucks Blonde Roast—its gentle acidity mirrors the yogurt’s tang while the creaminess softens the coffee’s bite. 💛
Nutrition Facts
Frequently Asked Questions
How long does homemade yogurt last?
Properly stored in the fridge, it stays fresh for 2-3 weeks. Always use clean utensils when scooping to prevent contamination. The flavor becomes tangier over time but remains safe to eat.
Can I use a different type of milk?
Yes, but whole milk gives the creamiest results. Skim milk works but yields thinner yogurt. For non-dairy, try coconut milk with added probiotics, though texture varies.
Why didn’t my yogurt set?
This usually happens if the milk was too hot or too cool when adding the starter. Aim for 110-115°F. Also, ensure your starter contains live cultures.
Can I reuse my yogurt as a starter?
but only for 5-7 generations. After that, the cultures weaken. Always use the freshest batch for best results.

- Bread Recipe KitchenAid Mixer: Foolproof Loaf With Perfect Rise - September 28, 2026
- BBQ Oysters Recipe Grill: Smoky Garlic Butter Bliss - September 28, 2026
- Crock Pot Mac and Cheese Recipe Paula Deen: Ultra Creamy Southern-Style Comfort - September 28, 2026