
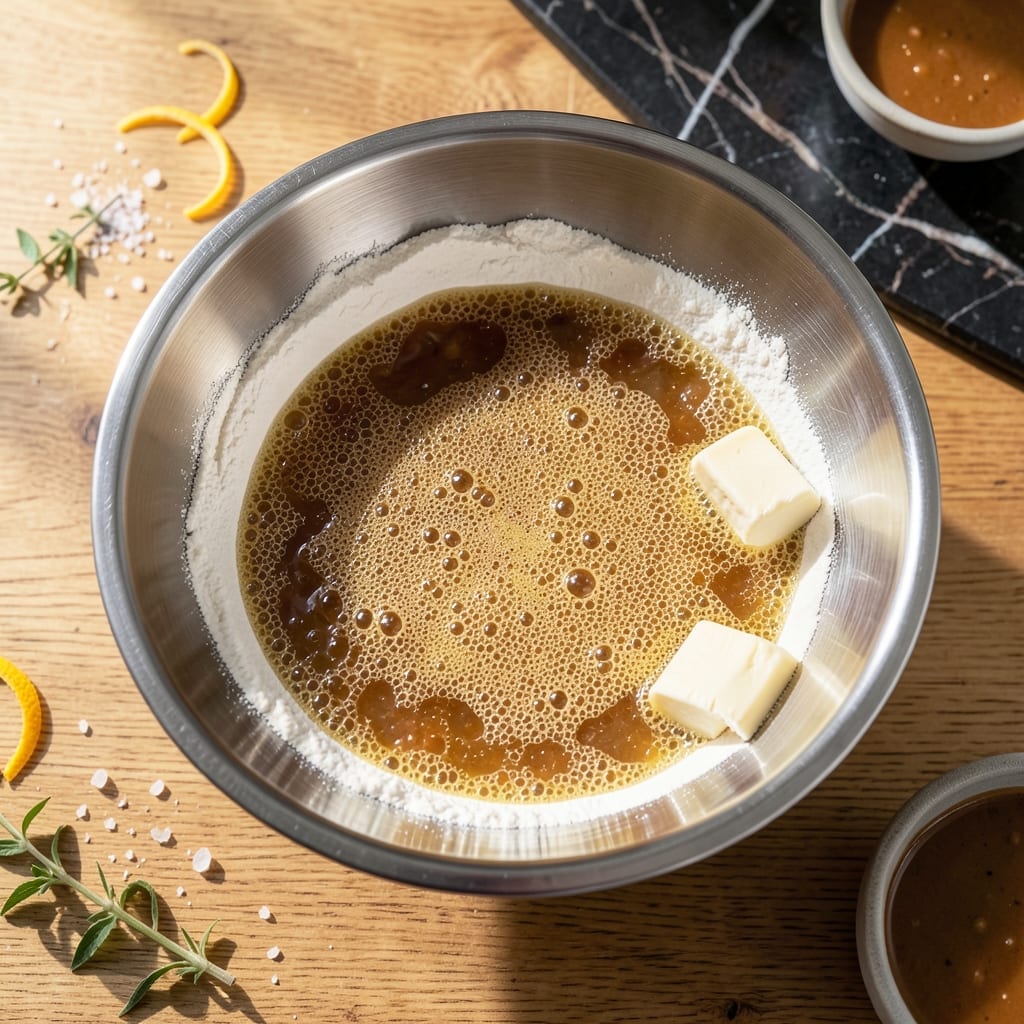
There’s nothing like the aroma of fresh bread pulling you into the kitchen. This method transforms basic ingredients into a perfectly risen loaf with minimal effort and maximum reward.
The KitchenAid mixer does most of the work, kneading the dough to the ideal consistency while you focus on precision. With just a few simple steps, you’ll achieve a golden crust and soft, airy interior every time.
What makes this recipe special is its reliability. The mixer ensures even development, and the proofing stage guarantees a perfect texture that’s hard to match by hand.
Once baked, you’ll have a loaf that’s as satisfying to make as it is to eat. This is bread the way it should be—simple, honest, and irresistibly good.
Ingredients for Bread Recipe Kitchenaid Mixer
Basic ingredients, one mixer, and the best bread you’ve made in ages.
| Ingredient | Amount | Notes |
|---|---|---|
| Bread Flour 🌾 | 4 cups | Plus extra for dusting |
| Active Dry Yeast 🍞 | 2 ¼ tsp | One packet, proofed in warm water |
| Warm Water 💧 | 1 ¼ cups | 110°F to activate yeast |
| Granulated Sugar 🍚 | 2 tbsp | Feeds the yeast for rise |
| Salt 🧂 | 2 tsp | Fine sea salt preferred |
| Unsalted Butter 🧈 | 2 tbsp | Softened, for dough enrichment |
| Whole Milk 🥛 | ¼ cup | Warmed, for tender crumb |
| Large Egg 🥚 | 1 whole | Room temperature, for structure |
| Olive Oil 🫒 | 1 tbsp | For greasing bowl |
| Honey 🍯 | 1 tbsp | Optional, for golden crust |
The flour is the foundation—King Arthur Bread Flour is my go-to for consistent rise and chew. Yeast matters too: check the expiration date (old yeast won’t proof). Fleischmann’s or Red Star are reliable brands at most grocery stores. Warm the water to baby-bottle temperature (too hot kills yeast, too cold slows it down). The milk adds tenderness, but whole milk works better than skim for richness (trust me on this one).
No KitchenAid? A sturdy stand mixer with dough hook works too. Swap butter for vegetable oil if avoiding dairy—same amount, slightly denser crumb. Out of milk? Warm water with a tablespoon of powdered milk does the trick. For extra flavor, replace the water with warm potato water (leftover from boiling potatoes). The egg can be skipped, but it helps with structure and browning.
Dough rises best in a warm spot—75-80°F is ideal. I turn my oven on low for 2 minutes, turn it off, then proof inside. Baked loaves keep 3 days wrapped at room temp, or freeze slices for 3 months. Slice when completely cool to avoid gummy texture.
Why You’ll Love This Recipe
- Hands-Off Kneading: The KitchenAid does all the heavy lifting while I sip my coffee—just toss in the flour, yeast, and warm water, then walk away.
- Warm, Toasty Comfort: Honestly, nothing beats that first bite of homemade bread with its crisp crust and pillowy center from the sugar and yeast working their magic.
- Meal Prep Hero: I bake two loaves on Sunday—one for sandwiches, one for toast all week. The leftovers freeze like a dream.
- Penny-Wise Perfection: A bag of bread flour and yeast costs less than a single artisanal loaf, and I get fresh bread whenever I want.
Step-by-Step Instructions for Bread Recipe KitchenAid Mixer
This foolproof method delivers a golden, well-risen loaf with minimal effort and perfect results.
Step 1: Activate Yeast and Prepare Wet Ingredients
In the bowl of your KitchenAid mixer, combine the 1.25 cups Warm Water, 2 tbsp Granulated Sugar, and 2.25 tsp Active Dry Yeast. Let this sit for 5-7 minutes until the mixture becomes frothy and the yeast is visibly activated. This foaming action confirms your yeast is alive and ready to work.
While the yeast activates, warm the 0.25 cup Whole Milk to about 110°F and soften the 2 tbsp Unsalted Butter. Add these to the yeast mixture along with the 1 whole Large Egg and 1 tbsp Honey. The warmth of the liquid helps maintain the ideal environment for the yeast to thrive.
Step 2: Incorporate Dry Ingredients and Knead
Attach the dough hook to your KitchenAid mixer. With the mixer on low speed, gradually add the 4 cups Bread Flour and 2 tsp Salt. I always add the salt separately from the flour to ensure even distribution throughout the dough.
Once all the dry ingredients are incorporated, increase the speed to medium and let the mixer knead the dough for 6-8 minutes. You’re looking for a smooth, elastic dough that pulls away from the sides of the bowl. If it’s too sticky, add 1-2 tbsp more bread flour, but resist the urge to add too much—this dough should be slightly tacky.
Step 3: First Rise Until Doubled
Lightly grease a large bowl with the 1 tbsp Olive Oil. Transfer the dough to the bowl, turning once to coat it with oil. Cover the bowl with a clean kitchen towel or plastic wrap and place it in a warm, draft-free spot. I like to turn on my oven light for a gentle warmth boost.
Let the dough rise for 1-1.5 hours or until it has doubled in volume. You’ll know it’s ready when it holds an indentation when gently pressed with your finger. This first rise develops the gluten structure and flavor of your bread.
Step 4: Shape, Second Rise, and Bake
Punch down the risen dough to release the air, then turn it out onto a lightly floured surface. Shape it into a loaf by flattening into a rectangle and rolling it up tightly, pinching the seam to seal. Place the loaf seam-side down in a greased 9×5-inch loaf pan.
Cover and let it rise again for 30-45 minutes until it domes about 1 inch above the pan rim. Preheat your oven to 375°F during this final rise. Bake for 25-30 minutes until the top is deep golden brown and a tap on the top sounds hollow. For an extra golden crust, brush the top with a bit of melted butter right after baking.
Step 5: Cool Completely Before Slicing
Remove the bread from the pan and transfer it to a wire rack. Let it cool completely for at least 1 hour before slicing. I know this is the hardest part, but cutting too soon will result in a gummy texture.
Once cooled, your loaf should have a tender, even crumb and a beautifully browned crust. The honey in the dough gives it a subtle sweetness and that perfect golden color we all love in a homemade loaf.
Pro Tips For Making Bread Recipe Kitchenaid Mixer
- Test Your Yeast: Always proof your active dry yeast in the warm water with sugar first—I learned this the hard way after a few dense loaves that refused to rise.
- Use Bread Flour: Skip the all-purpose and stick with bread flour for this one; the higher protein content actually changes the outcome, giving you that chewy texture you want.
- Don’t Over-Knead: Let the mixer do the work for 8-10 minutes max, or you’ll end up with tough bread. I used to think more kneading meant better bread, but it just makes it dense.
- Warm the Bowl: Sounds weird, but it works: rinse your mixer bowl with warm water before adding ingredients—it helps the dough rise faster and more evenly.
Troubleshooting Great bread recipe kitchenaid mixer
Dough Not Rising
If your dough isn’t rising, check your yeast first—it may be expired. Always proof it in 110°F water with sugar. If it doesn’t foam within 5-7 minutes, start over with fresh yeast. Also, ensure your kitchen is warm enough, ideally 75-80°F. 💡
Dense or Heavy Loaf
Over-kneading or too much flour can cause this. Stick to 6-8 minutes of kneading in your KitchenAid and add only 1-2 tbsp extra flour if the dough is sticky. Under-proofing can also lead to density—let it rise until doubled in volume.
Bread Collapses After Baking
This often happens if the loaf wasn’t fully proofed before baking. Ensure it domes 1 inch above the pan during the second rise. Also, avoid opening the oven door too early—wait until at least 20 minutes into baking.
Uneven Baking
If the top browns too quickly while the inside stays raw, tent the loaf with foil after 15 minutes. Make sure your oven is preheated to 375°F and the pan is centered on the rack for even heat distribution.
Crust Too Hard
Brushing the top with melted butter right after baking softens the crust. If you prefer a softer crust, reduce baking time by 2-3 minutes and check for doneness with a tap—it should sound hollow but not rock-hard. 🔥
Gummy Texture
This is almost always from slicing too soon. Let the bread cool completely for at least 1 hour on a wire rack. This allows steam to escape and the crumb to set properly, avoiding that dreaded gummy mouthfeel.
Nutrition Facts
Frequently Asked Questions
What’s the ideal kneading time in a KitchenAid?
Knead the dough for 6-8 minutes at medium speed. This develops the gluten perfectly without overworking it. The dough should pull away from the bowl and feel smooth, not sticky.
Can I use all-purpose flour instead of bread flour?
Yes, but the texture will differ. Bread flour has more protein, creating a chewier loaf. For all-purpose, you may need 1-2 tbsp extra flour to achieve the right consistency.
How do I know when the bread is fully baked?
The top should be deep golden brown, and tapping it should produce a hollow sound. For best results, use an instant-read thermometer to check for 190-200°F internally.
Why did my loaf turn out dense?
Dense bread often results from under-proofing or too much flour. Ensure the dough doubles in size during both rises, and resist adding extra flour unless absolutely necessary.

- Bread Recipe KitchenAid Mixer: Foolproof Loaf With Perfect Rise - September 28, 2026
- BBQ Oysters Recipe Grill: Smoky Garlic Butter Bliss - September 28, 2026
- Crock Pot Mac and Cheese Recipe Paula Deen: Ultra Creamy Southern-Style Comfort - September 28, 2026