
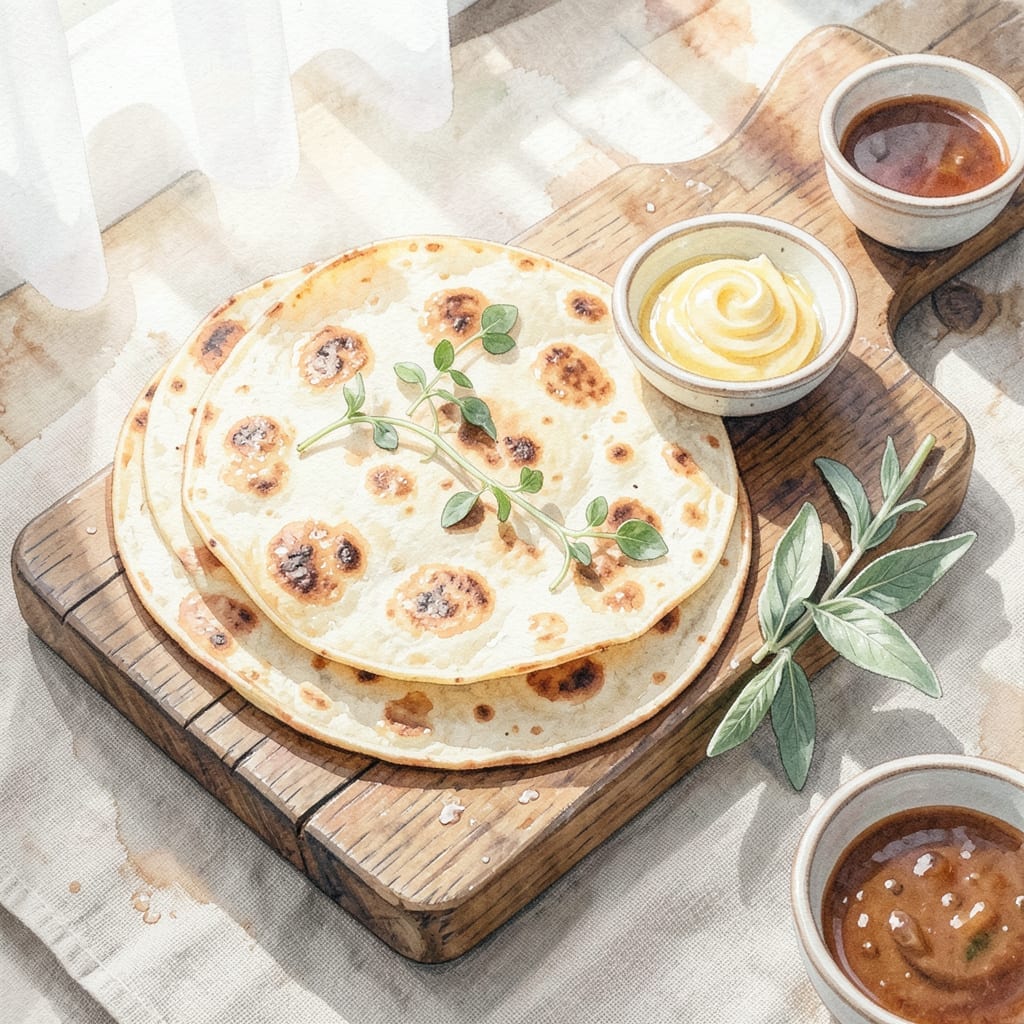
Homemade flour tortillas elevate any meal with their soft texture and fresh flavor. This proven technique delivers restaurant-quality results using just a few pantry staples.
The process is straightforward: mix, knead, rest, and cook. With 30 minutes of active time and an hour to rest, you’ll have warm tortillas ready for tacos, quesadillas, or wraps.
Each bite offers a tender, pliable tortilla that easily folds without cracking. The subtle buttery flavor complements any filling, making them far superior to store-bought versions.
Master this basic recipe, and you’ll never reach for packaged tortillas again. The foundation for countless meals starts here.
Ingredients for Flour Tortilla Recipe Ideas
A few pantry staples transform into restaurant-quality wraps with this straightforward technique.
| Ingredient | Amount | Notes |
|---|---|---|
| All-Purpose Flour 🌾 | 3 cups | Plus extra for dusting |
| Warm Water 💧 | 1 ¼ cups | Approximately 110°F |
| Vegetable Shortening 🧈 | ⅓ cup | Or lard for traditional flavor |
| Sea Salt 🧂 | 1 ½ tsp | Fine grain preferred |
| Baking Powder 🧂 | 1 tsp | Ensures soft texture |
| Unsalted Butter 🧈 | 2 tbsp | Melted for brushing |
| Canola Oil 🫒 | 2 tbsp | For cooking tortillas |
The flour is the foundation here. King Arthur or Gold Medal all-purpose delivers consistent results. Use bread flour if you want a slightly chewier texture, but it’s not essential. The shortening should be Crisco or a similar vegetable-based brand. Lard is traditional (and delicious) but not vegetarian. Warm water temperature is key—too hot kills the yeast-like action of the baking powder, too cold won’t activate it properly.
No shortening? Coconut oil works but adds a slight flavor. Swap the butter for olive oil if that’s what you have. The baking powder can’t be omitted—it’s what gives these their lift. If you’ve only got self-rising flour, skip the salt and baking powder. The dough should feel slightly tacky but not sticky. Add flour gradually if it’s too wet.
Fresh tortillas are best the day they’re made but keep 2-3 days sealed at room temperature. Reheat in a dry skillet for 30 seconds per side. For longer storage, freeze between parchment paper for up to 1 month. Reheat from frozen in a dry pan—no thawing needed.
Why You’ll Love This Recipe
- One Bowl Wonder: I mix everything right in the same bowl—flour, warm water, shortening—no fancy tools, no mess.
- Buttery Soft Bite: The vegetable shortening gives them that melt-in-your-mouth texture I can’t resist.
- Endless Meal Options: Honestly, I use these for tacos, quesadillas, even impromptu sandwich wraps.
- Penny-Pincher Friendly: A bag of flour and a few pantry staples make a stack for less than store-bought.
Step-by-Step Instructions for Flour Tortillas
Master the technique for soft, pliable tortillas with these precise steps.
Step 1: Combine Dry Ingredients for Consistent Texture
In a large mixing bowl, whisk together the 3 cups All-Purpose Flour, 1.5 tsp Sea Salt, and 1 tsp Baking Powder until thoroughly combined. The baking powder ensures a soft, slightly airy texture that distinguishes these from traditional flatbreads.
I recommend using fine grain sea salt as it dissolves more evenly in the dough. The mixture should look uniform with no visible streaks of salt or leavening agent—this guarantees even flavor distribution throughout each tortilla.
Step 2: Incorporate Fat for Flaky Layers
Add the 0.33 cup Vegetable Shortening to the dry ingredients. Using your fingertips or a pastry cutter, work the shortening into the flour mixture until it resembles coarse crumbs with pea-sized pieces of fat remaining. This creates the flaky texture characteristic of well-made flour tortillas.
Real talk: the fat must stay cold during this process to maintain its structure. If your kitchen is warm, briefly chill the bowl in the freezer between mixings. The shortening should be solid, not melted—this ensures proper layering in the final product.
Step 3: Form and Knead the Dough
Gradually pour in the 1.25 cups Warm Water while mixing with a wooden spoon until a shaggy dough forms. The water should be approximately 110°F—warm enough to activate the baking powder but not so hot it cooks the flour.
Turn the dough onto a lightly floured surface and knead for 3-4 minutes until smooth and elastic. The dough should be slightly tacky but not sticky. If it sticks to your hands, dust with a bit of the reserved all-purpose flour, but use a light touch—too much additional flour makes tortillas tough.
Step 4: Rest and Portion the Dough
Divide the dough into 12 equal portions (about 55-60 grams each) and roll them into balls. Place the balls on a tray, cover with a damp towel, and let rest for 15-20 minutes. This relaxation period allows the gluten to unwind, making the dough easier to roll thinly.
During this rest, the dough will soften slightly. You’ll notice the balls flatten a bit—that’s your signal they’re ready. This step is non-negotiable for achieving perfectly round, evenly thick tortillas.
Step 5: Roll and Cook the Tortillas
On a lightly floured surface, roll each dough ball into a thin 7-8 inch circle, about 1/16 inch thick. The thinner the tortilla, the better it will puff slightly during cooking. Rotate the dough frequently as you roll to maintain an even thickness.
Heat a skillet over medium-high heat and add 1 tsp Canola Oil. Once the oil shimmers, cook a tortilla for 30-45 seconds per side until light golden brown with small bubbles forming. Brush the cooked side immediately with melted Unsalted Butter for added richness and shine. Repeat with the remaining canola oil and dough balls, stacking cooked tortillas under a clean towel to keep them warm and pliable.
Pro Tips For Making Flour Tortilla Recipe Ideas
- Rest the Dough: After kneading, let the dough rest for 20-30 minutes under a damp towel—I learned this the hard way when my first batch kept shrinking on the griddle.
- Use Warm Water: The water should feel just warm to the touch, about 110°F, or the shortening won’t incorporate smoothly into the flour.
- Skip Cold Shortening: Vegetable shortening straight from the fridge makes the dough crumbly; let it soften for 10 minutes first, like butter for cookies.
- Roll Thin and Even: Aim for 1/8-inch thickness—any thicker and the tortillas won’t cook through; any thinner and they’ll tear when you flip them.
Storing and Reheating This Recipe
Room Temperature Storage
Once cooled, stack tortillas with parchment between each in an airtight container. They’ll stay fresh at room temperature for 2-3 days. I use a glass container with a tight lid to maintain softness. 💡
Refrigerator Storage
For longer freshness, refrigerate in a sealed bag for up to 1 week. Let them come to room temperature before reheating to prevent toughness. This method works well when you’ve made a double batch.
Freezing for Long Term
Freeze between parchment in a zip-top bag for up to 1 month. Squeeze out excess air to prevent freezer burn. I label mine with the date to track freshness.
Skillet Reheating
Warm tortillas in a dry skillet over medium heat for 30 seconds per side. This restores their soft texture and adds a light toast. Brush with melted butter after reheating for extra flavor.
For frozen tortillas, add 10-15 seconds extra per side—no thawing needed. ❄️
Microwave Method
Wrap a stack in a damp paper towel and microwave for 20-30 seconds. This quick method works well for small batches. Check after 20 seconds to avoid over-softening.
Nutrition Facts
Frequently Asked Questions
Can I use whole wheat flour instead?
Yes, but replace only 50% of the all-purpose flour with whole wheat. The extra fiber makes the dough tougher if used entirely. Add 1-2 tbsp extra water as whole wheat absorbs more liquid.
Why did my tortillas turn out tough?
Overworking the dough or using too much flour during kneading are common culprits. Stick to 3-4 minutes of kneading and add flour sparingly. Resting the dough is also crucial.
What’s the best way to keep them warm?
Stack cooked tortillas under a clean kitchen towel. This traps steam while allowing them to breathe. For longer warmth, place the stack in a 200°F oven in a covered dish.
Can I make them ahead of time?
Cook and cool completely, then store in an airtight container for 2-3 days. Reheat in a dry skillet for 30 seconds per side before serving.

- BBQ Sausage Recipe Oven: Smoky Depth Without the Grill - September 28, 2026
- BBQ Chicken Bowl Recipe Rice: Smoky Sweetness Over Fluffy Grains - September 28, 2026
- Beef Cutlet Recipe Ideas: Crispy Breaded Patties With Bold Seasonings - September 28, 2026