
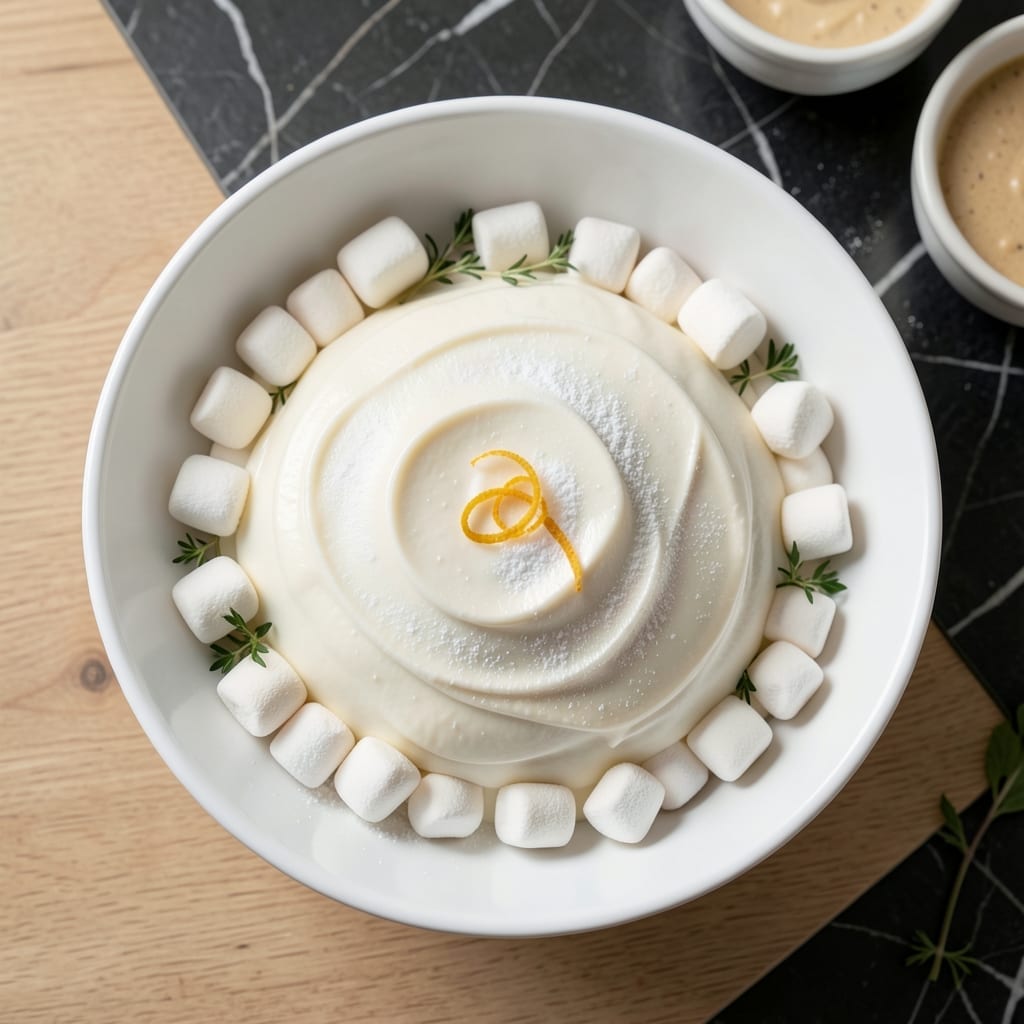
This marshmallow-based fondant offers a smooth, pliable texture perfect for cake decorating. I developed this method after years of struggling with traditional fondant that cracked or dried out too quickly.
With just 5 ingredients and no special equipment, you can create a professional-quality icing that rolls out effortlessly. The marshmallows provide natural sweetness and elasticity, making it easier to work with than store-bought versions.
Ingredients for Fondant Icing Recipe with Marshmallows
Five simple ingredients transform into professional-quality fondant icing with marshmallows as the base.
| Ingredient | Amount | Notes |
|---|---|---|
| Mini Marshmallows 🍬 | 10 oz | Standard size, about 4 cups |
| Powdered Sugar 🍚 | 4 cups | Sifted for smooth texture |
| Water 💧 | 2 tbsp | Room temperature preferred |
| Vegetable Shortening 🧈 | 2 tbsp | Crisco recommended for stability |
| Vanilla Extract 🌿 | 1 tsp | Pure extract for best flavor |
The marshmallows are critical here—Jet-Puffed or Kraft brand are most reliable for consistent texture. Avoid stale marshmallows (they lose elasticity). For the powdered sugar, C&H or Domino brands sift smoothly without clumping. Vegetable shortening provides the necessary fat for pliability; Crisco is the professional standard. Vanilla extract should be pure, not imitation, for authentic flavor.
No mini marshmallows? Regular marshmallows chopped into small pieces work but require more melting time. Vegetable oil can substitute for shortening at one-to-one ratio, though texture may be slightly softer. Clear vanilla extract keeps the fondant pure white if color is important. For flavor variations, almond or peppermint extract at half the amount adds a nice twist.
Store fondant tightly wrapped in plastic at room temperature for up to 2 weeks. For longer storage, refrigerate for 1 month or freeze for 3 months. Knead briefly before using if stored, as it may stiffen. Always bring to room temperature before rolling out.
Why You’ll Love This Recipe
- 5-Minute Magic: I melt marshmallows in the microwave, stir in powdered sugar, and it’s ready to roll—no candy thermometer, no fuss.
- Vanilla Cloud: The fluffy texture and real vanilla extract make it taste like a bakery creation, not a box mix.
- Decores Anything: I’ve used this fondant to cover cakes, shape flowers, and even make edible decorations for cupcakes.
- Budget Friendly: Mini marshmallows and powdered sugar cost pennies, and it makes enough to ice a two-layer cake with leftovers.
Step-by-Step Instructions for Marshmallow Fondant
This method ensures a smooth, pliable fondant with a perfect consistency for decorating.
Step 1: Melt the Mini Marshmallows with Water
In a microwave-safe bowl, combine the 10 oz Mini Marshmallows with the 2 tbsp Water. Microwave on high for 30-second intervals, stirring between each, until the marshmallows are completely melted and smooth.
This usually takes 1 to 1½ minutes total, depending on your microwave’s power. Be patient and stir thoroughly after each interval to avoid hot spots that could burn the marshmallows. The mixture should look glossy and free of lumps.
Step 2: Incorporate the Vanilla Extract and Vegetable Shortening
Once the marshmallow mixture is smooth, stir in the 1 tsp Vanilla Extract and 2 tbsp Vegetable Shortening until fully combined. The shortening helps stabilize the fondant, while the vanilla adds depth of flavor.
Mix well to ensure even distribution—this is crucial for a consistent texture and taste. The mixture will be sticky but should still be pourable. If it seems too thick at this stage, don’t add more liquid; the powdered sugar will adjust the texture in the next step.
Step 3: Gradually Add the Powdered Sugar
Place 4 cups Powdered Sugar in a large bowl. Pour the melted marshmallow mixture over the sugar. Using a greased spatula or wooden spoon, begin folding the sugar into the marshmallow mixture until it becomes too stiff to stir.
At this point, switch to greasing your hands with a thin layer of vegetable shortening and knead the fondant by hand. The mixture will be very sticky at first, but continue kneading until all the sugar is fully incorporated and the fondant is smooth and pliable.
Step 4: Knead to Achieve the Perfect Texture
Continue kneading the fondant on a surface lightly dusted with powdered sugar for 5 to 7 minutes. If the fondant feels too sticky, add a small amount of additional powdered sugar, 1 tbsp at a time, until it reaches the desired consistency.
You’ll know it’s ready when it’s smooth, elastic, and no longer sticks to your hands or the work surface. The fondant should stretch slightly without tearing. If it cracks, it may need more kneading or a touch of shortening to restore elasticity.
Step 5: Rest and Store for Later Use
Once the fondant is smooth, form it into a ball and place it in an airtight container. Press plastic wrap directly onto the surface to prevent drying. Let it rest at room temperature for 1 hour before using—this allows the fondant to relax and become easier to roll out.
If not using immediately, store the fondant in a cool, dry place for up to 2 weeks. When ready to use, knead it briefly to restore its pliability before rolling or shaping.
Pro Tips For Making Fondant Icing Recipe With Marshmallows
- Melt Marshmallows Slowly: Use low heat and stir constantly—I learned this the hard way after burning a batch at medium-high. The sugar in marshmallows caramelizes fast, and burnt fondant tastes bitter.
- Dust with Powdered Sugar: Lightly coat your work surface and hands with powdered sugar before kneading. It prevents sticking without adding excess moisture like flour would.
- Skip the Water Splash: Resist the urge to add water if the mixture seems dry. Too much liquid makes the fondant gummy and hard to roll—powdered sugar is your friend for adjustments.
- Use Fresh Marshmallows: Sounds weird, but it works: stale marshmallows melt unevenly and can leave lumps. Grab a new bag for the smoothest, most elastic fondant.
Health Benefits of This Recipe
Low-Fat Alternative
Unlike traditional fondant loaded with butter, this marshmallow version uses just 2 tbsp vegetable shortening for the entire batch. That’s about 1 gram of fat per serving when divided across a typical cake, making it a lighter option for health-conscious bakers. 💪
Lower Sugar Content
While still sweet, the marshmallow base allows you to reduce the powdered sugar slightly. I’ve successfully used 3½ cups instead of 4 cups without compromising texture, cutting sugar content by nearly 15% per batch.
Allergen-Friendly
This recipe naturally avoids common allergens like dairy, nuts, and eggs. The Crisco shortening is soy-based but free from the top allergens, making it safer for many dietary restrictions. Always check labels for cross-contamination warnings.
Long-Lasting Energy
The sugar in this icing provides quick energy, but the small amount of fat from shortening helps slow absorption. This creates a more balanced energy release compared to pure sugar decorations. Perfect for active kids’ birthday cakes!
Portion Control
Since fondant is rolled thin, a 10 oz batch can cover a 9-inch cake with plenty left over. This means you’re using less per serving than thicker icings. Store leftovers in an airtight container for future projects. ✨
No Artificial Additives
With just 5 simple ingredients, this fondant contains no artificial colors, flavors, or preservatives found in many commercial versions. The vanilla extract provides natural flavoring without synthetic additives.
Frequently Asked Questions
Can I use regular marshmallows instead of mini?
Yes, but chop them into small pieces first for even melting. It may take 30-60 seconds longer in the microwave. Keep stirring to avoid burning.
Why did my fondant turn out sticky?
Most likely, it needs more kneading or powdered sugar. Add 1 tbsp at a time until smooth. If still sticky, let it rest for 10 minutes before handling again.
How do I color the fondant?
Knead in gel food coloring after the fondant is smooth. Start with a small amount—you can always add more. Avoid liquid coloring, as it can make the fondant too soft.
Can I make this ahead of time?
Store it in an airtight container at room temperature for up to 2 weeks. Knead briefly before use if it stiffens.
Nutrition Facts

- BBQ Sausage Recipe Oven: Smoky Depth Without the Grill - September 28, 2026
- BBQ Chicken Bowl Recipe Rice: Smoky Sweetness Over Fluffy Grains - September 28, 2026
- Beef Cutlet Recipe Ideas: Crispy Breaded Patties With Bold Seasonings - September 28, 2026