
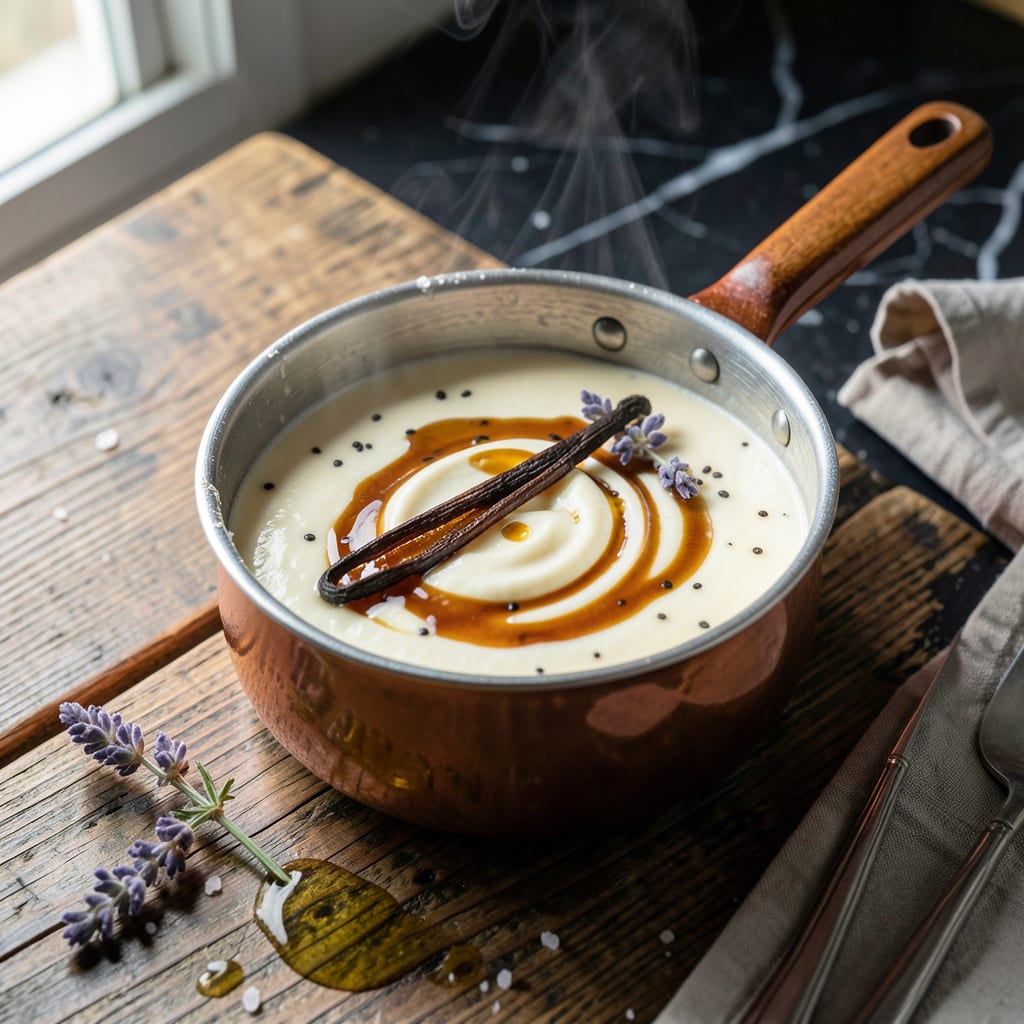
This homemade creamer delivers smooth, dairy-free richness with real vanilla flavor that store-bought versions can’t match.
With just a few pantry staples, you can create a versatile coffee companion that stays fresh for up to two weeks in the fridge.
Ingredients for French Vanilla Creamer
A handful of simple ingredients for rich, creamy coffee perfection at home.
| Ingredient | Amount | Notes |
|---|---|---|
| Coconut Milk 🥥 | 1 can | Full-fat for creaminess |
| Almond Milk 🌰 | 1 cup | Unsweetened variety preferred |
| Pure Maple Syrup 🍁 | 2 tbsp | Grade A or B |
| Pure Vanilla Extract 🌿 | 1 tbsp | Real vanilla, not imitation |
| Vanilla Bean 🌿 | 1 whole | Split and scraped |
| Sea Salt 🧂 | ¼ tsp | Fine grain preferred |
| Sunflower Lecithin 🌻 | 1 tsp | Granules or liquid |
| Xanthan Gum 🔬 | ¼ tsp | Optional, for thickness |
The coconut milk is non-negotiable here. Full-fat from Thai Kitchen or Native Forest gives that luxurious mouthfeel—light versions just don’t cut it. Vanilla beans make a difference (I get mine at Whole Foods), but extract works if that’s what’s on hand. The maple syrup? Grade A amber has the perfect balance of sweetness and depth for this.
No coconut milk? Cashew cream or heavy cream (if dairy’s okay) can step in. Out of maple syrup? Agave at the same amount gets you close. Skip the lecithin if you don’t have it—the creamer will separate a bit but still tastes great. The xanthan gum is totally optional, but 1/4 tsp per cup of liquid prevents separation if you’re making a big batch.
Keeps for up to 2 weeks in the fridge (shake before using). Freeze in ice cube trays for 3 months—perfect for iced coffee. The vanilla flavor actually deepens after a day or two.
Why You’ll Love This Recipe
- 5-Minute Mix: I just dump everything in a jar, shake, and it’s ready—no cooking, no fuss.
- Rich Vanilla Depth: The vanilla bean and extract combo gives it that bakery-level warmth coconut and almond milk can’t fake.
- Fridge Staple: One batch lasts me all week, so my morning coffee tastes fancy without the daily effort.
- Dairy-Free Luxury: Honestly, it’s so creamy even my dairy-loving friend asks for the recipe.
Step-by-Step Instructions for French Vanilla Creamer
Here’s how I make this creamy, dreamy dairy-free version that beats store-bought every time.
Step 1: Infuse the Vanilla Bean
Split the vanilla bean lengthwise with a sharp knife and scrape out the seeds. I press the pod flat on the cutting board first to prevent it from rolling. Add both the seeds and the empty pod to a small saucepan along with the coconut milk.
Heat over medium-low for 5 minutes, stirring occasionally, until tiny bubbles form at the edges and the mixture reaches 160°F. Don’t let it boil—this gentle heat extracts maximum vanilla flavor without scorching the milk. You’ll smell that rich, floral aroma as the vanilla infuses.
Step 2: Combine and Sweeten the Base
Remove the saucepan from heat and stir in the almond milk, pure maple syrup, and sea salt. The maple syrup adds depth beyond plain sweetness, while the salt balances everything beautifully. I use fine grain sea salt here because it dissolves instantly.
Let this mixture cool for 10 minutes before proceeding. This cooling step prevents the pure vanilla extract from evaporating when added—those delicate flavor compounds are volatile at high temperatures. You should still see wisps of steam rising when it’s ready for the next step.
Step 3: Emulsify and Thicken
Whisk in the pure vanilla extract, sunflower lecithin, and xanthan gum. The lecithin acts as a natural emulsifier, ensuring the fats from the coconut milk stay suspended evenly throughout the mixture. I add the xanthan gum last, sprinkling it slowly while whisking vigorously to prevent clumping.
You’ll notice the texture transform almost immediately—the mixture becomes noticeably thicker and more velvety. This is the xanthan gum working its magic, creating that luxurious mouthfeel we associate with premium creamers. The color should be a beautiful off-white with tiny vanilla specks suspended throughout.
Step 4: Blend Until Silky Smooth
Transfer the mixture to a high-speed blender. I blend for 30-45 seconds on high until completely smooth and homogeneous. The blender not only incorporates all the ingredients perfectly but also aerates the creamer slightly, giving it that light, pourable consistency.
Check that there are no visible specks of vanilla bean pod or xanthan gum—just a uniform, creamy liquid. If you run your finger along the inside of the blender jar, it should leave a clean trail that slowly fills back in. This is the perfect texture for a creamer that mixes effortlessly into hot coffee.
Step 5: Chill and Store
Pour the finished creamer into a clean glass jar or bottle and refrigerate for at least 4 hours before using. This chilling time allows the flavors to meld and the texture to set properly. I always give mine an extra shake before the first use, as some separation may occur during chilling.
The creamer will keep for up to 2 weeks in the refrigerator. You’ll know it’s ready when it’s thick enough to coat the back of a spoon but still pours easily. The vanilla aroma should be prominent but not overpowering, with a subtle sweetness that enhances rather than dominates your coffee.
Pro Tips For Making French Vanilla Creamer
- Warm the Milks: Gently heat the coconut and almond milk together in a saucepan over low heat—just until steaming. I learned this the hard way: cold milk won’t properly infuse the vanilla bean, leaving the flavor dull.
- Scrape the Bean: Split the vanilla bean lengthwise and scrape out every last speck of those tiny seeds. Sounds tedious, but those black flecks carry the richest flavor, and skipping this step makes the creamer taste flat.
- Skip Boiling: Resist the urge to let the mixture boil, even for a second. Almond milk curdles easily, and once it separates, there’s no saving it—I’ve had to start over more times than I’d like to admit.
- Strain for Silkiness: After infusing, strain out the vanilla bean pod and any residual bits. It adds two minutes to the process, but the texture goes from grainy to luxuriously smooth, like the store-bought stuff but better.
Troubleshooting Perfect Results
Separation Issues
If your creamer separates in the fridge, don’t panic—this is normal with natural ingredients. A quick shake or stir reincorporates everything perfectly. To prevent separation, ensure you’ve added 1 tsp sunflower lecithin and blended thoroughly for 30-45 seconds. 💡
Too Thin Texture
For creamier consistency, add ¼ tsp xanthan gum while blending. If already made, blend in ½ tsp cornstarch slurry (mixed with 1 tbsp water). Chill for 2 hours to let it thicken.
Grainy Texture
This usually means the xanthan gum clumped. Strain through a fine-mesh sieve, then reblend. To avoid this, sprinkle gum slowly while blending on high. Alternatively, skip the gum and accept a slightly thinner texture.
Weak Vanilla Flavor
Use 1 whole vanilla bean plus 1 tbsp extract for bold flavor. If using only extract, double to 2 tbsp. Let the creamer sit overnight—the vanilla deepens with time. I source beans from Whole Foods for best results.
Too Sweet
Balance with ¼ tsp sea salt or dilute with ¼ cup unsweetened almond milk. Next batch, reduce maple syrup to 1 tbsp. The salt enhances vanilla without adding sweetness.
Off Flavors
Check your coconut milk—some brands have metallic notes. Use Thai Kitchen or Native Forest for clean taste. If using tap water in ingredients, switch to filtered to avoid chlorine aftertaste.
Nutrition Facts
Frequently Asked Questions
Can I use regular milk instead of plant-based?
Yes, whole dairy milk works beautifully for a richer version. Replace both plant milks with 1 ½ cups whole milk for best results. The flavor will be creamier but less coconut-forward.
How do I make it less sweet?
Cut the maple syrup to 1 tbsp or replace with 1 tbsp agave. For zero sweetness, omit entirely and add a pinch of salt to balance the vanilla.
Why does my creamer separate?
Natural ingredients settle over time. Shake well before each use, or add ½ tsp more lecithin next batch. This keeps fats emulsified for 2 weeks.
Can I make this without a blender?
Whisk vigorously for 2 minutes until smooth. For best texture, strain through fine mesh to remove vanilla pod bits. It won’t be as silky but still tasty.

- BBQ Sausage Recipe Oven: Smoky Depth Without the Grill - September 28, 2026
- BBQ Chicken Bowl Recipe Rice: Smoky Sweetness Over Fluffy Grains - September 28, 2026
- Beef Cutlet Recipe Ideas: Crispy Breaded Patties With Bold Seasonings - September 28, 2026