
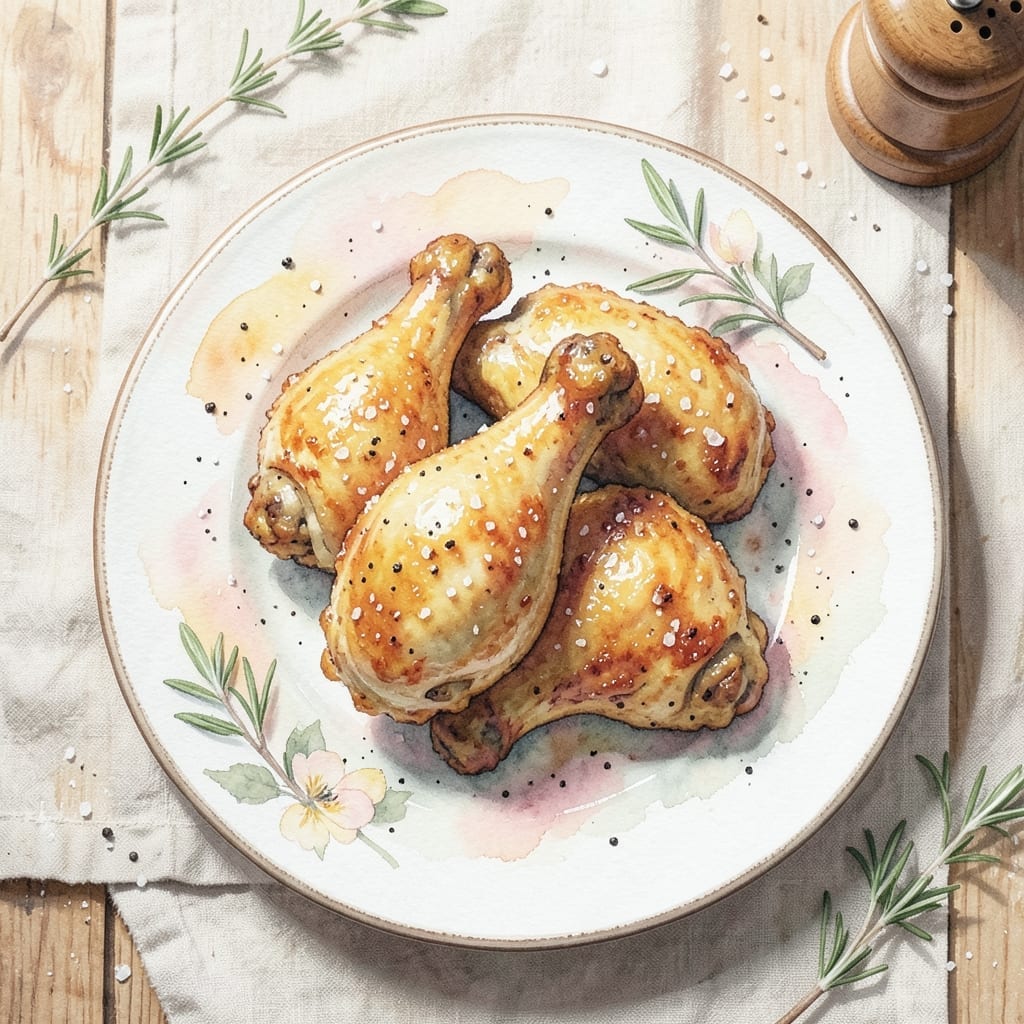
Achieving crispy fried chicken without eggs is simpler than you might expect. This method uses a clever binding alternative that delivers the same golden, shatteringly crispy coating you crave.
The secret lies in using buttermilk and a touch of baking powder in the flour mixture. This creates a chemical reaction that helps the coating adhere and crisp up beautifully during frying.
You’ll find the results are just as satisfying as traditional recipes, with a perfectly seasoned crust that stays crispy long after frying. The technique works for both shallow and deep frying methods.
This approach maintains all the classic flavors while offering a reliable egg-free solution. The coating clings to each piece, creating that signature crunch in every bite.
Ingredients for Fried Chicken Recipe No Egg
Pantry staples plus buttermilk and chicken. Nothing fancy, just crispy results.
| Ingredient | Amount | Notes |
|---|---|---|
| Chicken Thighs 🍗 | 2 lb | Boneless, skin-on preferred |
| Buttermilk 🥛 | 1 ½ cups | Full-fat for richness |
| All-Purpose Flour 🌾 | 2 ½ cups | Divided for dredging and coating |
| Baking Powder 🧂 | 2 tsp | For extra crispiness |
| Salt 🧂 | 1 ½ tbsp | Kosher or sea salt |
| Black Pepper 🌶️ | 1 tbsp | Freshly ground preferred |
| Paprika 🌶️ | 1 tbsp | Sweet or smoked variety |
| Garlic Powder 🧄 | 1 tbsp | Not garlic salt |
| Onion Powder 🧅 | 1 tbsp | Essential for depth of flavor |
| Cayenne Pepper 🔥 | ½ tsp | Adjust for heat preference |
| Vegetable Oil 🫒 | 4 cups | For deep frying |
| Cornstarch 🌾 | ½ cup | For extra crunch |
The chicken is everything here. Thighs stay juicier than breasts after frying. I grab mine from Costco—pre-cut, skin-on, perfect every time. Buttermilk is the magic binder (the acidity reacts with the baking powder in the flour). If you can’t find it, whole milk plus a splash of vinegar or lemon juice works in a pinch. Just let it sit 5 minutes to curdle.
No buttermilk? Plain yogurt thinned with milk gets you 90% there. Swapping flour for gluten-free? Add 1 extra tbsp cornstarch to the mix for structure. The baking powder is non-negotiable—it’s what gives that shatteringly crispy texture without eggs. If you’re out of paprika, a pinch of cayenne or chili powder adds color and heat.
Fry in small batches so the oil stays hot—350°F is ideal. Leftovers keep 3-4 days in the fridge but are best fresh. Reheat in the oven at 375°F on a wire rack to revive the crunch. Never microwave—soggy disaster.
Why You’ll Love This Recipe
- No Egg Needed: I love that this skips the egg without sacrificing crunch—just buttermilk and flour for that perfect coating.
- Crispy Every Time: The baking powder in the flour mix gives it that extra lift and crunch that makes each bite ridiculuously good.
- Feeds a Crowd: I make a big batch on Sunday and we’re set for lunches all week—still tasty cold or reheated.
- Budget Friendly: Chicken thighs are cheaper than breasts, and the simple pantry staples keep costs low. Honestly, it’s my go-to for stretching a grocery budget.
Step-by-Step Instructions for Fried Chicken Without Egg
Here’s how I get that perfect crunch without a single egg in sight.
Step 1: Marinate the Chicken in Buttermilk
In a large bowl, combine the 2 lb Chicken Thighs with the 1.5 cups Buttermilk. I like to pierce the chicken a few times with a fork first—this helps the buttermilk penetrate deeper for maximum tenderness and flavor.
Make sure every piece is fully coated. Cover the bowl and refrigerate for at least 4 hours, or overnight for the best results. The buttermilk not only tenderizes the chicken but also helps the coating adhere, replacing the binding role eggs usually play.
Real talk: don’t rush this step. The longer the chicken marinates, the juicier and more flavorful your final dish will be.
Step 2: Prepare the Crispy Coating
In a large shallow dish, whisk together 2.5 cups All-Purpose Flour, 2 tsp Baking Powder, 1.5 tbsp Salt, 1 tbsp Black Pepper, 1 tbsp Paprika, 1 tbsp Garlic Powder, 1 tbsp Onion Powder, and 0.5 tsp Cayenne Pepper.
In a separate shallow dish, combine the remaining 0.5 cup Cornstarch with 1 cup of the flour mixture. This two-step dredging process creates an extra-crispy crust. The cornstarch adds that signature crunch, while the baking powder helps the coating puff up slightly during frying.
Step 3: Dredge and Double-Coat the Chicken
Remove the chicken from the buttermilk, letting any excess drip off. Dredge each piece first in the cornstarch-flour mixture, pressing gently to adhere. Then dip it back into the buttermilk briefly before coating it in the remaining seasoned flour mixture.
This double-dredging technique creates layers of texture. Place the coated chicken on a wire rack set over a baking sheet and let it rest for 10 minutes. This resting period helps the coating set, preventing it from falling off during frying.
Here’s the thing—if the coating seems too thick, don’t worry. It’ll create that beautiful, craggy texture we’re after.
Step 4: Fry to Golden Perfection
In a deep, heavy-bottomed pot or Dutch oven, heat the 4 cups Vegetable Oil to 350°F. Use a deep-fry or candy thermometer to monitor the temperature—this is crucial for even cooking and that perfect golden-brown finish.
Carefully lower a few pieces of chicken into the hot oil, being careful not to overcrowd the pot. Fry for 12-15 minutes, turning occasionally, until the chicken is golden brown and the internal temperature reaches 165°F.
Transfer the fried chicken to a wire rack set over a baking sheet to drain. This keeps it crispy instead of soggy. Let it rest for 5 minutes before serving—if you can wait that long.
Pro Tips For Making Fried Chicken Recipe No Egg
- Preheat the Oil: Get your oil to 350°F before adding chicken—I learned this the hard way after soggy first batches. Use a thermometer or test with a wooden chopstick (bubbles mean it’s ready).
- Soak Overnight: Let the chicken thighs bathe in buttermilk for at least 4 hours, but overnight actually changes the outcome. The longer soak makes the meat tender enough to cut with a fork.
- Skip the Overcrowding: Resist the urge to fill the pan—fry in batches to keep the oil temp steady. After burning three batches, I finally figured out this was the culprit.
- Add Baking Powder: Mix 1 teaspoon of baking powder into your flour for extra crispiness. Sounds weird, but it works: the chemical reaction creates tiny air pockets in the crust.
Troubleshooting This Dish
Coating Falls Off
If your coating isn’t sticking, the buttermilk marinade might be too thin. Try reducing it slightly on the stove first or adding 1 tbsp cornstarch to thicken. The chicken needs to be completely dry before dredging—pat it with paper towels if needed. 💡
Oil Temperature Drops
Overcrowding the pot causes temperature drops, leading to greasy chicken. Fry in batches with at least 2 inches between pieces. Use a heavy-bottomed pot (I love my Lodge enameled Dutch oven) to maintain steady heat. Monitor with a thermometer—350°F is ideal.
Uneven Browning
Hot spots in your oil? Stir the oil gently before adding chicken. Rotate pieces halfway through frying for even color. If some spots brown too fast, your oil might be too hot—adjust to 325-340°F for more control.
Soggy Results
Drain on a wire rack, never paper towels. The steam from paper towels makes the coating soggy. For extra crispiness, pop finished pieces in a 400°F oven for 5 minutes while frying the next batch.
Bland Flavor
Season every layer: the buttermilk marinade, the flour, and the cornstarch mixture. Don’t skip the resting time after coating—it helps flavors meld. I always add an extra pinch of garlic powder to my flour mix for depth.
Oil Absorption
If your chicken soaks up oil, your coating might be too thick. Press the flour mixture on firmly but don’t overdo it. The baking powder helps create a barrier, but the cornstarch is your real secret weapon for crispiness.
Nutrition Facts
Frequently Asked Questions
What can I use instead of buttermilk?
Mix 1 cup milk with 1 tbsp vinegar or lemon juice, then let it sit for 5 minutes. Plain yogurt thinned with a little water works too.
Why does my coating fall off during frying?
Ensure chicken is completely dry before dredging. Rest coated pieces for 10 minutes to help the flour adhere. Overcrowding the pot can also cause this issue.
Can I bake this instead of frying?
Yes! Place on a wire rack at 400°F for 25-30 minutes, flipping halfway. Spray with oil for extra crispiness. The texture won’t be identical but still delicious.

- BBQ Sausage Recipe Oven: Smoky Depth Without the Grill - September 28, 2026
- BBQ Chicken Bowl Recipe Rice: Smoky Sweetness Over Fluffy Grains - September 28, 2026
- Beef Cutlet Recipe Ideas: Crispy Breaded Patties With Bold Seasonings - September 28, 2026