
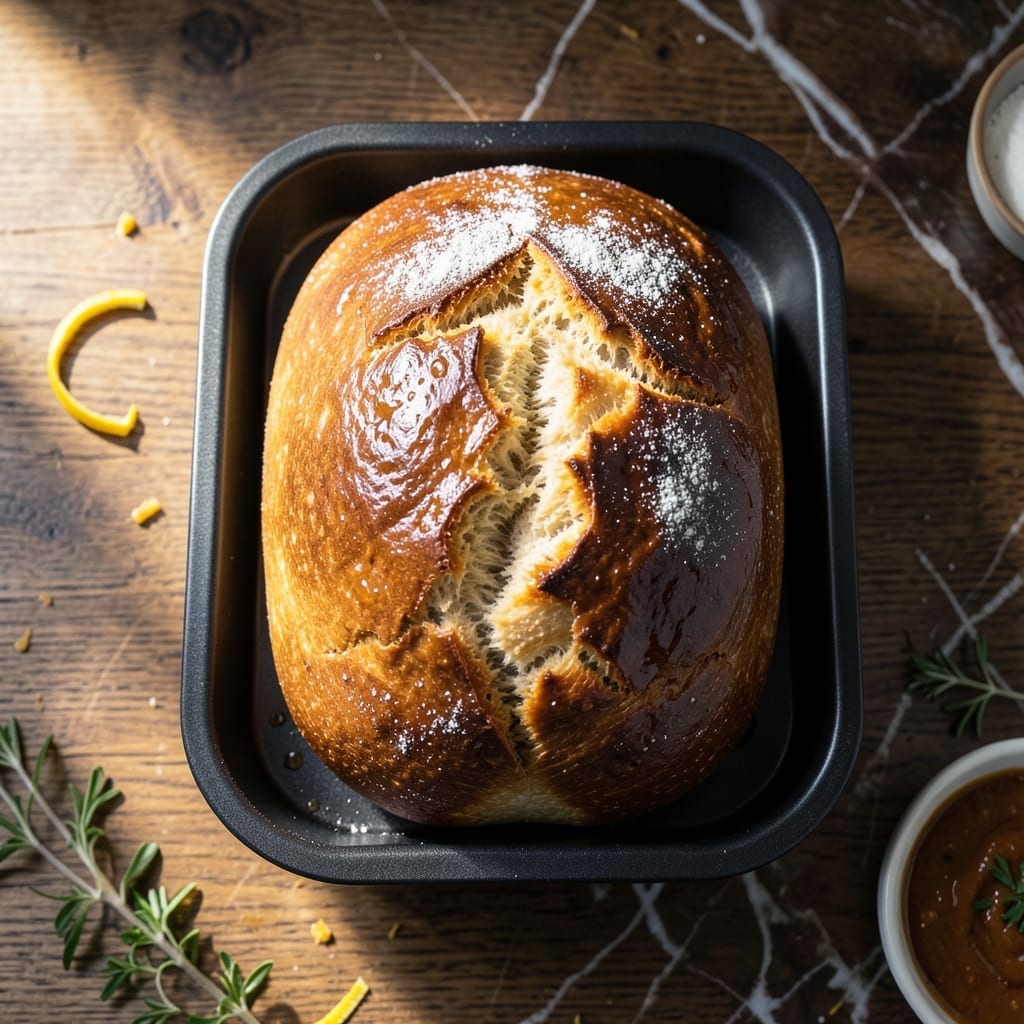
Crafting gluten-free bread that rivals traditional loaves is possible with this foolproof bread machine method. The machine handles mixing, kneading, and baking for a hands-off approach.
This recipe delivers a soft, artisan-quality loaf with a golden crust and even texture. Perfect for sandwiches or toast, it proves gluten-free bread can be just as satisfying as the original.
Ingredients for Gluten Free Bread Recipe for Bread Machine
Craft an artisan-quality loaf with these gluten-free staples and a bread machine.
| Ingredient | Amount | Notes |
|---|---|---|
| Gluten-Free All-Purpose Flour Blend 🌾 | 3 cups | Plus 2 tbsp for dusting |
| Xanthan Gum 💊 | 1 ½ tsp | Omit if blend includes it |
| Active Dry Yeast 🍞 | 2 ¼ tsp | 1 packet, proofed in warm water |
| Granulated Sugar 🍚 | 3 tbsp | Feeds the yeast for rise |
| Salt 🧂 | 1 ½ tsp | Fine sea salt preferred |
| Large Eggs 🥚 | 3 whole | Room temperature for binding |
| Unsalted Butter 🧈 | 4 tbsp | Melted and cooled slightly |
| Whole Milk 🥛 | 1 ¼ cups | Warmed to 110°F |
| Apple Cider Vinegar 🍎 | 1 tbsp | Enhances gluten-free texture |
| Psyllium Husk Powder 🌿 | 2 tbsp | Critical for structure and elasticity |
| Honey 🍯 | 2 tbsp | Adds moisture and sweetness |
The flour blend is non-negotiable here. King Arthur’s Measure for Measure or Bob’s Red Mill 1-to-1 deliver consistent results. Avoid single-flour options like almond or coconut—they lack the structure for bread. Psyllium husk powder (not whole husks) is key for that elastic texture—find it in the health food aisle at Whole Foods or order online. Yeast freshness matters; check the expiration date.
No xanthan gum? Add 1/2 tsp more psyllium husk for each missing tsp. Egg-free? Flax eggs (1 tbsp ground flax + 3 tbsp water per egg) work, but texture will be denser. Dairy-free milk? Unsweetened almond or oat milk at the same quantity. Apple cider vinegar can be swapped for white vinegar or lemon juice—acidity is what matters.
Store flour blend in an airtight container for up to 3 months. Baked loaf stays fresh at room temperature for 2-3 days or frozen for 1 month. Slice before freezing for easy toasting. Always measure flour by weight if your blend’s packaging suggests it—gluten-free flours compact differently.
Why You’ll Love This Recipe
- Hands-Off Baking: I just dump the ingredients in the machine and let it do the work—no kneading, no mess.
- Warm Homemade Goodness: The yeast and sugar create that classic bread aroma and a soft, slightly sweet loaf.
- Meal Prep Hero: I slice and freeze it for quick sandwiches or toast all week long.
- Budget Friendly Staple: A bag of gluten-free flour blend makes multiple loaves, and it’s way cheaper than store-bought.
Step-by-Step Instructions for Gluten Free Bread in a Bread Machine
Master the hands-off process for a perfectly risen, tender gluten-free loaf every time.
Step 1: Proof the Yeast and Prepare Wet Ingredients
Warm the 1.25 cups Whole Milk to 110°F—use a thermometer for precision, as too hot will kill the yeast. In the bread machine pan, combine the warm milk with the 2.25 tsp Active Dry Yeast, 3 tbsp Granulated Sugar, 2 tbsp Honey, and 1 tbsp Apple Cider Vinegar.
Let the mixture sit for 5-10 minutes until the yeast becomes foamy and active. This step ensures the yeast is alive and ready to leaven the bread. Meanwhile, melt the 4 tbsp Unsalted Butter and let it cool slightly to avoid deactivating the yeast when added later.
Step 2: Combine Dry Ingredients
In a separate bowl, whisk together the 3 cups Gluten-Free All-Purpose Flour Blend, 1.5 tsp Xanthan Gum, 1.5 tsp Salt, and 2 tbsp Psyllium Husk Powder. The psyllium husk is critical—it mimics gluten’s elasticity, giving the bread structure. Omit the xanthan gum if your flour blend already includes it.
Psyllium husk powder will thicken the liquid as it hydrates, so work quickly. This blend creates the foundation for a loaf that rises properly and holds its shape without crumbling.
Step 3: Assemble Ingredients in the Bread Machine
Add the dry mixture to the bread machine pan with the proofed yeast mixture. Create a well in the center and add the 3 whole Large Eggs and the cooled melted butter. Use a spatula to gently mix the wet and dry ingredients until just combined—avoid overmixing, which can deflate the yeast activity.
The dough will be thicker than traditional bread dough due to the gluten-free flours. This is normal. Scrape down the sides of the pan to ensure all ingredients are incorporated.
Step 4: Select the Cycle and Bake
Secure the pan in the bread machine and select the gluten-free cycle. If your machine lacks this setting, use the basic cycle with a 1.5-hour rise time and 1-hour bake time. The dough will rise slightly but won’t double in volume like wheat-based dough.
Check the dough after 10 minutes of kneading. If it looks too dry, add 1-2 tbsp of warm water. If it’s too sticky, sprinkle in 1 tbsp of the reserved gluten-free flour blend. The final dough should be smooth and slightly tacky but not wet.
Step 5: Cool Completely Before Slicing
Once the cycle completes, remove the pan from the machine and let the bread cool in the pan for 5 minutes. Then, transfer it to a wire rack to cool completely for at least 1 hour. Slicing too soon will result in a gummy texture, as the structure sets during cooling.
The loaf should have a golden-brown crust and a tender, moist crumb. Store leftovers wrapped in a clean kitchen towel or bread bag at room temperature for up to 3 days, or freeze for longer storage.
Pro Tips For Making Gluten Free Bread Recipe For Bread Machine
- Warm Your Liquids: Use liquids at 110°F—any hotter kills the yeast, any cooler slows the rise. I learned this the hard way after three dense loaves.
- Measure Flour Right: Spoon your gluten-free flour blend into the measuring cup and level it off—scooping directly packs it down and throws off the ratio.
- Skip the Overmixing: After the machine beeps, resist the urge to restart it. Overmixing gluten-free dough makes it gummy, not fluffy.
- Add Extra Yeast: Gluten-free dough needs a little more yeast to rise properly. Use 1 1/2 teaspoons instead of 1 for a better lift—sounds small, but it works.
Serving Suggestions for This Dish
Fresh and Simple
Serve warm slices with salted butter and a drizzle of local honey for a comforting breakfast or snack. The slight sweetness of the honey complements the bread’s subtle flavor beautifully. I love this combo on weekend mornings. 💛
Savory Sandwich Base
This loaf makes excellent sandwiches—try it with sliced turkey, Swiss cheese, and a smear of Dijon mustard. The bread holds up well to fillings without crumbling. For best results, toast the slices lightly first.
Soup Pairing Perfection
Pair with a warm bowl of tomato soup or butternut squash bisque for a cozy meal. The bread’s soft texture is perfect for dipping, and it soaks up broth without falling apart. I always save a slice for this purpose.
Brunch Favorite
Create gluten-free French toast by dipping slices in a mixture of 2 beaten eggs, ½ cup milk, and 1 tsp cinnamon. Cook on a buttered griddle until golden. Top with fresh berries and a dusting of powdered sugar for a special treat.
Charcuterie Companion
Slice thin and serve with a charcuterie board featuring aged cheddar, prosciutto, and olives. The bread’s mild flavor won’t compete with the bold meats and cheeses. It’s my go-to for entertaining gluten-free guests.
Toast Toppings
Toast slices and top with avocado and a sprinkle of flaky sea salt, or cream cheese and smoked salmon for a quick, elegant bite. The bread toasts evenly and holds toppings well without getting soggy. 🔥
Frequently Asked Questions
Why does my loaf collapse after baking?
This usually happens if the bread didn’t fully set before slicing. Always let it cool completely for at least 1 hour on a wire rack. Also, check that your yeast is fresh and the machine’s gluten-free cycle was used.
Can I substitute almond flour for the gluten-free blend?
No, almond flour lacks the structure needed for bread. Use a gluten-free all-purpose blend with xanthan gum or psyllium husk for proper rise and texture. Single flours won’t work here.
How do I know when the dough needs more liquid?
Check after 10 minutes of kneading. If it looks dry and crumbly, add warm water 1-2 tbsp at a time. The dough should be smooth and slightly tacky, not wet or sticky.
What’s the best way to store leftovers?
Wrap cooled bread in a towel or bag and store at room temperature for up to 3 days. For longer storage, slice and freeze for up to 1 month. Toast frozen slices directly.
Nutrition Facts

- BBQ Sausage Recipe Oven: Smoky Depth Without the Grill - September 28, 2026
- BBQ Chicken Bowl Recipe Rice: Smoky Sweetness Over Fluffy Grains - September 28, 2026
- Beef Cutlet Recipe Ideas: Crispy Breaded Patties With Bold Seasonings - September 28, 2026