
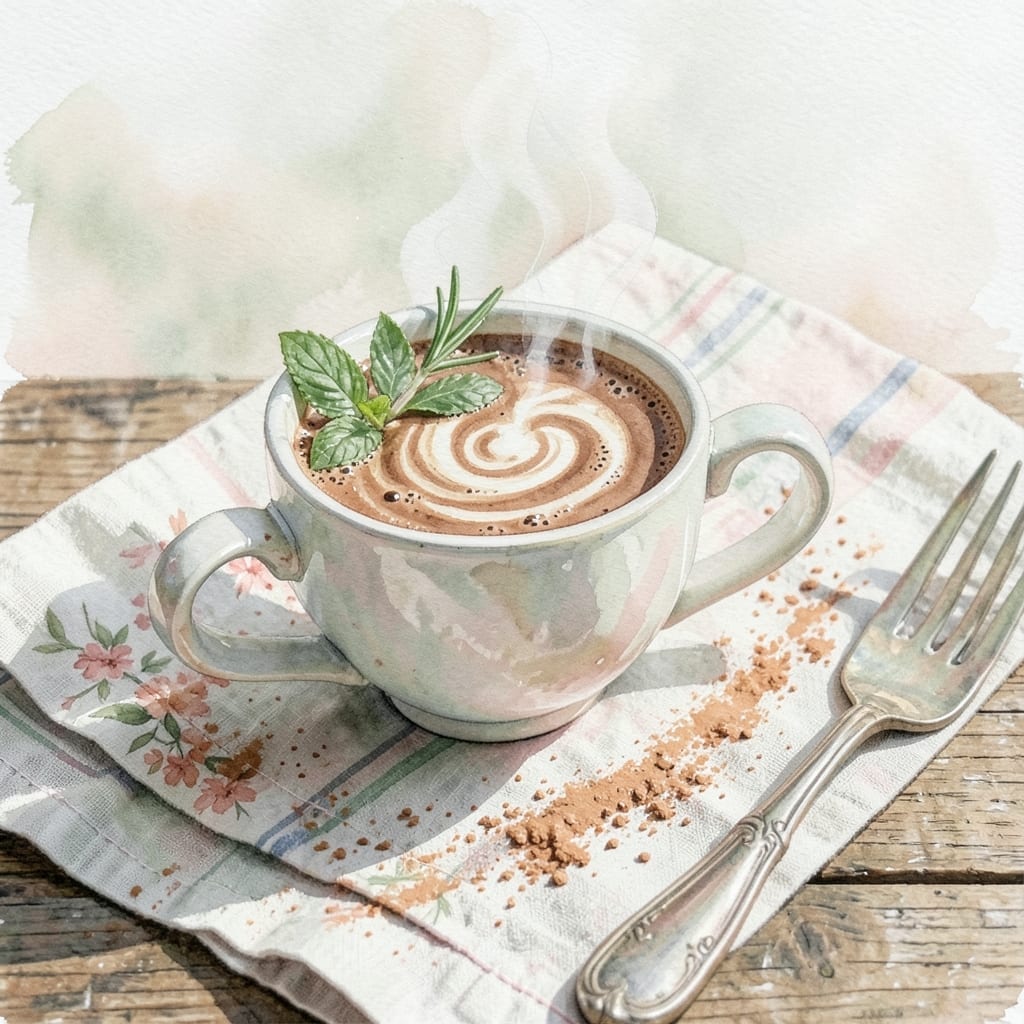
There’s nothing like a warm mug of rich chocolate on a cold day. This single-serve recipe delivers the classic Hershey’s flavor you remember, with a velvety texture that feels indulgent.
The secret is in the precise ratio of cocoa powder to sugar, creating that signature balance of deep chocolate taste and perfect sweetness. Heating the milk gently prevents scorching while allowing the cocoa to dissolve completely.
What you’ll get is a smooth, creamy cup of hot cocoa that’s ready in just 5 minutes. The aroma alone will transport you to childhood winters spent by the fire.
Top with marshmallows or whipped cream for the full experience. Here’s how to make it perfectly every time.
Ingredients for Hershey’s Hot Cocoa Recipe for One
A few pantry staples create this nostalgic, velvety mug of chocolate goodness in minutes.
| Ingredient | Amount | Notes |
|---|---|---|
| Hershey's Cocoa Powder 🍫 | 2 tbsp | Unsweetened natural variety |
| Granulated Sugar 🥄 | 2 tbsp | White or raw cane |
| Whole Milk 🥛 | 1 cup | Cold, for best dissolution |
| Unsalted Butter 🧈 | 1 tbsp | For richness and shine |
| Vanilla Extract 🌿 | ¼ tsp | Pure, not imitation |
| Salt 🧂 | 0.125 tsp | Enhances chocolate flavor |
| Mini Marshmallows 🍬 | ¼ cup | Optional, for topping |
| Whipped Cream 🥣 | 2 tbsp | Optional, for topping |
The cocoa powder is non-negotiable—Hershey’s natural unsweetened is what gives that classic childhood flavor. Any grocery store carries it, usually in the baking aisle. I always keep a can in the pantry (it lasts forever). The milk can be any percentage, but whole milk makes it extra creamy. If you’re feeling fancy, vanilla almond milk adds a nice depth too.
No Hershey’s? Ghirardelli unsweetened works in a pinch, but the flavor profile is slightly different. Out of milk? Half-and-half or cream makes it richer, but water plus a teaspoon of butter gets you close. The sugar can be swapped for maple syrup or honey (use 1.5 tbsp), though the texture changes slightly. Skip the butter if you must, but it really ties everything together.
This is best served fresh, but you can keep the dry mix (cocoa + sugar + salt) in a jar for 6 months. The marshmallows? They’ll melt into a gooey mess if stored with the mix—add them fresh each time. Leftovers (unlikely) reheat well with a splash of milk.
Why You’ll Love This Recipe
- 5-Minute Fix: I can make this between commercial breaks—just whisk, heat, and sip.
- Rich Chocolate Hug: That Hershey’s cocoa and butter combo tastes like a cozy blanket in a mug.
- Solo Indulgence: No sharing required, and it’s perfect for late-night cravings or a chilly afternoon pick-me-up.
- Pantry Staples: I always have these ingredients on hand, so it’s a budget-friendly treat anytime.
Step-by-Step Instructions for Hershey’s Hot Cocoa
Here’s the method. Straightforward, tested, works every time.
Step 1: Combine the Dry Ingredients
In a small saucepan, whisk together the 2 tbsp Hershey’s Cocoa Powder and 2 tbsp Granulated Sugar until no lumps remain. I like to do this first to ensure the cocoa dissolves completely without clumping.
This step is crucial—cocoa powder tends to resist blending, and breaking up any clumps now prevents a gritty texture later. The sugar helps absorb moisture from the milk, creating a smooth paste that melts beautifully into the hot liquid.
Step 2: Heat the Milk and Create the Base
Pour in the 1 cup Whole Milk and place the saucepan over medium heat. Stir constantly with a whisk as the mixture warms, keeping an eye out for steam rising from the surface—that’s your cue it’s heating properly.
You’ll notice the mixture darken slightly as the cocoa and sugar dissolve. This should take 3-4 minutes. Don’t let it come to a boil; you want it hot enough to melt everything but not so hot it scorches. The milk should be just steaming, not simmering.
Step 3: Add Butter and Flavorings
Once the mixture is smooth and hot, reduce the heat to low and stir in the 1 tbsp Unsalted Butter, 0.25 tsp Vanilla Extract, and 0.125 tsp Salt. The butter adds a luxurious richness, while the vanilla and salt deepen the chocolate flavor.
Whisk for another 1-2 minutes until the butter is fully melted and the mixture is velvety smooth. Taste it now—you should get a balanced sweetness with a hint of salt enhancing the chocolate’s depth. If it’s not sweet enough, resist the urge to add more sugar; the marshmallows will add sweetness later.
Step 4: Finish and Top with Extras
Pour the hot cocoa into your favorite mug. The drink should be steaming hot but not scalding—ideally around 160-170°F. If it’s too hot to sip, let it sit for 1-2 minutes to cool slightly.
Now for the fun part: top it with the 0.25 cup Mini Marshmallows and 2 tbsp Whipped Cream. The marshmallows will soften and melt slightly from the heat, creating that classic hot cocoa experience. The whipped cream adds a light, airy contrast to the rich, creamy base. Stir before sipping to blend all the flavors together perfectly.
Pro Tips For Making Hershey’S Hot Cocoa Recipe For One
- Heat Milk Slowly: Warm the milk over medium-low heat, stirring often—I learned this the hard way after scorching a batch trying to rush it. Aim for steaming, not boiling.
- Bloom the Cocoa: Whisk the cocoa powder and sugar into the warm milk first, then let it sit for 1-2 minutes. This pulls out the full chocolate flavor before adding butter or vanilla.
- Skip the Boil: Resist the urge to let the milk boil. It can make the cocoa grainy and the milk taste burnt—just heat until small bubbles form at the edges.
- Use Real Vanilla: Swap imitation vanilla for the pure extract—about ¼ teaspoon is enough. My grandmother swore by this, and the depth of flavor actually changes the outcome.
Essential Equipment for This Dish
Small Saucepan
A 1-2 quart saucepan with a heavy bottom is ideal for even heat distribution. I use my All-Clad stainless steel pan—it heats evenly and won’t react with the acidic cocoa. Avoid nonstick for this recipe, as the whisk can scratch the surface.
Whisk
A small balloon whisk is perfect for combining the cocoa and sugar without lumps. The fine wires break up clumps better than a spoon. I keep a 9-inch whisk just for hot drinks—it fits perfectly in my saucepan.
Measuring Spoons
Precise measurements matter here. Use a level tablespoon for the cocoa and sugar, and don’t pack them down. For the vanilla and salt, a ¼ tsp measure works perfectly. I swear by my OXO Good Grips set.
Favorite Mug
Pre-warm your 8-12 oz mug with hot water to keep your cocoa hot longer. I love using my stoneware mug—it retains heat beautifully and feels cozy in my hands. Rinse it with hot water right before pouring. 💛
Double Boiler Alternative
If you’re worried about scorching, use a heatproof bowl over a pot of simmering water. This gentler heat prevents burning while still dissolving everything smoothly. It takes about 5 minutes longer but gives foolproof results.
Thermometer
For perfect temperature control, use an instant-read thermometer. Aim for 160-170°F—hot enough to melt marshmallows but not so hot it burns your tongue. My ThermoWorks ThermoPop is always within reach. 🌡️
Nutrition Facts
Frequently Asked Questions
Can I use water instead of milk?
Yes, but the result will be less creamy. Use 1 cup water and add 1 tbsp butter for richness. The flavor will be lighter but still chocolatey.
Why add salt to hot cocoa?
Salt enhances the chocolate flavor, balancing sweetness. Just 1/8 tsp makes a noticeable difference without tasting salty. It’s the secret to that classic depth.
Can I make this in the microwave?
Combine all ingredients in a mug, microwave for 1-2 minutes, stirring every 30 seconds. Watch closely to prevent boiling over.
How do I store leftover cocoa mix?
Mix the dry ingredients (cocoa, sugar, salt) and store in an airtight container for up to 6 months. Add wet ingredients fresh each time.

- BBQ Sausage Recipe Oven: Smoky Depth Without the Grill - September 28, 2026
- BBQ Chicken Bowl Recipe Rice: Smoky Sweetness Over Fluffy Grains - September 28, 2026
- Beef Cutlet Recipe Ideas: Crispy Breaded Patties With Bold Seasonings - September 28, 2026