
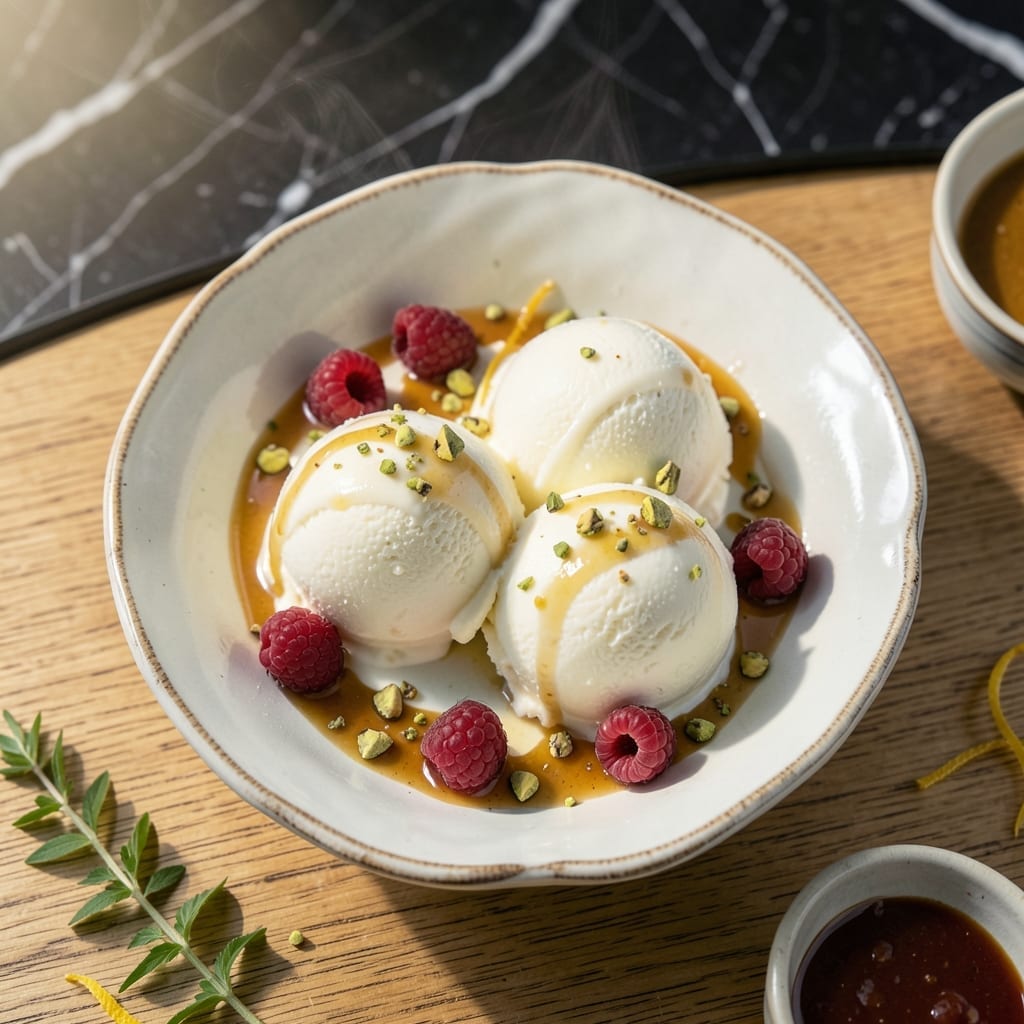
Achieving ultra creamy homemade ice cream is simpler than you think with an ice cream maker. This proven method delivers professional results every time.
The secret lies in the perfect balance of cream, sugar, and vanilla, churned to smooth perfection in your machine. No special skills required—just follow the steps.
Ingredients for Homemade Ice Cream Recipe for Ice Cream Maker
Rich cream, sugar, vanilla, and a touch of egg yolk magic. Simple stuff, extraordinary results.
| Ingredient | Amount | Notes |
|---|---|---|
| Heavy Whipping Cream 🥛 | 2 cups | Cold, at least 35% fat |
| Whole Milk 🥛 | 1 cup | Cold, full-fat preferred |
| Granulated Sugar 🍚 | ¾ cup | Fine white sugar |
| Pure Vanilla Extract 🌿 | 1 tbsp | High-quality for best flavor |
| Table Salt 🧂 | ¼ tsp | Fine grain for dissolution |
| Large Egg Yolks 🥚 | 4 whole | Room temperature, pasteurized optional |
| Sweetened Condensed Milk 🥛 | ½ cup | Optional for extra richness |
| Vanilla Bean 🌿 | 1 whole | Split and scraped, optional |
| Alcohol 🍹 | 1 tbsp | Vodka or rum, lowers freezing point |
| Lemon Juice 🍋 | ½ tsp | Freshly squeezed, balances sweetness |
The cream is non-negotiable here—look for at least 35% fat on the label. Organic Valley or Darigold are my go-tos at most grocery stores. Whole milk adds lightness without sacrificing texture. If you’re splurging, local dairy with a higher fat content makes a noticeable difference. Egg yolks should be bright orange (the good stuff, not the pale ones).
No vanilla bean? Pure vanilla extract works fine—just double the amount. Swap granulated sugar for superfine sugar if you want an even smoother texture. Skipping the egg yolks? Increase cream by 1/2 cup and add 1 tbsp corn syrup for stability. The alcohol prevents iciness but can be omitted (just churn a bit longer).
The base keeps in the fridge for 24 hours before churning—great for prepping ahead. Once churned, it’s best fresh but holds in the freezer for 2-3 weeks. Let it sit at room temperature for 5-10 minutes before scooping (worth the extra minute).
Why You’ll Love This Recipe
- No-Fuss Mixing: I just dump the cream, milk, sugar, vanilla, and a pinch of salt in—no cooking, no tempering, just pour and churn.
- Velvety Vanilla: The heavy cream and whole milk blend into this ridiculously smooth texture that store-bought can’t touch.
- Endless Customizations: Honestly, this plain vanilla base becomes anything I want—stir in crushed cookies, fresh berries, or even a swirl of caramel.
- Budget-Friendly Luxury: A quart of premium ice cream costs me a fraction of what it would at the shop, and I control exactly what goes in.
Step-by-Step Instructions for Homemade Ice Cream for Ice Cream Maker
Here’s my foolproof method for ultra creamy churned ice cream at home.
Step 1: Infuse and Heat the Dairy Base
In a medium saucepan, combine the 2 cups Heavy Whipping Cream, 1 cup Whole Milk, and 0.75 cup Granulated Sugar. If using, split and scrape the 1 whole Vanilla Bean, adding both seeds and pod to the mixture.
Heat over medium heat until the mixture reaches 170°F and the sugar fully dissolves. You’ll see tiny bubbles forming at the edges—don’t let it boil. This gentle heating ensures proper sugar dissolution without scalding the dairy, which would affect the final texture.
Step 2: Temper the Egg Yolks for a Smooth Custard
In a separate bowl, whisk the 4 whole Large Egg Yolks until slightly pale. Slowly ladle about ½ cup of the hot cream mixture into the yolks while whisking constantly. This tempering step prevents the eggs from scrambling when they meet the hot liquid.
Pour the tempered yolk mixture back into the saucepan with the remaining cream. Cook over low heat, stirring constantly with a silicone spatula, until the mixture thickens enough to coat the back of a spoon (about 175-180°F). This creates a proper custard base that’s rich but not eggy.
Strain the mixture through a fine-mesh sieve into a clean bowl to remove the vanilla pod and any potential cooked egg bits. Stir in the 0.25 tsp Table Salt, 1 tbsp Pure Vanilla Extract, 1 tbsp Alcohol, and 0.5 tsp Lemon Juice.
Step 3: Chill Thoroughly for Optimal Texture
Cover the custard and refrigerate for at least 4 hours, or preferably overnight. This chilling step is crucial—it allows the flavors to meld and the mixture to reach the proper temperature for churning. I’ve found that overnight chilling produces the creamiest results.
If using, stir in the 0.5 cup Sweetened Condensed Milk after chilling. This adds extra richness and helps prevent iciness in the final product. The condensed milk should be cold to maintain the proper temperature of your base.
Step 4: Churn in Your Ice Cream Maker
Pour the chilled custard into your ice cream maker and churn according to the manufacturer’s instructions, typically 20-25 minutes. You’ll know it’s ready when the mixture resembles soft-serve ice cream and holds its shape when scooped.
The alcohol in the recipe helps lower the freezing point, resulting in a smoother, more scoopable texture straight from the machine. Don’t be tempted to over-churn—once it reaches the soft-serve consistency, it’s done.
Step 5: Freeze to Set the Perfect Consistency
Transfer the churned ice cream to a freezer-safe container. Press plastic wrap directly against the surface to prevent ice crystals from forming. Freeze for at least 4 hours or until firm.
For the creamiest texture, let it sit at room temperature for 5-10 minutes before scooping. The final product should be smooth, rich, and hold its shape perfectly when scooped. This waiting period allows the ice cream to set properly while maintaining its ultra creamy texture.
Pro Tips For Making Homemade Ice Cream Recipe For Ice Cream Maker
- Chill the Base: Make sure your cream and milk mixture is fully chilled—at least 4 hours or overnight—before churning. I learned this the hard way after ending up with soupy ice cream that never set properly.
- Use Full-Fat Dairy: Skip the low-fat milk or half-and-half; the high fat content in whole milk and heavy cream is non-negotiable for that rich, creamy texture.
- Pre-Freeze the Bowl: Your ice cream maker bowl needs a solid 12-24 hours in the freezer before churning—yes, even if you’re impatient like me. A warm bowl means slush, not ice cream.
- Add Vanilla Last: Stir in the vanilla extract just before churning. Adding it too early can mute its flavor, and nobody wants bland homemade ice cream.
Wine and Beer Pairings for This Dish
Dessert Wine Pairings
For a classic pairing, try a Moscato d’Asti from Italy. Its light fizz and peach notes complement the creaminess beautifully. The subtle sweetness matches the sugar in the ice cream without overpowering it. 🍷
Rich Red Options
A chilled Banyuls or Maury from France offers dark fruit and caramel notes that pair wonderfully. These fortified wines have enough body to stand up to the richness. Serve at 55-60°F for best results.
Beer Pairings
For beer lovers, a stout like Guinness works surprisingly well. The roasted malt flavors contrast nicely with the sweetness. Alternatively, try a Belgian quad with its dark fruit and spice notes. 🍺
Coffee Complements
A shot of espresso alongside your ice cream creates a perfect contrast. The bitterness cuts through the sweetness while enhancing the vanilla notes. I love adding a sprinkle of sea salt on top too.
Sparkling Options
A dry Prosecco or Champagne cleanses your palate between bites. The bubbles help reset your taste buds. Look for a brut style to avoid competing sweetness.
Non-Alcoholic Pairings
For alcohol-free options, try sparkling apple cider or cold-brew coffee. Both offer complementary flavors without overwhelming the ice cream’s delicate profile. The acidity in cider works particularly well.
Frequently Asked Questions
Why do I need to chill the custard before churning?
Chilling prevents ice crystals and ensures a smooth texture. 4 hours minimum allows flavors to meld. Overnight is best for ultra creamy results.
Can I use half-and-half instead of cream?
Not recommended. Heavy cream (35% fat) is essential for richness. Half-and-half may result in a less creamy, icier texture. Stick to the recipe for best results.
How long does homemade ice cream keep?
It stays fresh for 2-3 weeks in an airtight container. Press plastic wrap on the surface to prevent freezer burn. Let it sit 5-10 minutes before scooping.
What if my mixture doesn’t thicken during cooking?
Cook longer on low heat while stirring constantly. It should coat the back of a spoon at 175-180°F. If still thin, add 1 more egg yolk and reheat gently.
Nutrition Facts

- BBQ Sausage Recipe Oven: Smoky Depth Without the Grill - September 28, 2026
- BBQ Chicken Bowl Recipe Rice: Smoky Sweetness Over Fluffy Grains - September 28, 2026
- Beef Cutlet Recipe Ideas: Crispy Breaded Patties With Bold Seasonings - September 28, 2026