
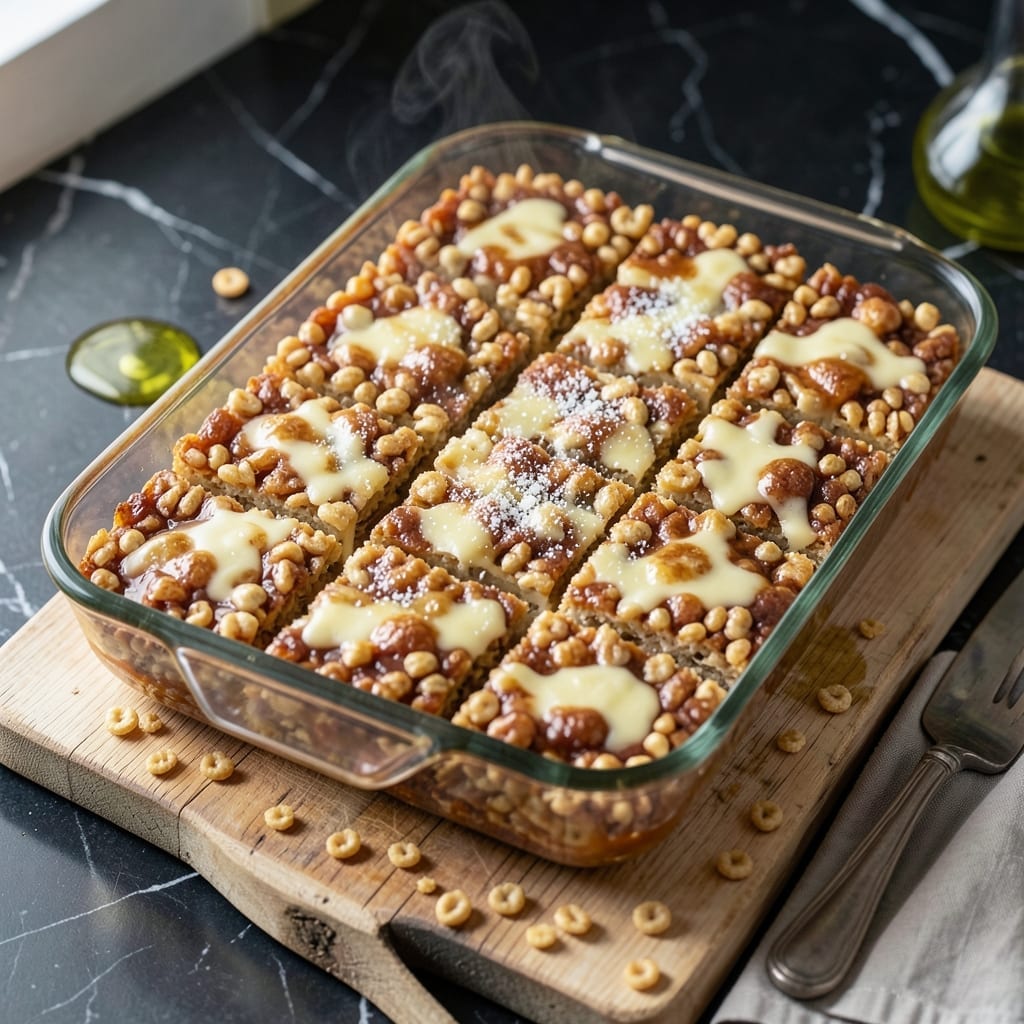
There’s nothing quite like the nostalgic satisfaction of a homemade batch of these classic treats. The combination of melted marshmallows and butter creates a gooey, golden base that binds every crispy piece of cereal together.
This recipe strips away the processed feel of store-bought versions, delivering a fresh, buttery richness that’s hard to resist. The key is using the right ratio of ingredients to achieve that perfect balance of chewy and crunchy in every bite.
You’ll end up with squares that hold their shape when cut but melt in your mouth with each bite. The homemade touch makes all the difference, turning a simple snack into something truly special.
Ideal for lunchboxes, parties, or a quick sweet fix, this method guarantees consistent results every time.
Ingredients for Homemade Rice Krispie Treats
Just five ingredients create that nostalgic buttery crunch everyone loves in every square.
| Ingredient | Amount | Notes |
|---|---|---|
| Rice Krispies Cereal 🥣 | 6 cups | Fresh for maximum crispiness |
| Mini Marshmallows 🍥 | 10 oz | About 4 cups packed |
| Unsalted Butter 🧈 | ½ cup | 1 stick, for melting |
| Pinch of Salt 🧂 | 1 pinch | Enhances buttery flavor |
| Vanilla Extract 🌿 | 1 tsp | Pure for best flavor |
The marshmallows are non-negotiable for texture. Kraft Jet-Puffed are the gold standard—consistent melt and stretch. Kellogg’s Rice Krispies snap, crackle, pop better than generics (trust me, I’ve tested). Butter quality matters here—Land O’Lakes or Plugrá give that rich, clean dairy flavor that cheaper brands can’t match. Skip the salted butter; you want to control the seasoning.
No mini marshmallows? Regular marshmallows work at the same weight—just take longer to melt. Out of Rice Krispies? Corn Chex or Golden Grahams make fun variations. Want extra depth? Brown the butter slightly before melting the marshmallows. The vanilla is subtle but don’t skip it—it rounds out the sweetness beautifully (use pure, not imitation).
These keep at room temperature for 2-3 days in an airtight container. For longer storage, wrap individual squares in parchment and freeze for up to 6 weeks. They soften slightly over time—that’s normal. Cut with a buttered knife for clean edges every time.
Why You’ll Love This Recipe
- One Pot Magic: I melt the butter and marshmallows together, stir in the cereal, and we’re done—no fancy equipment, just a spatula and a bowl.
- Buttery Vanilla Bliss: That hint of vanilla in the warm marshmallow-butter mix makes them taste like the bakery version, but better.
- Party or Lunchbox: I pack them for school snacks or cut into squares for potlucks—they’re always the first to disappear.
- Budget Hero: A box of cereal and a bag of marshmallows feed a crowd for pennies. Honestly, it’s my cheapest crowd-pleaser.
Step-by-Step Instructions for Rice Krispie Treats
This professional method ensures perfect texture with minimal effort and maximum flavor.
Step 1: Melt Butter and Prepare Marshmallows
In a large, heavy-bottomed pot, melt the 0.5 cup Unsalted Butter over low heat. I use a light-colored pot to monitor the butter’s color—it should melt completely but not brown, which would impart unwanted nuttiness.
Once melted, add the 10 oz Mini Marshmallows and the 1 pinch Pinch of Salt. The salt enhances the buttery flavor without making the treats taste salty. Stir constantly with a silicone spatula, scraping the bottom to prevent scorching.
Continue stirring until the marshmallows are about 80% melted. At this stage, you’ll see only a few stubborn pieces remaining. Remove from heat immediately—the residual heat will finish the job while preventing the sugar from caramelizing.
Step 2: Incorporate Vanilla and Complete Melting
Add the 1 tsp Vanilla Extract to the partially melted marshmallow mixture. I always use pure vanilla extract for its complex, aromatic depth that imitation can’t match.
Stir vigorously for 30-45 seconds until the mixture becomes completely smooth and glossy. You’ll notice the volume slightly decreases as the marshmallows fully dissolve. The texture should resemble thick, pourable caramel.
At this point, the mixture will be extremely hot. Let it sit undisturbed for 1-2 minutes to cool slightly—this prevents the cereal from becoming soggy when combined.
Step 3: Combine with Rice Krispies Cereal
Add all 6 cups Rice Krispies Cereal to the pot at once. Using the same spatula, fold gently but thoroughly to coat every piece evenly. The key is to work quickly but carefully—the cereal will begin to soften immediately upon contact with the hot mixture.
After about 20-30 seconds of folding, the cereal will be fully coated and the mixture will look uniform. Stop mixing as soon as this happens to preserve as much crispness as possible. You’ll hear the characteristic snap of the cereal as you fold it in.
The final mixture should glisten slightly and hold together when pressed, but still have visible cereal pieces. If it looks too wet, you may have overmelted the marshmallows—next time, remove from heat sooner.
Step 4: Press and Set the Treats
Transfer the mixture to a 9×13-inch baking dish lined with parchment paper. I prefer to use an offset spatula or buttered hands to press the mixture evenly into the pan. Press firmly but don’t compact it too tightly—this maintains the signature airy texture.
Work quickly to spread the mixture to the edges, creating an even layer about 1-inch thick. The surface should look slightly uneven with bits of cereal peeking through—this adds visual appeal and textural contrast.
Let the treats set at room temperature for 30-45 minutes until completely cool and firm to the touch. They’re ready when you can press the surface lightly and it springs back without sticking to your finger.
Step 5: Cut and Serve
Using a sharp chef’s knife, cut the treats into 16 equal squares. For clean cuts, I run the knife under hot water between each slice. The edges should be slightly crisp while the interior remains soft and chewy.
Serve at room temperature for the best texture. The treats will keep in an airtight container at room temperature for up to 3 days, though they’re best consumed within 24 hours for maximum freshness and crispness.
Pro Tips For Making Homemade Rice Krispie Treats
- Melt Butter Low: Use medium-low heat when melting the butter—high heat will scorch the marshmallows and leave bitter spots in your treats.
- Use Fresh Marshmallows: I learned this the hard way—old marshmallows get hard and won’t melt smoothly, so check the bag’s date before starting.
- Press While Warm: Press the mixture into the pan right after mixing, while it’s still warm and pliable, or it’ll set too firm to shape.
- Butter Your Spatula: Sounds weird, but it works: coat your spatula or hands with a little butter to keep the sticky mix from clinging as you press.
Storing and Reheating This homemade rice krispie treats
Room Temperature Storage
Let your treats cool completely before storing in an airtight container. They’ll stay fresh at room temperature for up to 3 days. I line my container with parchment paper to prevent sticking. The texture stays ideal for about 24 hours. ❄️
Freezing for Longevity
For longer storage, wrap individual squares in parchment paper and place in a freezer bag. They freeze well for up to 6 weeks. Thaw at room temperature for 30 minutes before serving. The cereal may soften slightly but retains its crunch.
Re-crisping Method
If your treats lose their crispness, revive them in a 300°F oven for 5-10 minutes. Watch closely to prevent over-browning. This works best for same-day leftovers. I’ve found this trick brings back that just-made texture beautifully.
Avoiding Moisture
Never store these in the refrigerator—the cold creates condensation that makes them soggy. If you must refrigerate, use a double layer of plastic wrap with a paper towel to absorb moisture. But honestly, they taste best at room temperature.
Portion Control
Cut into squares before storing for easy grab-and-go snacks. Stack with parchment between layers to prevent sticking. I make 16 equal pieces from a 9×13-inch pan for perfect portions. This keeps them fresh and ready to enjoy anytime.
Nutrition Facts
Frequently Asked Questions
Can I use regular marshmallows instead of mini?
Yes! Use the same weight (10 oz) and cut them into smaller pieces first. They’ll take 2-3 minutes longer to melt completely. Mini marshmallows just melt faster and more evenly.
Why do my treats get hard after cooling?
Overmixing or pressing too firmly compacts the cereal. For soft, chewy results, fold just until coated and press lightly. Adding 1 extra tablespoon of butter can also help maintain tenderness.
How can I make them extra crispy?
Toast the cereal in a 300°F oven for 5 minutes before mixing. Also, let the marshmallow mixture cool slightly before combining to prevent sogginess.
Can I add mix-ins like chocolate chips?
Fold in 1 cup of add-ins after the cereal is coated. Let the mixture cool for 2 minutes first to prevent melting chocolate. Sprinkles and nuts work great too.

- BBQ Sausage Recipe Oven: Smoky Depth Without the Grill - September 28, 2026
- BBQ Chicken Bowl Recipe Rice: Smoky Sweetness Over Fluffy Grains - September 28, 2026
- Beef Cutlet Recipe Ideas: Crispy Breaded Patties With Bold Seasonings - September 28, 2026