
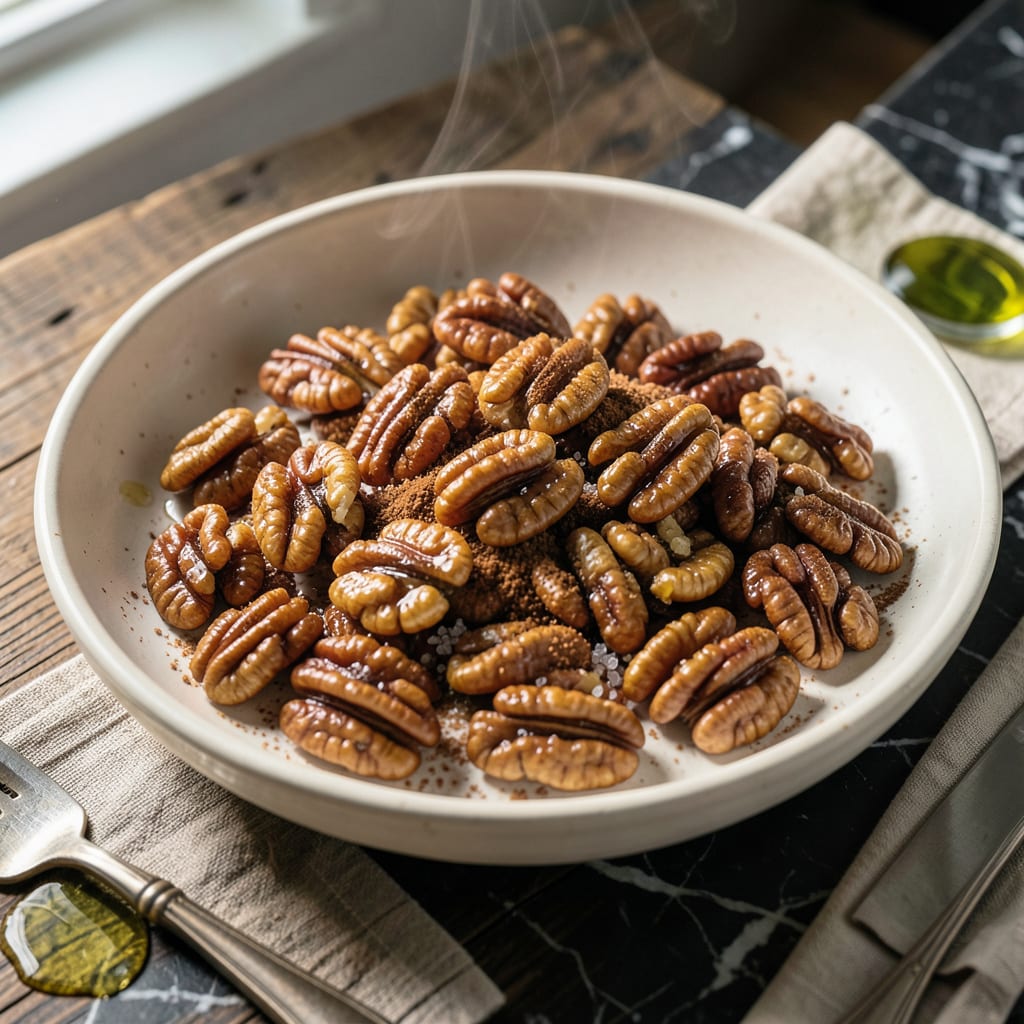
This recipe transforms plain walnuts into a golden, sweet snack with minimal effort. A simple honey coating and brief roasting create an irresistible crunch.
Perfect for snacking, salads, or gift-giving, these walnuts require just 15 minutes in the oven. The process is straightforward, with no special equipment needed.
Ingredients for Honey Roasted Walnuts
Transform plain walnuts with honey, butter, and warm spices for this sweet, crunchy snack.
| Ingredient | Amount | Notes |
|---|---|---|
| Raw Walnut Halves 🌰 | 4 cups | Fresh, unsalted preferred |
| Honey 🍯 | ½ cup | Pure, unfiltered for best flavor |
| Unsalted Butter 🧈 | 3 tbsp | Melted for even coating |
| Granulated Sugar 🍚 | ¼ cup | Fine grain for even caramelization |
| Brown Sugar 🟤 | ¼ cup | Light or dark, packed |
| Ground Cinnamon 🌿 | 1 tsp | Freshly ground for intensity |
| Vanilla Extract 🌿 | 1 tsp | Pure extract, not imitation |
| Sea Salt 🧂 | ½ tsp | Fine grain for even distribution |
| Ground Black Pepper 🌶️ | ¼ tsp | Freshly ground preferred |
| Vanilla Bean Seeds 🌿 | 1 whole | Optional, scraped from pod |
The walnuts are the foundation—freshness matters more than brand. Look for plump, uniformly colored halves without bitterness. Costco and Trader Joe’s offer excellent bulk options. If buying from a bin, ensure high turnover. The honey should be raw and unfiltered for depth; local varieties at farmers markets often provide superior quality over supermarket brands.
No honey? Maple syrup or agave work in a pinch (use two-thirds the amount). Brown sugar can replace granulated, though the texture will differ slightly. For a deeper spice profile, add a pinch of nutmeg or cardamom. The butter is essential for that glossy finish, but coconut oil offers a dairy-free alternative. Avoid margarine—it lacks the necessary fat content for proper roasting.
Store cooled walnuts in an airtight container at room temperature for up to 2 weeks. For longer storage, refrigerate for 1 month or freeze for 6 months. Re-crisp in a 300°F oven for 5 minutes if they soften. Perfect for snacking, salads, or as an elegant gift in mason jars.
Why You’ll Love This Recipe
- One Bowl Wonder: I just toss everything—walnuts, honey, butter, and sugars—in a single bowl before roasting. No fancy steps, no mess.
- Sweet & Toasty: That warm honey glaze caramelizes into a crisp shell around the walnuts, with a buttery crunch that’s honestly hard to stop eating.
- Snack or Gift: I keep a batch in my pantry for salads, oatmeal, or just snacking, and it’s my go-to hostess gift in cute little jars.
- Stays Fresh: These last for weeks in an airtight container, so I can make a big batch without worrying about waste.
Step-by-Step Instructions for Honey Roasted Walnuts
Achieve perfect caramelization and crunch with this tested method for consistently excellent results.
Step 1: Toast the Raw Walnut Halves
Preheat your oven to 350°F and spread the 4 cups raw walnut halves in a single layer on a rimmed baking sheet. This even distribution ensures uniform toasting without overlapping, which would cause steaming rather than crisping.
Toast for 8-10 minutes until the walnuts become fragrant and their color deepens slightly. Watch closely during the final minutes—they can go from perfectly toasted to burnt quickly. Stir halfway through the toasting time to promote even browning on all sides.
Step 2: Prepare the Honey Butter Glaze
While the walnuts toast, combine the 0.5 cup honey, 3 tbsp unsalted butter, 0.25 cup granulated sugar, 0.25 cup brown sugar, 1 tsp ground cinnamon, 1 tsp vanilla extract, 0.5 tsp sea salt, and 0.25 tsp ground black pepper in a saucepan. Place over medium heat and stir until the mixture comes to a gentle boil.
Continue cooking for 2-3 minutes until the sugars fully dissolve and the mixture thickens slightly. If using, stir in the vanilla bean seeds at this stage. The glaze should coat the back of a spoon but still be pourable—this consistency ensures it clings properly to the walnuts.
Step 3: Coat the Walnuts Evenly
Remove the toasted walnuts from the oven and immediately pour the hot honey butter glaze over them. Using a silicone spatula, fold the mixture gently but thoroughly for 1-2 minutes until every walnut half is evenly coated. The residual heat from the walnuts helps set the glaze.
Work quickly—the glaze will begin to thicken as it cools. If it hardens before you finish coating, return the mixture to the oven for 1-2 minutes to soften it. The walnuts should glisten with a thin, even layer of glaze without any pooling at the bottom of the pan.
Step 4: Bake to Crisp Perfection
Return the coated walnuts to the 350°F oven and bake for 12-15 minutes, stirring every 5 minutes to prevent sticking and ensure even cooking. The glaze will bubble and deepen in color as the sugars caramelize.
The walnuts are done when the coating turns a rich amber and feels dry to the touch. Remove them from the oven and immediately spread them out on parchment paper in a single layer. This prevents them from clumping together as they cool.
Step 5: Cool and Crisp Completely
Let the honey roasted walnuts cool at room temperature for 20-30 minutes without disturbing them. As they cool, the caramelized coating will harden, creating that signature crisp texture.
The walnuts will become increasingly crisp as they cool—resist the temptation to sample them too soon. Once completely cool, break apart any clusters and store in an airtight container at room temperature for up to 2 weeks.
Pro Tips For Making Honey Roasted Walnuts
- Toast First: Spread the raw walnut halves on a baking sheet and toast at 350°F for 8-10 minutes before coating. I learned this the hard way—skipping this step leaves the nuts with a raw, bitter edge even after roasting.
- Warm the Honey: Microwave the honey for 15-20 seconds to loosen it before mixing. After burning three batches, I finally figured out cold honey clumps and sticks to the pan instead of coating the nuts evenly.
- Watch the Butter: Use just 1 tablespoon of unsalted butter—enough to help the sugars stick but not so much that the walnuts end up greasy. Sounds weird, but it works: too much butter makes them soggy instead of crisp.
- Cool Completely: Let the walnuts cool on the baking sheet for at least 20 minutes before breaking them apart. My grandmother swore by this, and she was right: they crisp up as they cool, and moving them too soon makes them stick together.
Troubleshooting This Dish
Over-Browning Issues
If your walnuts darken too quickly, your oven may run hot. Try lowering the temperature to 325°F and extending the baking time by 5-7 minutes. I always use an oven thermometer to verify accuracy—many home ovens are off by 25-50°F. 🌡️
Glaze Separation
When the honey butter mixture separates, it’s usually due to overheating. Remove from heat and whisk vigorously for 30 seconds to re-emulsify. If stubborn, add 1 tsp warm water and stir until smooth before coating the nuts.
Sticky Clumps
Clumping happens when the glaze isn’t spread in a thin, even layer. After coating, I use two forks to separate the walnuts before the final bake. For stubborn clusters post-cooling, pulse briefly in a food processor with the blade attachment.
Soft Texture
Under-baked walnuts stay soft. Return them to a 300°F oven for 5-8 minutes to crisp up. Humidity is the enemy—store only after completely cooled in a glass jar with a tight lid. ❄️
Uneven Coating
For better coverage, toss the warm walnuts with half the glaze first, then add the remainder gradually. I find a large metal bowl works better than the baking sheet for this step. Use a rubber spatula to scrape every last bit of glaze onto the nuts.
Burnt Bottoms
If the nuts on the edge of the pan burn while the center stays pale, your baking sheet may be too thin. Switch to a heavy-duty half-sheet pan or rotate the pan 180° halfway through baking. Parchment paper helps, but don’t skip stirring intervals.
Nutrition Facts
Frequently Asked Questions
Can I use a different nut instead?
Pecans, almonds, or cashews work beautifully with this method. Adjust baking time slightly—pecans may need 2-3 minutes less, while almonds often require 5 minutes more for full crispness.
How do I prevent the coating from burning?
Bake at 325°F instead of 350°F and stir every 5 minutes. Line your pan with parchment paper for extra protection. Watch closely after 10 minutes to catch any darkening early.
Can I make these without butter?
Yes, substitute 3 tbsp coconut oil for a dairy-free version. The flavor will be slightly different but still delicious. Ensure your oil is melted and warm before mixing with honey.
How long will they stay crisp?
Stored in an airtight container at room temperature, they’ll keep their crunch for 5-7 days. For longer storage, refrigerate for up to 2 weeks or freeze for 3 months.

- BBQ Sausage Recipe Oven: Smoky Depth Without the Grill - September 28, 2026
- BBQ Chicken Bowl Recipe Rice: Smoky Sweetness Over Fluffy Grains - September 28, 2026
- Beef Cutlet Recipe Ideas: Crispy Breaded Patties With Bold Seasonings - September 28, 2026