
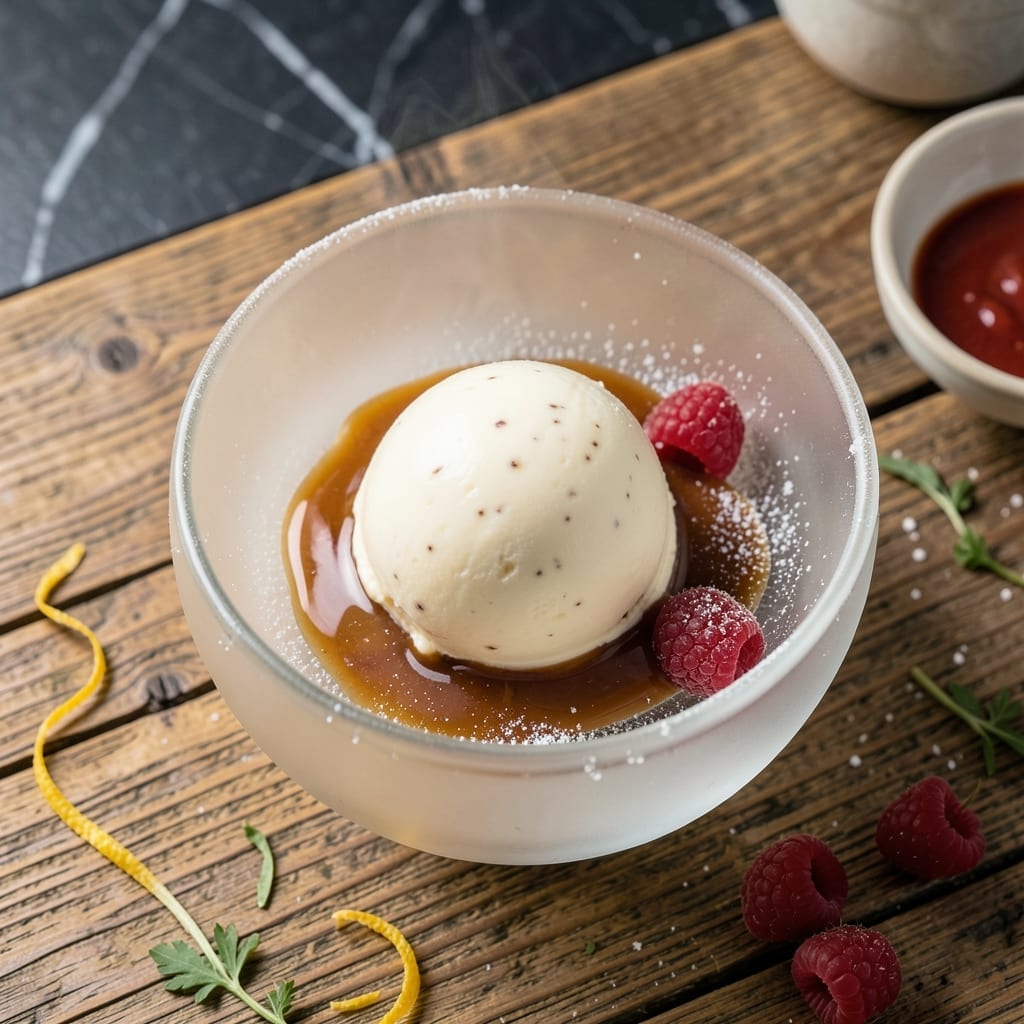
Making ice cream in an ice cream ball turns dessert prep into an interactive experience. This method delivers creamy results through a fun, hands-on process.
With just a few ingredients and some energetic shaking, you’ll have smooth, homemade ice cream ready in minutes. It’s a simple, engaging way to create a treat everyone will love.
Ingredients for Ice Cream Recipe for Ice Cream Ball
Minimal ingredients, maximum fun. Just what you need for creamy, shakeable ice cream.
| Ingredient | Amount | Notes |
|---|---|---|
| Heavy Whipping Cream 🥛 | 2 cups | Cold, full-fat for smoothness |
| Whole Milk 🥛 | 1 cup | Cold for best texture |
| Granulated Sugar 🍚 | ¾ cup | Fine white sugar preferred |
| Vanilla Extract 🌿 | 2 tsp | Pure for best flavor |
| Table Salt 🧂 | ¼ tsp | Balances sweetness |
| Ice ❄️ | 4 cups | Crushed, for freezing |
| Rock Salt 🧂 | 1 cup | For lowering freezing point |
| Whole Eggs 🥚 | 2 whole | Large, for creaminess |
| All-Purpose Flour 🌾 | 2 tbsp | Stabilizes mixture |
| Vanilla Bean 🌿 | 1 whole | Scraped seeds for gourmet touch |
The cream and milk must be full-fat and ice-cold—this prevents ice crystals from forming. Organic Valley or Darigold are reliable brands for dairy. For the vanilla, Nielsen-Massey extract offers superior depth of flavor compared to imitation. The rock salt is critical for the freezing process; Morton canning salt works perfectly if labeled as such.
No vanilla bean? Double the extract for similar richness. Out of whole milk? Half-and-half offers a suitable substitute without sacrificing creaminess. For a lighter version, 2% milk can be used, but expect slightly less smooth results. The eggs can be omitted, though the texture will be less custard-like. Always ensure your ice is crushed finely for even freezing.
Store unused cream and milk in the coldest part of your fridge for up to 1 week. The rock salt keeps indefinitely in a dry pantry. Any leftover ice cream mixture can be frozen in a sealed container for 2-3 months, though it’s best enjoyed fresh from the ball.
Why You’ll Love This Recipe
- No-Machine Needed: I just shake the ice cream ball for 15 minutes and it transforms heavy cream, milk, and sugar into creamy perfection.
- Pure Vanilla Bliss: The real vanilla extract shines through, giving that rich, nostalgic flavor you can’t get from imitation stuff.
- Kid-Friendly Fun: My kids fight over who gets to roll the ball first—it’s activity and dessert in one.
- Budget Scoops: A pint costs less than store-bought, and I control exactly what goes in—no mystery ingredients.
Step-by-Step Instructions for Ice Cream Ball
Master this technique and you’ll create creamy, homemade ice cream in record time.
Step 1: Prepare the Ice Cream Base
In a medium bowl, whisk together the 2 cups Heavy Whipping Cream, 1 cup Whole Milk, 0.75 cup Granulated Sugar, 2 tsp Vanilla Extract, and 0.25 tsp Table Salt until the sugar fully dissolves. This ensures a smooth, grit-free texture in your final product.
Split the 1 whole Vanilla Bean lengthwise and scrape out the seeds, adding both seeds and pod to the mixture for maximum flavor infusion. Let this base sit for 5 minutes to allow the vanilla to bloom before proceeding.
Step 2: Create the Custard Mixture
In a separate bowl, whisk the 2 whole Whole Eggs until frothy, then gradually whisk in the 2 tbsp All-Purpose Flour until no lumps remain. This flour-egg mixture will stabilize your ice cream base and prevent ice crystals from forming.
Slowly temper the egg mixture by pouring in about ½ cup of the cream base while whisking constantly. Then, combine the tempered eggs with the remaining cream mixture, stirring until fully incorporated. The mixture should be smooth and slightly thickened.
Step 3: Chill and Prepare the Ice Cream Ball
Pour the custard mixture into the inner chamber of your ice cream ball, leaving about ½ inch of space at the top for expansion. Secure the lid tightly—this prevents leaks during the shaking process.
In a large container or bucket, combine the 4 cups Ice with the 1 cup Rock Salt. The rock salt lowers the freezing point of the ice, allowing your mixture to freeze properly. You’ll need enough ice-salt mixture to surround about 75% of the ball.
Step 4: Shake Vigorously Until Frozen
Place the sealed ice cream ball into the ice-salt mixture and begin shaking immediately. The constant motion prevents large ice crystals from forming, resulting in a creamy texture. Shake continuously for 15-20 minutes, checking occasionally for firmness.
You’ll know it’s ready when the mixture thickens to the consistency of soft-serve ice cream and the ball feels cold throughout. If it’s not freezing fast enough, add more ice and rock salt to your container.
Step 5: Serve or Harden Further
Once the desired consistency is reached, remove the ice cream ball from the ice and wipe it clean. Open the ball and scoop out the ice cream immediately for soft-serve texture, or transfer to a lidded container and freeze for 2-4 hours for a firmer consistency.
The ice cream should be smooth, with no visible ice crystals. Serve in bowls or cones, and enjoy your homemade creation with the satisfaction of knowing you made it from scratch in minutes.
Pro Tips For Making Ice Cream Recipe For Ice Cream Ball
- Chill the Ball First: Pop your ice cream ball in the freezer for at least 24 hours before using—it needs to be ice cold to freeze the mixture properly. I learned this the hard way after ending up with soup instead of ice cream.
- Use Full-Fat Dairy: Skip the low-fat milk or half-and-half; the heavy whipping cream and whole milk are non-negotiable for that creamy texture. Sounds obvious, but I’ve seen people try to cut corners.
- Don’t Overfill: Fill the ball no more than two-thirds full to give the mixture room to expand as it freezes. Overfilling just leads to a messy, uneven freeze.
- Add Sugar Last: Mix your sugar into the liquid ingredients just before pouring it into the ball—this prevents graininess. My grandmother swore by this, and she was right.
Serving Suggestions for ice cream recipe for ice cream ball
Classic Cone Presentation
Serve your freshly made ice cream in waffle cones for that nostalgic ice cream shop feel. I love using Joy brand cones—they have just the right crunch. For a fun twist, dip the cone rim in melted chocolate and sprinkles before scooping. 💛
Bowl Toppings Bar
Set up a DIY toppings station with crushed Oreo cookies, rainbow sprinkles, and chopped nuts. I keep toppings in small glass bowls for easy access. Kids and adults alike love customizing their servings.
Sauce Drizzles
Warm chocolate syrup or caramel sauce takes your creation to the next level. I use Hershey’s for chocolate and Smucker’s for caramel—they’re consistently reliable. Drizzle just before serving so the sauces don’t melt the ice cream too quickly.
Fresh Fruit Pairings
Balance the sweetness with fresh strawberries, banana slices, or raspberries. I toss berries with 1 tsp sugar to enhance their natural juices. The acidity cuts through the creaminess beautifully.
Coffee Companion
Pair your ice cream with a cup of hot coffee or iced coffee for an affogato-style treat. The warmth of the coffee contrasts perfectly with the cold ice cream. I prefer a medium roast for this pairing.
For a boozy twist, add 1 shot espresso to the coffee. ✨
Frequently Asked Questions
How long does it take to make ice cream in a ball?
It typically takes 15-20 minutes of continuous shaking. The time can vary based on how cold your ice-salt mixture is and how vigorously you shake. Check for a soft-serve consistency to know it’s ready.
Can I make dairy-free ice cream in the ball?
Yes! Substitute coconut milk and almond milk for the dairy. Use the same ratios, and ensure your non-dairy milk is full-fat for the creamiest texture.
Why did my ice cream turn out icy?
This usually happens if the mixture wasn’t cold enough before shaking or if the shaking was inconsistent. Ensure your base is ice-cold and shake continuously for best results.
Nutrition Facts

- BBQ Sausage Recipe Oven: Smoky Depth Without the Grill - September 28, 2026
- BBQ Chicken Bowl Recipe Rice: Smoky Sweetness Over Fluffy Grains - September 28, 2026
- Beef Cutlet Recipe Ideas: Crispy Breaded Patties With Bold Seasonings - September 28, 2026