
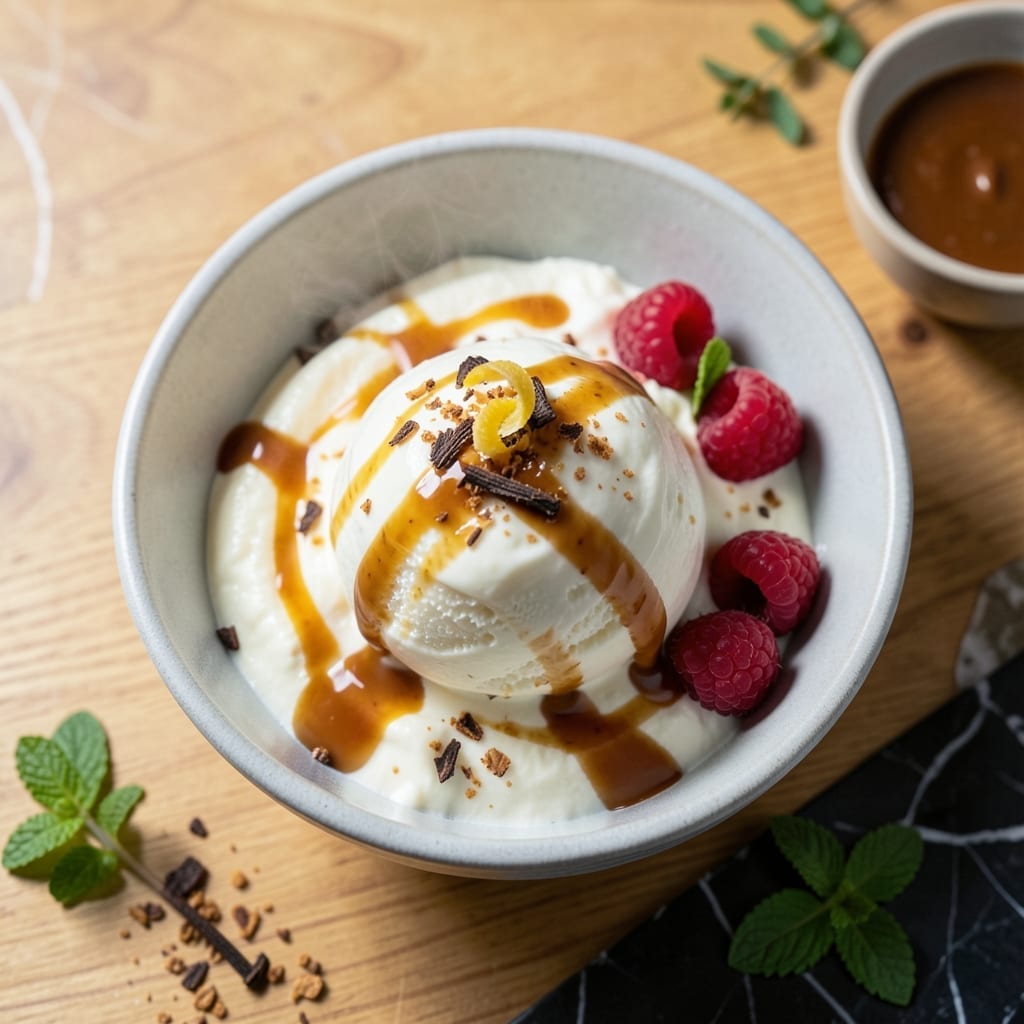
There’s nothing quite like homemade ice cream, fresh from the churn, with that perfect creamy texture you can only achieve in your own kitchen.
This recipe delivers velvety results every time, using simple ingredients and your ice cream maker to create a treat that rivals any parlor.
Ingredients for Ice Cream Recipe for Ice Cream Maker
Cream, sugar, eggs, and vanilla come together for that perfect churned texture you love.
| Ingredient | Amount | Notes |
|---|---|---|
| Heavy Cream 🥛 | 2 cups | Full-fat for creaminess |
| Whole Milk 🥛 | 1 cup | Cold, for smooth texture |
| Granulated Sugar 🍚 | ¾ cup | Fine white sugar preferred |
| Vanilla Extract 🌿 | 1 tbsp | Pure vanilla for best flavor |
| Egg Yolks 🥚 | 4 whole | Large eggs, room temperature |
| Table Salt 🧂 | ¼ tsp | Enhances all flavors |
| Vanilla Bean 🌱 | 1 whole | Split and scraped, optional |
| Heavy Pinch of Salt 🧂 | 1 pinch | For balance |
The cream is non-negotiable here. Look for heavy cream with at least 36% milkfat—this is what gives you that ultra-smooth, scoopable texture. Most grocery stores carry it near the milk, but Trader Joe’s and Whole Foods have great organic options. The egg yolks add richness, so use fresh, large eggs (the color of the yolk doesn’t matter, but fresher is always better).
No vanilla bean? Pure vanilla extract works perfectly. Want to mix it up? Almond extract at half the amount adds a nice twist. If you’re out of whole milk, 2% works in a pinch but avoid skim—you need the fat. For a lighter version, swap half the cream for whole milk, but know the texture won’t be quite as decadent.
The base keeps in the fridge for 2-3 days before churning. Once churned, eat within 1 week for best texture. Freeze leftovers in an airtight container—they’ll keep for 2-3 months (if they last that long).
Why You’ll Love This Recipe
- One Bowl Wonder: Honestly, I just whisk the yolks, sugar, and dairy in one bowl, then let the machine do the rest.
- Rich Vanilla Dream: The heavy cream and egg yolks make it so velvety, and that real vanilla? Pure satisfaction.
- Party Ready: I churn a big batch for birthdays or just Tuesday cravings—it’s always a hit.
- Freezer Friendly: Leftovers stay creamy for weeks, so I always have a scoop ready when the mood strikes.
Step-by-Step Instructions for Ice Cream Maker Ice Cream
Here’s the method I use for ultra-creamy homemade ice cream every single time.
Step 1: Heat the Cream and Infuse Flavor
In a medium saucepan, combine the 2 cups Heavy Cream, 1 cup Whole Milk, and 0.75 cup Granulated Sugar. Set over medium heat and stir until the sugar completely dissolves—you should no longer feel any grit when you rub the mixture between your fingers.
If using the 1 whole Vanilla Bean, split it lengthwise, scrape out the seeds, and add both seeds and pod to the cream mixture. Heat until small bubbles form around the edges and steam rises from the surface, but don’t let it boil. This gentle heating infuses maximum vanilla flavor. Remove from heat and let steep for 10 minutes.
Step 2: Temper the Egg Yolks for a Silky Base
In a separate bowl, whisk the 4 whole Egg Yolks, 0.25 tsp Table Salt, and 1 pinch Heavy Pinch of Salt until pale and slightly thickened. This is called tempering, and it prevents the eggs from scrambling when they hit the hot cream.
Slowly pour about 1 cup of the warm cream mixture into the eggs while whisking constantly. Pour in a thin stream—this gradual addition is key. Once combined, pour the egg mixture back into the saucepan with the remaining cream. Cook over low heat, stirring constantly with a wooden spoon, until the mixture thickens enough to coat the back of the spoon.
Step 3: Strain, Add Vanilla, and Chill Thoroughly
Strain the custard through a fine-mesh sieve into a clean bowl to remove any cooked egg bits and the vanilla pod. Stir in the 1 tbsp Vanilla Extract. If you used a vanilla bean, you can add its scraped seeds now for extra flavor.
Press plastic wrap directly onto the surface of the custard to prevent a skin from forming. Refrigerate for at least 4 hours, preferably overnight. This chilling step is non-negotiable for smooth, creamy results—warm custard will turn to icy soup in your ice cream maker.
Step 4: Churn Until Thick and Creamy
Pour the chilled custard into your ice cream maker and churn according to the manufacturer’s instructions, usually 20-25 minutes. You’ll know it’s ready when it reaches a soft-serve consistency and holds its shape when you press it with a spoon.
If you prefer firmer ice cream, transfer it to a lidded container and freeze for an additional 2-4 hours. For the creamiest texture, press plastic wrap against the surface again before freezing to prevent ice crystals from forming on top.
Pro Tips For Making Ice Cream Recipe For Ice Cream Maker
- Chill the Base: I learned this the hard way—let your custard cool completely in the fridge (at least 4 hours) before churning, or you’ll end up with soupy ice cream that never firms up.
- Temper the Yolks: Slowly whisk about a cup of hot cream mixture into your egg yolks before combining everything, or you’ll scramble them—yes, even if you’re in a hurry.
- Use Full-Fat Dairy: Skip the low-fat milk or cream substitutes; the higher fat content in whole milk and heavy cream is what gives your ice cream that rich, creamy texture.
- Add Vanilla Last: Stir in the vanilla extract after the custard has cooled slightly, so the alcohol doesn’t evaporate and the flavor stays bold and fresh.
Make-Ahead Tips for ice cream recipe for ice cream maker
Prep Ahead Strategy
The custard base can be made up to 3 days in advance and stored in the fridge. This actually improves flavor as the vanilla infuses deeper. I always make mine the night before to save time on churning day. 💡
Chilling Shortcut
If you’re in a hurry, use an ice bath to chill the custard faster. Pour it into a shallow metal bowl and set in a larger bowl filled with ice and a little water. Stir occasionally—it should be ready in about 1-2 hours.
Freezer Prep
Before churning, ensure your ice cream maker’s bowl has been frozen for at least 12 hours. Most models need this to work properly. I keep mine in the freezer full-time so it’s always ready. ❄️
Portion Control
For individual servings, freeze churned ice cream in ½ cup portions in silicone molds. Pop them out when frozen solid for perfect scoops every time. This also prevents freezer burn on unused portions.
Flavor Infusion
Add mix-ins like chocolate chips or crushed cookies during the last 5 minutes of churning. For swirls like caramel, layer them in after churning but before the final freeze. This keeps textures distinct.
Reviving Leftovers
If your ice cream gets too hard, let it sit at room temperature for 10-15 minutes before scooping. For a quick fix, microwave individual portions in 5-second bursts until just soft enough to serve.
Frequently Asked Questions
Do I need to pre-freeze the ice cream maker bowl?
Yes, most models require the bowl to be completely frozen for 12-24 hours before churning. Check your manufacturer’s instructions, as this is critical for proper freezing.
Can I make this without egg yolks?
You can, but the texture won’t be as rich. For an egg-free version, use 1 additional cup of heavy cream and 1/4 cup corn syrup to help stabilize the base.
Why is my ice cream icy instead of creamy?
This usually means the custard wasn’t cold enough before churning or overfilled the machine. Always chill the base for at least 4 hours and don’t exceed your maker’s capacity.
How long will homemade ice cream keep?
It’s best within 1 week for optimal texture. For longer storage, press plastic wrap on the surface and freeze for up to 3 months.
Nutrition Facts

- BBQ Sausage Recipe Oven: Smoky Depth Without the Grill - September 28, 2026
- BBQ Chicken Bowl Recipe Rice: Smoky Sweetness Over Fluffy Grains - September 28, 2026
- Beef Cutlet Recipe Ideas: Crispy Breaded Patties With Bold Seasonings - September 28, 2026