
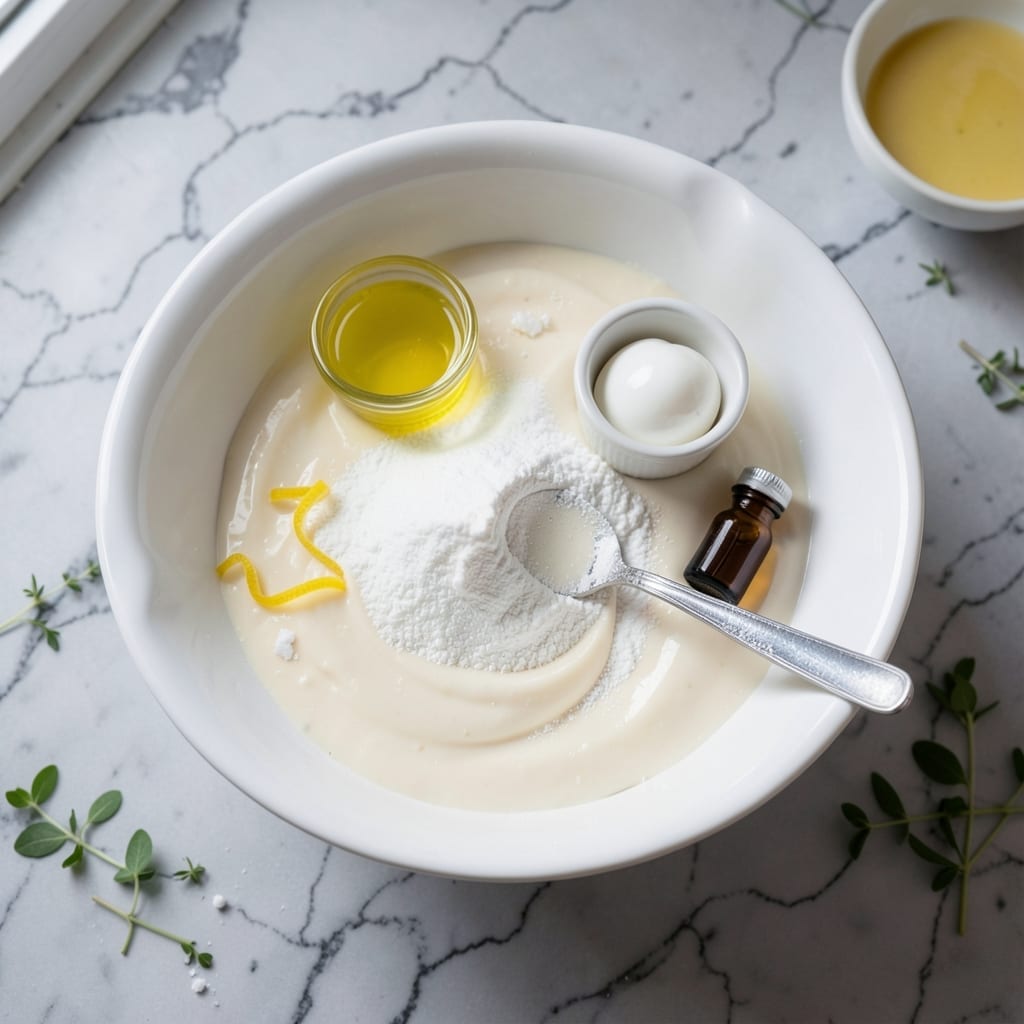
This royal icing is the secret to gingerbread architecture that stands tall. A precise ratio of powdered sugar to egg whites creates a mortar strong enough to build walls and roofs.
It dries hard and glossy, holding pieces firmly in place while providing a smooth base for decorations. The consistency can be adjusted for piping fine details or flooding large areas.
Ingredients for Icing Recipe for a Gingerbread House
Six simple ingredients create a sturdy, glossy mortar for edible architecture.
| Ingredient | Amount | Notes |
|---|---|---|
| Powdered Sugar 🍚 | 4 cups | Sifted for smooth texture |
| Egg Whites 🥚 | 3 whole | Fresh or pasteurized |
| Lemon Juice 🍋 | 2 tsp | Freshly squeezed preferred |
| Vanilla Extract 🌿 | 1 tsp | Pure extract for best flavor |
| Cream of Tartar 🧂 | ½ tsp | Stabilizes the icing |
| Water 💧 | 1 tbsp | As needed for consistency |
The powdered sugar must be ultra-fine—Domino or C&H brands work well, but sift whatever you use to avoid lumps. Egg whites are the backbone here; pasteurized from a carton are safe and convenient, though fresh whites whip up slightly stiffer. Cream of tartar is non-negotiable for stability—find it in the baking aisle at any major grocery store.
No cream of tartar? White vinegar or fresh lemon juice at half the amount can substitute, but the icing may take longer to set. Pasteurized liquid egg whites work at a 1:1 ratio for fresh. Need a vegan option? Aquafaba (chickpea brine) replaces egg whites at 3 tbsp per white, though the flavor is subtly different.
Store icing in an airtight container with plastic wrap pressed directly on the surface. Lasts 2-3 days at room temperature, 1 week refrigerated. If it dries out, whisk in a few drops of water to revive.
Why You’ll Love This Recipe
- 5-Minute Mix: I dump everything in one bowl—powdered sugar, egg whites, a squeeze of lemon—and it’s ready before the oven timer dings.
- Bright, Clean Sweetness: The vanilla and lemon cut through the sugar so the icing tastes fresh, not cloying.
- Holiday Workhorse: It pipes sharp edges for gingerbread walls and still holds up for days on the counter.
- Zero Waste: Extra icing? I freeze it in a zip-top bag, thaw on the counter, and re-pipe like new.
Step-by-Step Instructions for Icing a Gingerbread House
This method delivers a sturdy, glossy icing that holds architectural elements firmly in place.
Step 1: Combine Dry and Liquid Components
In a large mixing bowl, measure out the 4 cups Powdered Sugar—ensure it’s sifted to prevent lumps in your finished icing. The fine texture is crucial for smooth application on your gingerbread structure.
Add the 0.5 tsp Cream of Tartar to the powdered sugar. This ingredient acts as a stabilizer, giving your icing the strength needed to support gingerbread walls and roofs without collapsing.
Step 2: Incorporate the Egg Whites
Separate the 3 whole Egg Whites carefully, ensuring no yolk contaminates the mixture. Add them to the dry ingredients. Using fresh or pasteurized egg whites ensures both safety and optimal texture.
Begin mixing on low speed to combine the ingredients gently. This gradual start prevents powdered sugar from creating a dust cloud. As the mixture comes together, you’ll notice it forming a thick, paste-like consistency.
Step 3: Add Flavorings and Adjust Consistency
Measure and add the 2 tsp Lemon Juice and 1 tsp Vanilla Extract to the bowl. These ingredients provide subtle flavor dimension while maintaining the icing’s structural integrity.
Increase the mixer speed to medium and beat for 5-7 minutes until the icing becomes glossy and holds stiff peaks. If the mixture appears too thick, add the 1 tbsp Water gradually, one teaspoon at a time, until it reaches the desired piping consistency.
Step 4: Test and Adjust for Optimal Performance
To verify your icing has the correct texture for gingerbread house construction, pipe a test line on a flat surface. The icing should hold its shape without slumping and maintain a smooth, glossy finish.
If the icing is too runny, add small amounts of powdered sugar until it thickens. Conversely, if it’s too stiff, incorporate tiny amounts of water. This fine-tuning ensures your creation maintains both visual appeal and structural soundness throughout assembly.
Pro Tips For Making Icing Recipe For A Gingerbread House
- Sift the Sugar: Always sift the powdered sugar first—lumps in the icing will ruin the smooth finish on your gingerbread walls. I learned this the hard way after my first house looked like it had snowdrifts.
- Beat Egg Whites Long: Beat the egg whites to stiff peaks before adding sugar, about 3-4 minutes. Skimping here gives you runny icing that won’t hold the structure.
- Use Fresh Lemon Juice: Bottled lemon juice can add a bitter edge. Freshly squeezed, about 1 teaspoon, brightens the flavor without overpowering the vanilla.
- Cover While Not Using: Keep the icing covered with a damp towel between uses. It dries out fast, and nothing’s worse than trying to pipe crusty royal icing.
Serving Suggestions for This Recipe
Decorative Piping
Use a #3 round tip for outlining windows and doors with precision. The stiff consistency works like edible cement, creating clean lines that hold their shape while drying. I always keep a damp paper towel nearby to wipe the tip between colors.
Flooding Technique
For large flat areas like roofs, thin the icing slightly with 1-2 tsp water until it flows like syrup. Outline first, then flood inside the boundaries using a squeeze bottle. The 10-second rule helps prevent overflow: stop filling when the icing reaches the outline.
Edible Glue
Reserve some ultra-stiff icing in a small bowl for structural joints. Apply sparingly to gingerbread edges before pressing pieces together. The cream of tartar ensures this sets rock-hard within 15-20 minutes, creating a bond stronger than the gingerbread itself.
Colorful Details
Divide icing into small bowls and tint with gel food coloring. For snow effects, add 1 tsp corn syrup to create a glossier finish that mimics fresh snow. I find Americolor gels provide the most vibrant hues without altering consistency.
Finishing Touches
Sprinkle edible glitter or dragée while icing is still wet for sparkle. For texture, pipe shingles on roofs using a #21 star tip. Let each layer dry completely before adding new elements to prevent smudging. 💫
Storage Display
Once fully assembled, store your creation at room temperature in a dry location. Avoid direct sunlight which can cause melting. If humidity is high, place a silica gel packet nearby to absorb excess moisture. Your edible masterpiece will keep for 2-3 weeks if undisturbed.
Frequently Asked Questions
How long does the icing take to dry?
Structural joints set in 15-20 minutes, while decorative piping dries completely in 1-2 hours. For best results, assemble in stages and let each section dry fully before adding weight.
Can I make this without cream of tartar?
Yes, substitute with 1/2 tsp lemon juice or white vinegar. The icing may take slightly longer to set but will still hold. Avoid skipping it entirely for structural pieces.
What’s the best tip for outlining?
A #3 round piping tip creates clean, precise lines for windows and doors. Keep the icing stiff and pipe slowly for sharp definition.
How do I prevent my house from collapsing?
Use ultra-stiff icing as “glue” and let each wall dry for 20 minutes before attaching the roof. Support with cans or books while drying.
Nutrition Facts

- BBQ Sausage Recipe Oven: Smoky Depth Without the Grill - September 28, 2026
- BBQ Chicken Bowl Recipe Rice: Smoky Sweetness Over Fluffy Grains - September 28, 2026
- Beef Cutlet Recipe Ideas: Crispy Breaded Patties With Bold Seasonings - September 28, 2026