
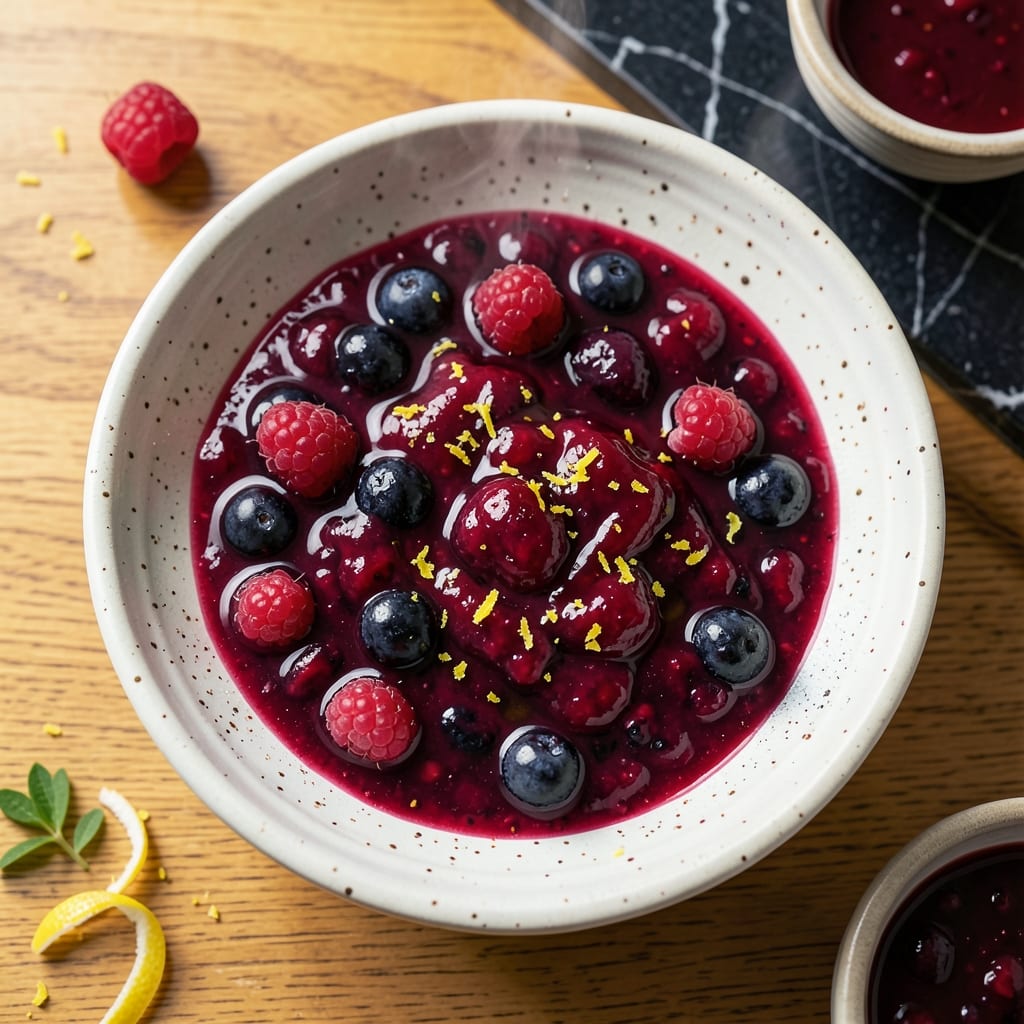
This gelatin-based jam delivers a perfect set every time, transforming fresh fruit into a silky spread with professional texture. The method ensures consistent results without pectin’s unpredictability.
I developed this technique to create a smooth, glossy finish that holds its shape beautifully. Gelatin provides structure while preserving the fruit’s natural brightness and flavor intensity.
What you get is a spread that’s ideal for toast, pastries, or gifting—thick enough to stay put yet soft enough to spread effortlessly. The process takes less than 45 minutes from start to finish.
Store in airtight jars for up to 3 weeks in the refrigerator. Here’s how to make it.
Ingredients for Jam Recipe with Gelatin
Eight ingredients transform fresh fruit into a silky, professional-quality spread with perfect set every time.
| Ingredient | Amount | Notes |
|---|---|---|
| Fresh Mixed Berries 🍓 | 4 cups | Strawberries, raspberries, blueberries preferred |
| Granulated Sugar 🍚 | 2 cups | Fine white granulated for best texture |
| Unflavored Gelatin 🍹 | 2 tbsps | Powdered, bloom in cold water |
| Cold Water 💧 | ½ cup | For blooming gelatin |
| Lemon Juice 🍋 | 2 tbsp | Freshly squeezed for acidity |
| Lemon Zest 🍋 | 1 tsp | Finely grated for brightness |
| Vanilla Extract 🌿 | 1 tsp | Pure extract for depth |
| Butter 🧈 | 1 tbsp | Optional, for glossy finish |
The gelatin is non-negotiable for that perfect set. Use powdered unflavored gelatin—leaf gelatin works but requires different ratios. Knox is the most reliable brand at grocery stores. Fresh berries are ideal, but frozen works too (thaw and drain first). Look for fruit at peak ripeness—underripe berries yield less flavor and pectin, affecting texture.
No berries? Peaches, plums, or apricots work beautifully—just adjust sugar to taste since stone fruits vary in sweetness. Out of lemon? Lime juice at equal volume works, though the flavor profile shifts slightly. For a vegan alternative, agar-agar can substitute gelatin, but the texture differs and requires precise temperature control.
Finished jam keeps in airtight jars for up to 3 weeks refrigerated. For longer storage, process in sterilized jars for 6 months shelf stability. The butter is optional but adds a professional gloss—skip it if avoiding dairy.
Why You’ll Love This Recipe
- 20-Minute Magic: I can make a batch between loading the dishwasher and starting laundry—just berries, sugar, gelatin, and a quick boil.
- Berry Burst: The mixed berries and lemon juice give that bright, tangy pop that store-bought jam just can’t match.
- Gift in a Jar: I double the recipe, fill cute jars, and suddenly I’m the hostess with the mostest at brunch.
- Stretch Your Fruit: Honestly, it’s a great way to use up berries before they go bad, and it keeps for weeks in the fridge.
Step-by-Step Instructions for Jam With Gelatin
This method ensures a professional-quality set with velvety texture and vibrant berry flavor.
Step 1: Bloom the Gelatin Properly
Pour the 0.5 cup Cold Water into a small bowl. Sprinkle the 2 tbsps Unflavored Gelatin evenly over the surface. Do not stir—this is critical. Let it sit undisturbed for 5-10 minutes until the gelatin absorbs all the water and resembles firm, translucent sheets.
The blooming process hydrates the gelatin particles, allowing them to dissolve evenly later. If you stir too soon, you’ll create clumps that won’t fully incorporate into the jam. The mixture should look spongy and hold its shape when you tilt the bowl.
Step 2: Create the Berry Base with Precise Sweetness
In a large, heavy-bottomed saucepan, combine the 4 cups Fresh Mixed Berries and 2 cups Granulated Sugar. Use a potato masher or fork to gently crush about half the berries, releasing their juices while leaving some texture.
Place the pan over medium heat and stir constantly until the sugar fully dissolves and the mixture begins to simmer. This should take 5-7 minutes. Watch for the mixture to turn glossy and the berries to soften, breaking down into a thick, bubbling liquid.
Step 3: Incorporate Gelatin and Flavor Enhancers
Once the berry mixture reaches a full simmer, remove it from heat. Immediately add the bloomed gelatin mixture, 2 tbsp Lemon Juice, 1 tsp Lemon Zest, and 1 tsp Vanilla Extract. Stir vigorously for 1-2 minutes until the gelatin dissolves completely and no streaks remain.
The lemon juice provides necessary acidity to balance the sweetness and help the gelatin set properly. The zest adds aromatic brightness, while vanilla contributes depth. At this stage, the mixture should have a slight sheen and thicken slightly as it cools.
Step 4: Finish with Optional Gloss and Test Set
Return the pan to low heat and stir in the 1 tbsp Butter until fully melted and incorporated. The butter adds a silky finish and enhances the jam’s richness, creating that professional gloss.
To test the set, place a small spoonful on a chilled plate and refrigerate for 2 minutes. If it wrinkles slightly when pushed with your finger, it’s ready. If not, simmer for another 2-3 minutes and retest. The jam should coat the back of a spoon thickly.
Step 5: Jar and Cool for Optimal Texture
Transfer the jam to clean, sterilized jars. Let it cool at room temperature for 30 minutes before sealing with lids. As it cools, you’ll notice it thickens further, achieving that perfect spreadable consistency.
Once completely cool, refrigerate for up to 3 weeks. The gelatin creates a smooth, slightly elastic texture that holds its shape when spread but remains luscious on the tongue. Each batch yields consistent results with that signature glossy finish.
Pro Tips For Making Jam Recipe With Gelatin
- Bloom the Gelatin: Sprinkle the unflavored gelatin over cold water and let it sit for exactly 5 minutes—any less and it won’t dissolve evenly, any more and it’ll clump like a science experiment gone wrong.
- Mash the Berries: Crush the mixed berries slightly before cooking so they release juice faster; I learned this the hard way after stirring a stubborn batch for 20 minutes waiting for it to soften.
- Skip Boiling Gelatin: Never add gelatin directly to boiling fruit—temper it first by stirring in a few spoonfuls of the hot jam to prevent lumps that ruin the smooth texture.
- Add Lemon Last: Stir in the lemon juice at the very end of cooking; adding it too early can make the gelatin set before the jam reaches the right consistency.
Pro Cooking Tips for Great jam recipe with gelatin
Gelatin Blooming Technique
Always bloom gelatin in cold water—never hot—using the 1:4 ratio of gelatin to water by volume. I use Knox brand for consistent results. Let it sit 5-10 minutes until fully hydrated and spongy. Stirring too soon creates clumps that won’t dissolve. 💡
Heat Control Matters
Cook your berry mixture over medium heat to prevent scorching. The sugar can burn if heated too quickly. I use a heavy-bottomed saucepan for even heat distribution. Once simmering, remove from heat before adding gelatin to prevent breaking its setting power.
Dissolving Gelatin Properly
Add bloomed gelatin to the hot fruit mixture off the heat, stirring vigorously for 1-2 minutes. The mixture should look glossy with no streaks. If gelatin isn’t fully dissolved, return to low heat briefly, but avoid boiling—it can weaken the set.
Testing the Perfect Set
Use the plate test: spoon a bit onto a chilled plate, refrigerate for 2 minutes, then push with your finger. It should wrinkle slightly when ready. If not, simmer 2-3 minutes longer and retest. This step ensures your jam will hold its shape. 🔥
Butter for Professional Shine
The optional 1 tbsp butter adds a glossy finish and richness. Stir it in over low heat just until melted. Skip this if avoiding dairy, but I find it elevates the texture significantly, giving that bakery-style appearance.
Cooling for Optimal Texture
Let the jam cool at room temperature for 30 minutes before jarring. This prevents condensation inside the jars, which can affect storage life. Refrigerate once fully cooled to achieve the perfect spreadable consistency.
Nutrition Facts
Frequently Asked Questions
Why use gelatin instead of pectin?
Gelatin creates a smoother, more elastic texture that holds shape beautifully. Unlike pectin, it doesn’t require precise sugar ratios and works consistently with any fruit. The result is a glossy, professional finish every time.
Can I use frozen berries?
Yes, but thaw and drain them first to remove excess liquid. This prevents a watery jam. The 4 cups measurement should be after draining.
How do I fix jam that didn’t set?
Reheat the jam gently, then add 1 tsp more bloomed gelatin per 2 cups of mixture. Stir well and retest the set using the chilled plate method.
How long does it last in the fridge?
Properly stored in airtight jars, it keeps for up to 3 weeks. For longer storage, process in sterilized jars for 6 months shelf stability.

- BBQ Sausage Recipe Oven: Smoky Depth Without the Grill - September 28, 2026
- BBQ Chicken Bowl Recipe Rice: Smoky Sweetness Over Fluffy Grains - September 28, 2026
- Beef Cutlet Recipe Ideas: Crispy Breaded Patties With Bold Seasonings - September 28, 2026