
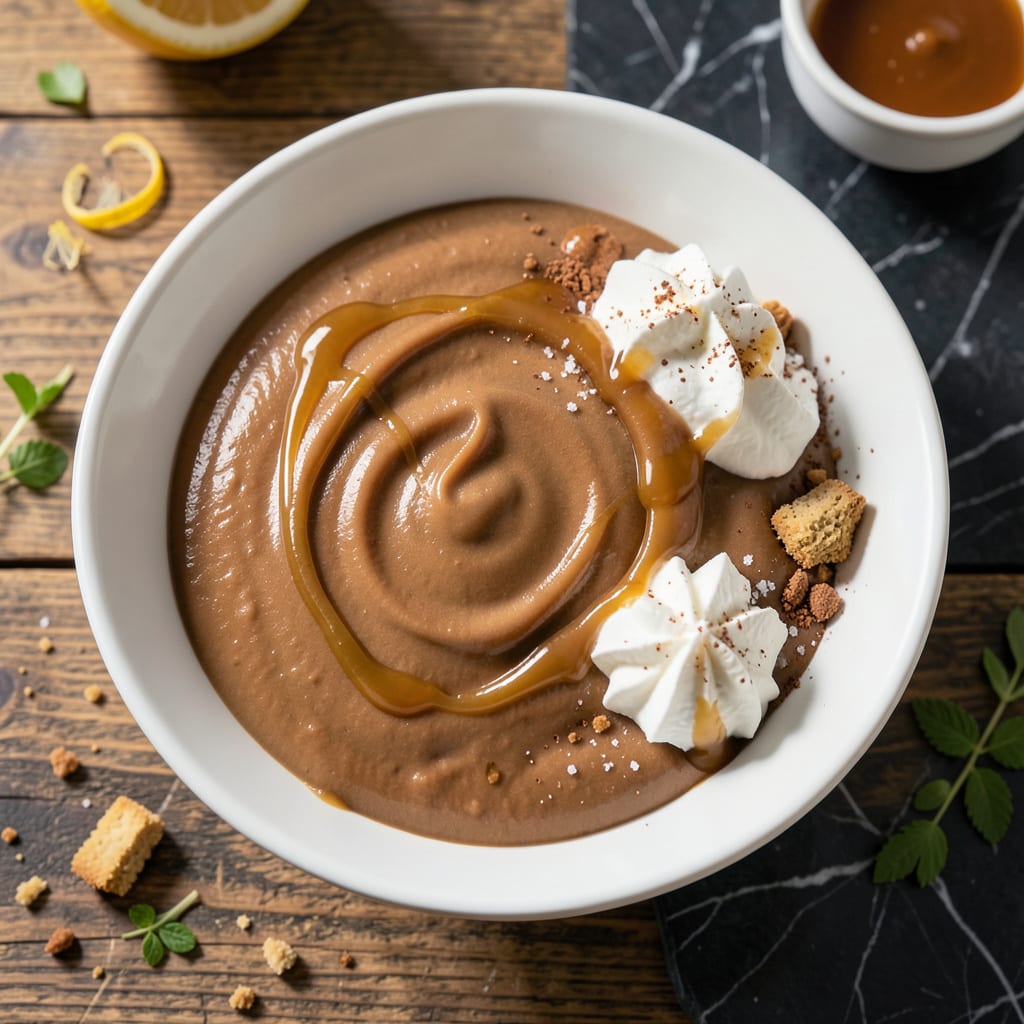
This instant pudding delivers silky smooth results with almost no effort. The process is so simple it feels like magic.
Just whisk the mix with cold milk, let it set, and you’ll have a creamy dessert ready in minutes. Perfect for last-minute cravings or easy entertaining.
Ingredients for Jello Instant Pudding
Just a few ingredients for this creamy, dreamy dessert in minutes.
| Ingredient | Amount | Notes |
|---|---|---|
| Jello Instant Pudding Mix 🍮 | 1 package | 3.4 oz box, any flavor |
| Cold Whole Milk 🥛 | 2 cups | Or 2% milk for lighter texture |
| Heavy Whipping Cream 🥣 | 1 cup | Optional for extra richness |
| Granulated Sugar 🍚 | 2 tbsp | Adjust to taste if desired |
| Vanilla Extract 🌿 | 1 tsp | Pure vanilla for best flavor |
| Butter 🧈 | 1 tbsp | Optional for topping |
| Crushed Cookies 🍪 | ½ cup | For layering or topping |
| Fresh Berries 🍓 | 1 cup | For garnish or mixing in |
| Whipped Topping 🥣 | ½ cup | Optional for serving |
| Chopped Nuts 🌰 | ¼ cup | For added crunch |
The pudding mix is key here—Jell-O brand is the gold standard and you can find it at any grocery store. Any flavor works (chocolate and vanilla are classics), but I always grab the sugar-free version when I’m making it for a crowd. The milk needs to be cold, straight from the fridge. Whole milk gives the richest texture, but 2% works too if you’re watching calories.
No whole milk? Soy milk or oat milk can work in a pinch (the higher fat content, the better). Want it thicker? Use half the amount of milk. Skipping the whipped cream? A dollop of Cool Whip on top works just as well. The sugar is optional—taste the pudding first, then add if needed. Powdered sugar blends in smoother than granulated if you’re mixing it in after setting.
Pudding sets in the fridge in about 5 minutes, but it’s best after 1-2 hours. Leftovers keep covered for 3-4 days. Don’t freeze it—it gets grainy. For a fun twist, layer with crushed cookies and berries right before serving.
Why You’ll Love This Recipe
- 5-Minute Magic: I just dump the pudding mix, milk, and cream together—no cooking, no waiting, just silky pudding in minutes.
- Creamy Vanilla Dream: The heavy cream and vanilla make it so rich I’ve caught my picky nephew licking the bowl clean.
- Potluck Hero: I bring this to every picnic and it’s the first thing gone—works in cups, bowls, or even as a pie filling.
- Pocket Change Treat: A box of Jello pudding and a pint of cream cost less than a fancy dessert but taste like a million bucks.
Step-by-Step Instructions for Jello Instant Pudding
This foolproof method delivers creamy pudding with perfect texture every single time.
Step 1: Whisk the Pudding Mix with Cold Milk
In a medium bowl, combine the 1 package Jello Instant Pudding Mix with the 2 cups Cold Whole Milk. I like to use a wire whisk for this—it breaks up any lumps and ensures the mix dissolves completely without leaving any powdery bits behind.
Whisk vigorously for 2 minutes until the mixture thickens noticeably and becomes smooth. You’ll see it transform from a thin liquid to a silky, spoonable consistency. Don’t be tempted to stop early—this full 2 minutes of whisking is what gives you that perfect pudding texture.
Step 2: Fold in Heavy Cream and Sweeten
Pour in the 1 cup Heavy Whipping Cream and add the 2 tbsp Granulated Sugar and 1 tsp Vanilla Extract. Using a spatula, gently fold these into the pudding base until everything is fully incorporated and no streaks remain.
The heavy cream adds richness and makes the pudding extra velvety. If you’re using the optional 2% milk instead of whole milk, the cream becomes even more important for that luxurious mouthfeel. Taste here and add more sugar if you prefer it sweeter.
Step 3: Chill to Set Properly
Cover the bowl with plastic wrap, pressing it directly onto the surface of the pudding to prevent a skin from forming. Refrigerate for at least 1 hour to allow it to fully set. I usually let mine chill for 2 hours if I have the time—this ensures it’s firm enough to hold its shape when served.
You’ll know it’s ready when the pudding pulls away slightly from the sides of the bowl and a spoon leaves a clean path through it. This chilling step is crucial—skipping it means you’ll have a delicious but runny dessert instead of proper pudding.
Step 4: Add Toppings and Serve
Once set, give it a quick stir to loosen it up slightly. For serving, I love layering the pudding with the 0.5 cup Crushed Cookies and 1 cup Fresh Berries in individual glasses. The cookies add a nice crunch, while the berries provide a fresh, fruity contrast to the creamy pudding.
Top each serving with a dollop of the 0.5 cup Whipped Topping and a sprinkle of the 0.25 cup Chopped Nuts for added texture. For an extra touch, melt the 1 tbsp Butter and drizzle it over the toppings—it adds a beautiful gloss and rich flavor that ties everything together perfectly.
Pro Tips For Making Jello Instant Pudding
- Chill Your Mixing Bowl: I learned this the hard way—using a room-temperature bowl can make the pudding set too slowly. Pop your mixing bowl and beaters in the freezer for 10 minutes before starting.
- Use Ice-Cold Cream: Sounds obvious, but straight-from-the-fridge heavy cream whips up fluffier and holds peaks better. Even 5 minutes on the counter makes a noticeable difference.
- Whisk Before Folding: After adding the pudding mix to the milk, whisk vigorously for at least 2 full minutes—this prevents those pesky lumps that ruin the texture.
- Skip Low-Fat Milk: Whole milk is non-negotiable here. I tried 2% once and the pudding turned out thin and sad—fat content actually changes the outcome.
Essential Equipment for This Recipe
Mixing Bowls
A medium glass or stainless steel bowl works best for whisking. I prefer Pyrex because it’s durable and lets me see the pudding thicken. Avoid plastic—it can retain odors and doesn’t conduct cold as well. 💡
Wire Whisk
A sturdy wire whisk is essential for breaking up lumps in the pudding mix. I use a 10-inch whisk with a comfortable grip—OXO Good Grips is my go-to brand. This tool ensures smooth, lump-free pudding every time.
Measuring Cups
Accurate measurements matter, so use standard liquid measuring cups for the milk and cream. I love Anchor Hocking glass cups with clear markings. For dry ingredients like sugar, nested metal cups work perfectly.
Plastic Wrap
Press plastic wrap directly onto the pudding surface before chilling to prevent a skin from forming. I recommend Glad Press’n Seal for a tight seal. This step keeps your pudding silky smooth while it sets.
Serving Cups
For individual servings, clear glass cups showcase the layers beautifully. I use 8-ounce mason jars for a rustic touch. These also double as storage if you have leftovers.
Optional Gear
A rubber spatula helps fold in cream without deflating the mixture. For toppings, a cookie crumbler makes quick work of crushing cookies evenly. Both are inexpensive but make the process easier. ✨
Nutrition Facts
Frequently Asked Questions
Can I use almond milk instead of whole milk?
Yes, but use unsweetened almond milk for best results. The pudding may set slightly softer than with dairy milk. Stir well and chill for the full 2 hours to ensure proper texture.
How long does homemade pudding last in the fridge?
It stays fresh for 3-4 days when stored in an airtight container. Press plastic wrap directly on the surface to prevent a skin from forming. Stir before serving if separation occurs.
Can I make this pudding without chilling it?
No, chilling is essential for the pudding to set properly. Skipping this step will leave you with a runny mixture. The minimum chill time is 1 hour, but 2 hours is ideal.
Why did my pudding turn out lumpy?
Lumps usually mean the mix wasn’t whisked long enough. Always whisk vigorously for the full 2 minutes until smooth. Using a wire whisk helps break up any clumps effectively.

- BBQ Sausage Recipe Oven: Smoky Depth Without the Grill - September 28, 2026
- BBQ Chicken Bowl Recipe Rice: Smoky Sweetness Over Fluffy Grains - September 28, 2026
- Beef Cutlet Recipe Ideas: Crispy Breaded Patties With Bold Seasonings - September 28, 2026