
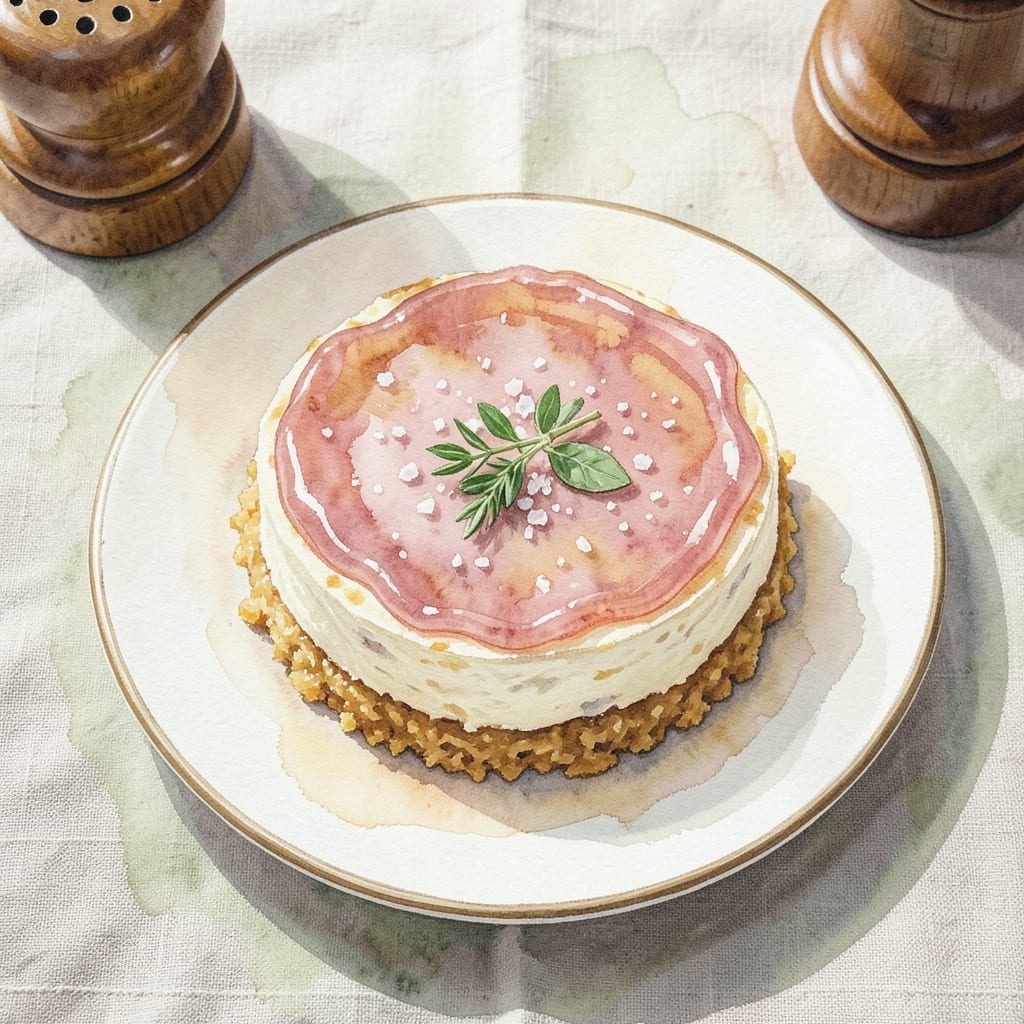
There’s something magical about a no-bake dessert that comes together effortlessly and sets into something extraordinary. This chilled creation layers creamy cheesecake with vibrant, wobbling Jell-O for a refreshing twist on a classic favorite.
The beauty of this recipe lies in its simplicity—no oven required, just a little patience while it sets. Each layer develops its own texture, from the smooth, velvety cheesecake to the light, jiggly Jell-O that adds a pop of color and flavor.
What you get is a dessert that’s as visually stunning as it is delicious, with contrasting textures that surprise and delight. The creaminess of the cheesecake balances the bright, fruity notes of the Jell-O in every bite.
Perfect for warm days or when you need a make-ahead treat. Let’s create this layered masterpiece.
Ingredients for Jello No Bake Cheesecake Recipe Ideas
Simple pantry staples and a little chilling time create this stunning layered dessert.
| Ingredient | Amount | Notes |
|---|---|---|
| Graham Cracker Crumbs 🍪 | 1 ½ cups | For the crust base |
| Granulated Sugar 🍚 | ¼ cup | Divided for crust and filling |
| Unsalted Butter 🧈 | ½ cup | Melted for crust binding |
| Cream Cheese 🧀 | 16 oz | Full-fat, softened to room temperature |
| Powdered Sugar 🍚 | ¾ cup | Sifted for smooth texture |
| Vanilla Extract 🌿 | 1 tsp | Pure for best flavor |
| Heavy Whipping Cream 🥛 | 1 cup | Cold, for whipped topping |
| Flavored Gelatin 🍧 | 1 package | Any fruit flavor, 3 oz size |
| Boiling Water 💧 | 1 cup | For dissolving gelatin |
| Cold Water 💧 | ½ cup | For gelatin mixture |
| Fresh Lemon Juice 🍋 | 1 tbsp | To brighten gelatin layer |
| Fresh Berries 🍓 | 1 cup | For garnish, optional |
The cream cheese is non-negotiable here—Philadelphia brand gives that ultra-smooth texture you want. Graham crackers are easy to find at any Walmart or Target, but if you’re feeling fancy, Anna’s or Mi-Del make great organic versions. Make sure your gelatin is vegetarian (check for piscine-free labels) since some brands use animal-derived ingredients. The butter should be unsalted so you control the salt content.
No graham crackers? Digestive biscuits or vanilla wafers crush up just as well. Out of heavy cream? Coconut cream (chilled overnight) whips up beautifully for a dairy-free twist. Any gelatin flavor works—strawberry, raspberry, or lime all pair perfectly with the creamy layer. If you’re short on powdered sugar, blend granulated in a high-speed blender until fine (about 30 seconds).
This keeps beautifully in the fridge for up to 5 days, though it’s best within 48 hours when the layers are at their freshest. Cover tightly with plastic wrap to prevent absorbing other fridge odors. The crust may soften slightly over time, but the flavors just get better.
Why You’ll Love This Recipe
- No Oven Needed: I just mix, chill, and serve—no baking, no stress, and my kitchen stays cool.
- Bright, Creamy Bite: The tangy cream cheese with sweet jello gives that perfect balance I crave every time.
- Potluck Hero: I bring this to gatherings and always come home with an empty dish and recipe requests.
- Budget Friendly: Graham crackers, cream cheese, and jello stretch my grocery budget without sacrificing flavor. Honestly, it’s a win-win.
Step-by-Step Instructions for Jello No Bake Cheesecake
Here’s how to create those perfect chilled layers with minimal effort and maximum flavor.
Step 1: Prepare the Graham Cracker Crust
In a medium bowl, combine the 1.5 cups graham cracker crumbs with the 0.25 cup granulated sugar. I like to use my hands to mix these thoroughly, ensuring every crumb gets coated with sugar. This creates a balanced sweetness in the base.
Add the 0.5 cup melted unsalted butter and stir until the mixture resembles wet sand. Press this firmly into the bottom of a 9-inch springform pan using the back of a spoon or a small measuring cup. The crust should be compact and even—this prevents it from crumbling when you serve the cheesecake.
Chill the crust in the refrigerator for 15 minutes while you prepare the filling. This brief rest helps it set and develop structure before adding the creamy layer.
Step 2: Create the Creamy Cheesecake Layer
In a large bowl, beat the 16 oz cream cheese until completely smooth. I always use full-fat cream cheese that’s been softened to room temperature—this prevents lumps in your filling. Add the 0.75 cup powdered sugar and 1 tsp vanilla extract, then beat for another 2 minutes until light and fluffy.
The vanilla should be pure extract, not imitation, for the best flavor. Scrape down the sides of the bowl occasionally to ensure everything incorporates evenly. The mixture should look silky with no visible streaks.
In a separate bowl, whip the 1 cup cold heavy whipping cream to stiff peaks. Gently fold this into the cream cheese mixture using a spatula. Be careful not to overmix—you want to maintain that airy texture. Spread this filling over the chilled crust and smooth the top with your spatula.
Step 3: Make the Jello Topping Layer
In a heatproof bowl, dissolve the 1 package flavored gelatin in the 1 cup boiling water. Stir for 2 minutes until completely dissolved—there should be no visible grains. Then add the 0.5 cup cold water and 1 tbsp fresh lemon juice, stirring to combine.
The lemon juice brightens the fruit flavor of the gelatin. Let this mixture cool to room temperature (about 15 minutes), stirring occasionally. It should thicken slightly but not set completely—think of the consistency of thin syrup.
Once cooled, carefully pour the gelatin mixture over the cheesecake layer. Return the entire cake to the refrigerator and chill for at least 4 hours, or until the jello layer is fully set and firm to the touch.
Step 4: Garnish and Serve
Just before serving, arrange the 1 cup fresh berries on top of the set jello layer. I like to create a decorative pattern, but you can simply scatter them for a rustic look. The berries add a fresh contrast to the creamy layers below.
Use a sharp knife dipped in hot water to slice clean portions. Wipe the knife between cuts to maintain those perfect layers. This cheesecake keeps well in the refrigerator for up to 3 days, though it’s best served within 24 hours for optimal texture.
Each serving should reveal distinct layers: the buttery crust, the rich cheesecake filling, and the jiggly jello topping with those vibrant berries on top. The contrast of textures makes every bite exciting.
Pro Tips For Making Jello No Bake Cheesecake Recipe Ideas
- Soften Cream Cheese: Pull the cream cheese out 1-2 hours before starting—room temp blends smoother and prevents lumps that ruin the texture.
- Press Crust Hard: Pack those graham cracker crumbs into the pan like you mean it, using a glass to compress it evenly. A loose crust falls apart when you slice.
- Skip the Overmixing: Once the jello and cream cheese are combined, stop mixing. Overworking it introduces air bubbles that make the filling grainy after chilling.
- Chill Overnight: I learned this the hard way—4 hours in the fridge just isn’t enough. A full 8-hour set guarantees clean slices and that perfect creamy consistency.
Essential Equipment for jello no bake cheesecake recipe ideas
Springform Pan
A 9-inch springform pan is the foundation for this dessert. The removable sides make it easy to release the cheesecake without damaging those perfect layers. I use Wilton or Fat Daddio’s brands for consistent results. 💡
Hand Mixer
For the creamiest filling, a hand mixer is essential to beat the cream cheese and whip the cream. I recommend the KitchenAid 5-Speed for its power and durability. It handles the thick cheesecake batter without straining.
Mixing Bowls
You’ll need at least 2 medium mixing bowls—one for the crust and one for the filling. I prefer Pyrex glass bowls because they’re sturdy, easy to clean, and let me monitor my mixing progress.
Rubber Spatula
A good rubber spatula helps scrape every bit of filling from the bowl and smooths the layers evenly. The OXO Good Grips silicone spatula is my go-to—it’s heat-resistant and flexible for folding whipped cream gently.
Whisk
For dissolving the gelatin, a wire whisk ensures no lumps remain. A 10-inch balloon whisk gives you the reach and control needed for even mixing. I also use it to whip small amounts of cream if needed.
Measuring Tools
Accurate measurements are key, so keep dry and liquid measuring cups on hand. I use OXO Angled Measuring Cups for easy reading. Don’t forget measuring spoons for the vanilla and lemon juice. ⚡
Nutrition Facts
Frequently Asked Questions
Can I use a different pan if I don’t have a springform?
Yes! A 9×9-inch square pan or pie dish works well. Line it with parchment for easier slicing. The layers may be thicker, so adjust chilling time to 5-6 hours.
Why did my Jell-O layer separate from the cheesecake?
This happens if the gelatin is too hot when poured. Always cool it to room temperature first. Also, ensure the cheesecake layer is fully chilled before adding Jell-O.
Can I make this ahead for a party?
It keeps well for 3 days in the fridge. Add berries just before serving to keep them fresh. The flavors deepen after 24 hours.
What’s the best gelatin flavor to use?
Bright flavors like strawberry, raspberry, or lime pair perfectly with the creamy base. Avoid clear gelatin—it won’t give the same vibrant look.

- BBQ Sausage Recipe Oven: Smoky Depth Without the Grill - September 28, 2026
- BBQ Chicken Bowl Recipe Rice: Smoky Sweetness Over Fluffy Grains - September 28, 2026
- Beef Cutlet Recipe Ideas: Crispy Breaded Patties With Bold Seasonings - September 28, 2026