
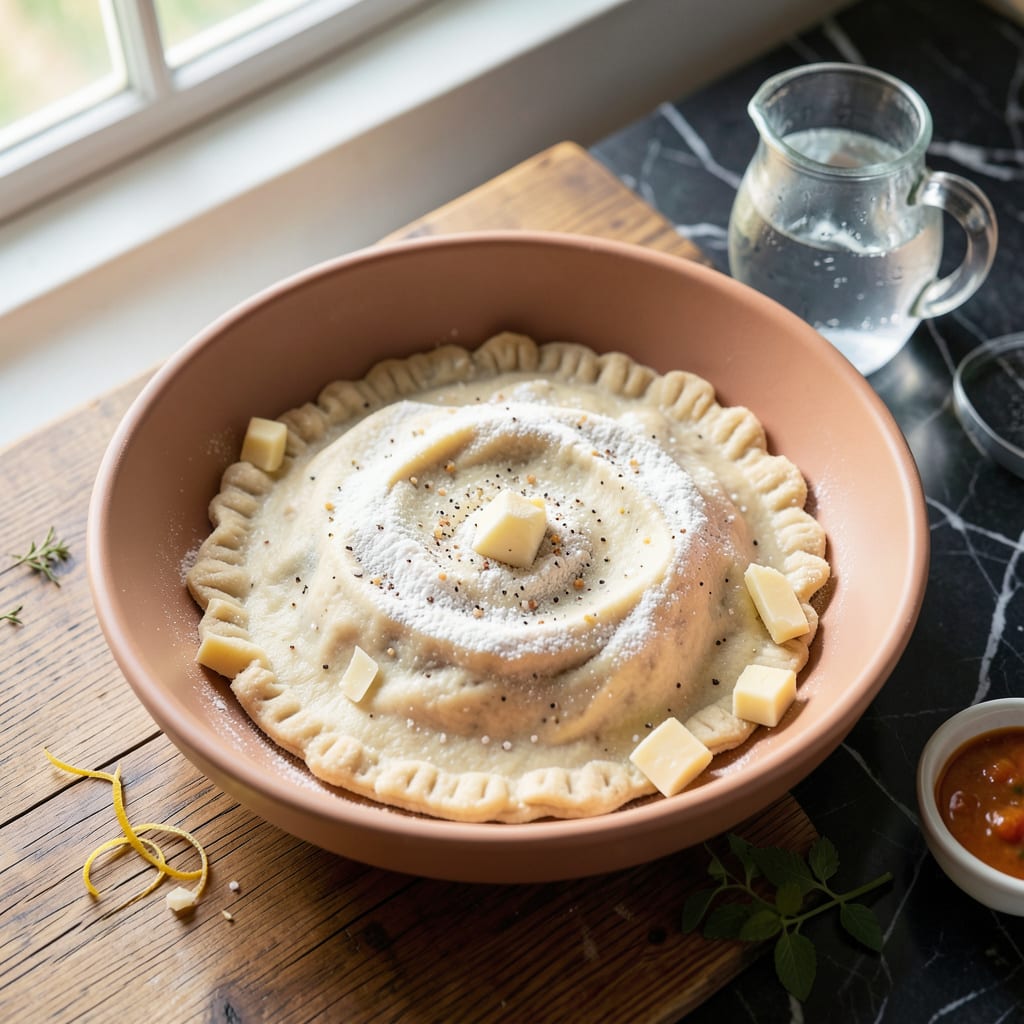
Mastering pie crust is the foundation of exceptional baking, and this method delivers flaky, tender layers every time. The secret lies in cold ingredients and minimal handling to prevent gluten development.
With just a few simple steps—mixing, resting, rolling—you’ll achieve a golden crust that shatters with each bite. This technique works for any pie, from fruit to custard.
Ingredients for Joy of Cooking Pie Crust
Cold ingredients and minimal handling create that signature flaky, golden texture every baker dreams of.
| Ingredient | Amount | Notes |
|---|---|---|
| All-Purpose Flour 🌾 | 2 ½ cups | Sifted for lighter texture |
| Unsalted Butter 🧈 | 1 cup | Cold, cubed into 1/2-inch pieces |
| Vegetable Shortening 🥛 | ¼ cup | Cold, for extra flakiness |
| Ice Water 💧 | ½ cup | Plus 1 tbsp as needed |
| Fine Sea Salt 🧂 | 1 tsp | Diamond Crystal preferred |
| Granulated Sugar 🍚 | 1 tbsp | Optional, for sweet crusts |
| White Vinegar 🍋 | 1 tsp | Or apple cider vinegar |
| Large Egg 🥚 | 1 whole | Cold, for binding |
The butter is non-negotiable here—European-style with 82% fat content (like Plugrá or Kerrygold) delivers superior flakiness. Shortening adds stability, but leaf lard (for non-vegetarians) is the gold standard. Always use ice-cold water; warm water develops gluten prematurely. Measure flour by spooning into cups and leveling—scooping directly packs it down, leading to dense crust.
No shortening? Use all butter (add an extra 2 tbsp). Skip the sugar for savory pies. Vodka at 1:1 ratio with water makes an even flakier crust (alcohol evaporates, minimizing gluten). For extra richness, replace 1 tbsp ice water with cold buttermilk. The vinegar tenderizes—don’t omit it, even if you can’t taste it.
Dough keeps 2 days refrigerated or 3 months frozen. Wrap tightly in plastic—oxygen is the enemy. Bring to room temperature before rolling to prevent cracking. Pre-baked crusts (blind-baked) hold 1 day at room temp in an airtight container.
Why You’ll Love This Recipe
- No-Fuss Mixing: I just pulse the flour, cold butter, shortening, and salt in my food processor—no fancy techniques, just quick and easy.
- Buttery Flake: The combo of butter and shortening gives it that perfect crispness with layers that practically melt in your mouth.
- Freezer Friendly: I always double the batch and freeze the extra dough—ready to go for impromptu pies or tarts.
- Pantry Staples: Between us, I already have all the ingredients on hand, so it’s a last-minute lifesaver.
Step-by-Step Instructions for Buttery Flaky Pie Crust
Master the technique and achieve perfect layers with this time-tested method.
Step 1: Combine Dry Ingredients for Structure
In a large mixing bowl, whisk together the 2.5 cups All-Purpose Flour, 1 tsp Fine Sea Salt, and 1 tbsp Granulated Sugar until evenly distributed. I sift the flour first for a lighter texture, as noted in the ingredients, which prevents a dense crust.
The sugar adds subtle sweetness to balance savory fillings, while the fine sea salt enhances all the flavors. This dry mixture creates the foundation for your flaky layers, so take your time to blend it thoroughly.
Step 2: Cut in Cold Fats for Flakiness
Add the 1 cup Unsalted Butter (cold, cubed into ½-inch pieces) and 0.25 cup Vegetable Shortening to the flour mixture. Use a pastry cutter or your fingers to work the fats into the dry ingredients until the mixture resembles coarse crumbs with pea-sized pieces of fat visible.
Keep the fats cold throughout this process—this is what creates those desirable flaky layers. The combination of butter and shortening gives you the best of both worlds: butter for flavor and shortening for extra flakiness. Work quickly to prevent the fats from melting.
Step 3: Bind the Dough with Liquid Ingredients
In a small bowl, whisk together the 1 whole Large Egg, 0.5 cup Ice Water, and 1 tsp White Vinegar. The vinegar tenderizes the gluten, while the egg adds structure and richness to the crust.
Create a well in the center of your flour-fat mixture and pour in the liquid ingredients. Using a fork, gently mix until the dough just comes together. It will look shaggy—that’s perfect. Avoid overmixing, which develops gluten and results in a tough crust.
Step 4: Chill and Rest the Dough
Turn the dough out onto a lightly floured surface and divide it into two equal portions. Shape each into a disk about 1 inch thick, wrap tightly in plastic wrap, and refrigerate for at least 1 hour or up to 2 days.
This resting period allows the gluten to relax and the fats to rechill, making the dough easier to roll out. It also gives the liquid time to fully hydrate the flour. The dough should feel firm but pliable when properly chilled.
Step 5: Roll and Fit the Crust
On a lightly floured surface, roll one disk of dough into a 12-inch circle about ⅛-inch thick. Transfer it to a 9-inch pie dish by rolling it around your rolling pin and unrolling it over the dish.
Gently press the dough into the bottom and up the sides of the dish without stretching it. Trim the edges, leaving a ½-inch overhang. For a double-crust pie, repeat with the second disk for the top crust. The chilled dough should hold its shape beautifully during this process.
Pro Tips For Making Joy Of Cooking Pie Crust
- Chill the Fat: Keep your butter and shortening ice cold until the last second—cut them into the flour quickly so they stay in small, visible pieces. I learned this the hard way after my first few crusts turned out tough and flat.
- Measure Water Carefully: Start with 1 tablespoon less ice water than the recipe suggests, then add more by the teaspoon if needed. Too much water makes the dough sticky and hard to roll.
- Skip the Overworking: Stop mixing as soon as the dough comes together, even if it looks a little shaggy. Overworking develops gluten, and your crust will be dense instead of flaky.
- Rest Before Rolling: Give the dough a solid 30 minutes in the fridge before rolling—this relaxes the gluten and prevents shrinking. My grandmother swore by this, and she was right.
Serving Suggestions for Leftovers
Pre-Baking Prep
For a blind-baked crust, preheat your oven to 375°F and line the crust with parchment paper. Fill with pie weights or dried beans to prevent puffing. I use ceramic pie weights for even heat distribution.
Fruit Pie Presentation
For fruit pies, brush the top crust with 1 beaten egg white mixed with 1 tbsp water for a glossy finish. Sprinkle with coarse sugar for crunch. Cut 4-5 slits in the top to allow steam to escape.
Custard Pie Protection
Custard pies need special care. Pre-bake the crust for 15 minutes at 375°F to create a barrier against soggy bottoms. I always dock the crust with a fork before pre-baking to prevent air bubbles.
Savory Pie Serving
For quiches or pot pies, serve warm with a side of mixed greens dressed in a light vinaigrette. The acidity cuts through the richness beautifully. I love adding a sprinkle of flaky sea salt on top just before serving.
Storage Tips
Unbaked crust disks keep in the fridge for 2 days or freeze for 3 months. Wrap tightly in plastic. Baked crusts keep at room temperature for 1 day in an airtight container. 💡
Garnish Ideas
Fresh whipped cream or a scoop of vanilla ice cream complements any sweet pie. For savory pies, a dusting of fresh herbs like thyme or rosemary adds a pop of color and flavor.
Nutrition Facts
Frequently Asked Questions
Can I use all butter instead of shortening?
Yes! Replace shortening with an extra 2 tablespoons butter. The crust will be slightly less flaky but richer in flavor. Keep everything ice-cold for best results.
Why does my crust turn out tough?
Overworking the dough develops gluten, making it tough. Mix just until it comes together, and avoid stretching when fitting into the pan.
How do I prevent a soggy bottom crust?
Pre-bake the crust for 15 minutes at 375°F before adding filling. Docking with a fork and using pie weights helps too.
Can I make the dough ahead of time?
Wrap tightly and refrigerate for up to 2 days or freeze for 3 months. Thaw in the fridge before rolling.

- BBQ Sausage Recipe Oven: Smoky Depth Without the Grill - September 28, 2026
- BBQ Chicken Bowl Recipe Rice: Smoky Sweetness Over Fluffy Grains - September 28, 2026
- Beef Cutlet Recipe Ideas: Crispy Breaded Patties With Bold Seasonings - September 28, 2026