
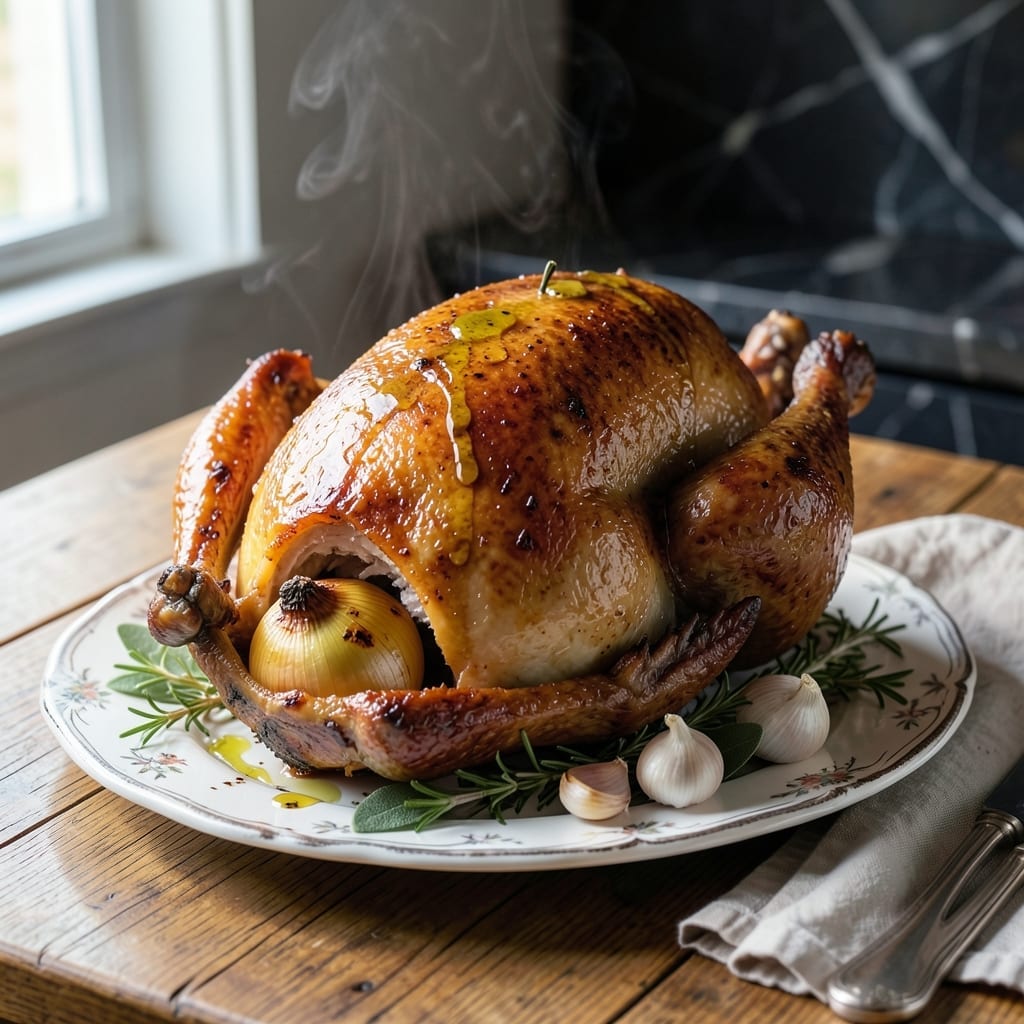
For generations, this herb-roasted turkey has been the centerpiece of holiday meals, delivering consistent, impressive results every time. The classic preparation method ensures juicy, flavorful meat with golden-brown skin that makes a stunning presentation.
I’ve refined this technique to balance tradition with modern convenience, using simple ingredients to create layers of aromatic flavor. The herb butter basting locks in moisture while building a rich, savory crust that’s impossible to resist.
What emerges from the oven is a tender, perfectly cooked turkey that serves as the heart of your feast. The herbs infuse every bite with warmth, and the skin crisps to an irresistible golden finish.
Serve this as your holiday centerpiece with all the classic sides. Here’s how to achieve it with confidence.
Ingredients for Joy of Cooking Turkey
Classic holiday centerpiece requires fresh turkey and aromatic herbs for timeless flavor.
| Ingredient | Amount | Notes |
|---|---|---|
| Whole Turkey 🦃 | 12 lb | Fresh or thawed, giblets removed |
| Unsalted Butter 🧈 | 1 cup | Softened for herb butter |
| Fresh Rosemary 🌿 | 2 tbsp | Finely chopped, stems discarded |
| Fresh Thyme 🍃 | 2 tbsp | Finely chopped, stems discarded |
| Fresh Sage Leaves 🍃 | 2 tbsp | Finely chopped for depth |
| Garlic Cloves 🧄 | 6 cloves | Minced for aromatic base |
| Kosher Salt 🧂 | 2 tbsp | Diamond Crystal preferred for consistency |
| Black Pepper 🌶️ | 1 tbsp | Freshly ground for robust flavor |
| Large Yellow Onion 🧅 | 1 whole | Quartered for cavity aromatics |
| Fresh Celery Stalks 🥬 | 4 pieces | Cut into large chunks for cavity |
| Medium Carrots 🥕 | 3 whole | Peeled, cut into large chunks |
| Low-Sodium Chicken Broth 🍲 | 2 cups | For basting and moisture |
| Dry White Wine 🍷 | 1 cup | Optional for deglazing pan |
The turkey is the foundation—opt for fresh or properly thawed to ensure even cooking. Whole Foods and Costco carry excellent fresh turkeys during the holiday season. For the herbs, organic bunches from the produce section have superior fragrance. The unsalted butter allows you to control the sodium content precisely, which is essential for balanced seasoning.
No fresh herbs? Dried herbs at one-third the amount work in a pinch, though the flavor won’t be as vibrant. For the wine, any dry white like Sauvignon Blanc works—skip the cooking wine. If avoiding alcohol, additional chicken broth with a splash of apple cider vinegar mimics the acidity. The celery, carrots, and onion can be swapped for other aromatics like leeks or fennel.
Store the turkey in the coldest part of your refrigerator (usually the back) for up to 2 days before cooking. Fresh herbs keep wrapped in damp paper towels for 5-7 days. The herb butter can be made a day ahead and refrigerated until use.
Why You’ll Love This Recipe
- Set It & Forget: I rub the turkey with butter and herbs, pop it in the oven, and let the rosemary and thyme do all the work—no basting required.
- Herb-Infused Magic: The combination of fresh sage, rosemary, and thyme under the skin gives every bite a rich, aromatic depth that’s hard to beat.
- Holiday or Tuesday: This turkey shines at Thanksgiving, but honestly, I’ve made it for Sunday dinner just because.
- Leftovers for Days: One roast feeds us for a week—sandwiches, soups, you name it. Between us, that’s my favorite part.
Step-by-Step Instructions for Classic Herb-Roasted Turkey
This method ensures a golden, herb-infused centerpiece with juicy meat and crisp skin for your holiday table.
Step 1: Prepare the Herb Butter and Season the Turkey
Remove the whole turkey from the refrigerator 1 hour before cooking to bring it to room temperature. Pat the skin completely dry with paper towels—this is essential for achieving crispy skin. I focus on the cavity and under the wings where moisture tends to collect.
In a small bowl, combine the 1 cup Unsalted Butter with the 2 tbsp Fresh Rosemary, 2 tbsp Fresh Thyme, 2 tbsp Fresh Sage Leaves, and 6 cloves Garlic Cloves. Mix until the herbs are evenly distributed. Gently separate the turkey skin from the breast meat and spread half of the herb butter underneath, then rub the remaining butter all over the exterior of the turkey.
Season the cavity and skin with the 2 tbsp Kosher Salt and 1 tbsp Black Pepper, ensuring every surface is evenly coated. This layering of flavors from the inside out guarantees a well-seasoned bird.
Step 2: Stuff the Cavity and Truss the Turkey
Place the 1 whole Large Yellow Onion, 4 pieces Fresh Celery Stalks, and 3 whole Medium Carrots into the cavity of the turkey. These aromatics infuse the meat with subtle flavor as it roasts. I tuck a few extra herb sprigs into the cavity for added depth.
Truss the legs together with kitchen twine to maintain a compact shape, which promotes even cooking. Tuck the wings under the body to prevent them from over-browning. This step isn’t just for presentation—it ensures the turkey cooks uniformly and the skin crisps evenly.
Step 3: Roast the Turkey to Golden Perfection
Preheat your oven to 325°F. Place the turkey breast-side up on a roasting rack set inside a large roasting pan. Pour 1 cup Dry White Wine and 1 cup of the 2 cups Low-Sodium Chicken Broth into the pan—this creates a moist environment and forms the base for a rich pan sauce later.
Roast the turkey for approximately 3 to 3½ hours, basting with the remaining 1 cup Low-Sodium Chicken Broth every 45 minutes. You’ll know it’s done when the skin is a deep golden brown and an instant-read thermometer inserted into the thickest part of the thigh (not touching bone) reads 165°F.
Step 4: Rest and Carve for Optimal Juiciness
Transfer the turkey to a cutting board and tent loosely with foil. Let it rest for at least 30 minutes before carving—this allows the juices to redistribute throughout the meat, ensuring every slice is moist and flavorful. I use this time to finish any side dishes or make gravy from the pan drippings.
Carve the turkey by first removing the legs and thighs, then slicing the breast against the grain into even ½-inch thick slices. Serve immediately with the pan juices spooned over the top for a classic, herb-infused presentation that’s sure to impress.
Pro Tips For Making Joy Of Cooking Turkey
- Rest Before Carving: Let your turkey rest for at least 30 minutes under foil after roasting—this keeps the juices inside where they belong, not all over your cutting board.
- Soften the Butter: Take the unsalted butter out 1 hour before cooking so it mixes easily with the fresh rosemary, thyme, and sage for a smooth herb paste.
- Skip the Stuffing: I learned this the hard way—cooking stuffing inside the turkey makes the bird dry and risks uneven cooking; roast it separately in a dish.
- Pat It Dry: After rinsing the turkey, pat it completely dry with paper towels—this guarantees crispy skin, especially when rubbed with the herbed butter.
Common Mistakes When Making joy of cooking turkey
Skipping the Rest
Never carve your turkey immediately after removing it from the oven. The juices need at least 30 minutes to redistribute, or you’ll lose all that beautiful moisture to the cutting board. I once rushed this step and ended up with dry meat—lesson learned. 💡
Overstuffing the Cavity
Avoid packing the cavity too tightly with aromatics. Too much stuffing can prevent heat from circulating properly, leading to uneven cooking. Stick to onion, celery, and carrots in large chunks for best results.
Neglecting the Thermometer
Relying on cooking time alone is risky. Use an instant-read thermometer to check the thickest part of the thigh, which should reach 165°F. The pop-up timers that come with some turkeys aren’t always accurate.
Uneven Oven Heat
Hot spots in your oven can cause uneven browning. Rotate the pan 180 degrees halfway through cooking. If the skin browns too quickly, tent the turkey loosely with foil to prevent burning.
Skipping the Baste
Forgetting to baste every 45 minutes can result in dry meat. Use the pan juices or chicken broth to keep the turkey moist. I set a timer to remind myself—it makes a noticeable difference.
Improper Trussing
Not trussing the legs can cause the turkey to cook unevenly and the skin to tear. Use kitchen twine to tie the legs together and tuck the wings under the body. This helps maintain shape and promotes even cooking. 🔥
Nutrition Facts
Frequently Asked Questions
How long should I thaw a frozen turkey?
Allow 24 hours of thawing time for every 4-5 pounds in the refrigerator. For a 12-pound bird, plan for about 3 days. Never thaw at room temperature.
Can I roast the turkey at a higher temperature?
Yes, but reduce cooking time. At 350°F, expect about 2 to 2½ hours for a 12-pound bird. Watch closely to avoid over-browning the skin.
What if the breast finishes cooking before the thighs?
Tent the breast with foil to slow its cooking while the thighs reach 165°F. Alternatively, start roasting breast-side down, then flip halfway through.
How do I make crispy skin without drying the meat?
Pat the skin thoroughly dry before roasting and baste regularly. The herb butter helps crisp the skin while keeping the meat juicy.

- BBQ Sausage Recipe Oven: Smoky Depth Without the Grill - September 28, 2026
- BBQ Chicken Bowl Recipe Rice: Smoky Sweetness Over Fluffy Grains - September 28, 2026
- Beef Cutlet Recipe Ideas: Crispy Breaded Patties With Bold Seasonings - September 28, 2026