
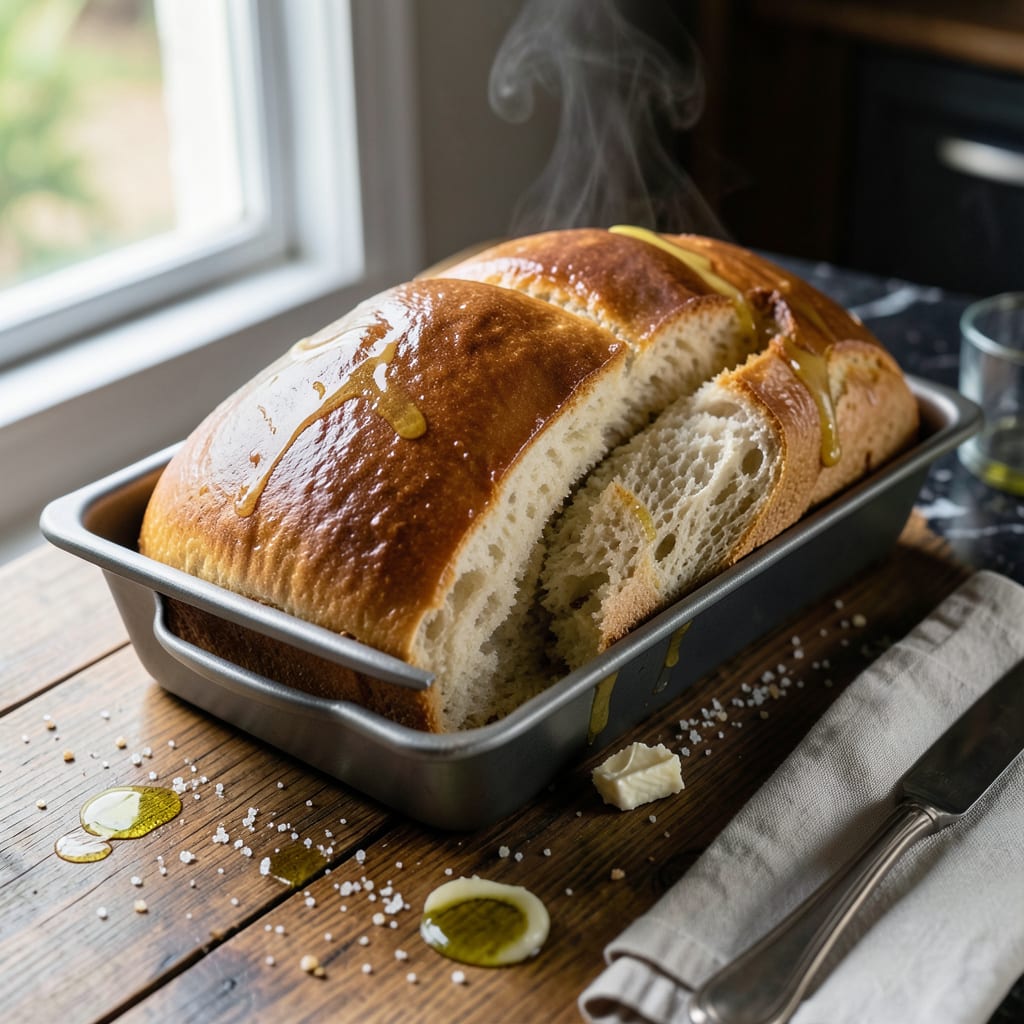
There’s nothing like the aroma of fresh bread filling your kitchen, and this method delivers homemade results with minimal effort. The bread machine handles the mixing, kneading, and baking while you focus on other tasks.
With precise ingredient measurements and the right settings, you’ll achieve a golden, perfectly textured loaf every time. This approach takes the guesswork out of bread-making, ensuring consistent quality without hands-on work.
Ingredients for Kbs Bread Machine
Minimal effort, maximum aroma. These ingredients bring homemade bread to life in your machine.
| Ingredient | Amount | Notes |
|---|---|---|
| Bread Flour 🌾 | 3 ½ cups | King Arthur preferred for consistency |
| Warm Water 💧 | 1 ¼ cups | 110°F to activate yeast |
| Active Dry Yeast 🍞 | 2 ¼ tsp | Or one standard bread machine packet |
| Granulated Sugar 🍚 | 2 tbsp | Feeds yeast for rise |
| Salt 🧂 | 1 ½ tsp | Fine sea salt preferred |
| Unsalted Butter 🧈 | 2 tbsp | Softened to room temperature |
| Non-Fat Dry Milk 🥛 | ¼ cup | Enhances texture and browning |
| Large Egg 🥚 | 1 whole | Room temperature for even mixing |
| Honey 🍯 | 1 tbsp | Adds subtle sweetness and moisture |
| Olive Oil 🫒 | 1 tbsp | For greasing pan and dough |
The flour is the foundation—King Arthur bread flour gives that perfect rise and texture. Most grocery stores carry it, but Walmart or Costco have the best bulk prices. Yeast needs to be fresh (check the expiration date on the packet). I always keep an extra jar in the freezer—lasts 6 months and stays potent. For the water, use a thermometer if you’re unsure about temperature (110°F is the sweet spot).
No bread flour? All-purpose in a pinch, but add an extra tablespoon of vital wheat gluten per cup. Out of yeast? Check the baking aisle—Fleischmann’s or Red Star are reliable. Honey can be swapped for maple syrup or agave at a 1:1 ratio. The dry milk is optional but adds a nice tenderness—skip it if you don’t have it. Butter can be replaced with oil (same amount).
Store flour in an airtight container to keep bugs out—lasts 1 year at room temp. Yeast goes in the fridge after opening. This loaf stays fresh for 3-4 days in a bread box or wrapped tightly. Freeze slices for up to 3 months (toast straight from frozen).
Why You’ll Love This Recipe
- Set and Forget: I toss in the bread flour, yeast, sugar, and salt, add warm water, and let the machine do the work—no kneading, no fuss.
- Warm, Fresh Slices: That first bite of warm, homemade bread with its soft crumb and buttery flavor? Worth every second.
- Meal Prep Hero: I bake a loaf on Sunday and it’s sandwiches, toast, or garlic bread all week long.
- Budget Friendly: Flour, yeast, sugar, salt—pantry staples that cost pennies but taste like a bakery masterpiece.
Step-by-Step Instructions for KBS Bread Machine
Let the machine do the work while you enjoy the process and the results.
Step 1: Prepare the Bread Pan and Wet Ingredients
Begin by removing the bread pan from your machine and coating it lightly with the olive oil. This prevents sticking and makes removal effortless. Place the pan back in the machine but leave it unplugged for now.
Add the warm water first, followed by the large egg, honey, and unsalted butter. I always crack the egg into a small bowl first to avoid shell fragments. The liquids should be at room temperature to ensure even mixing.
Step 2: Layer Dry Ingredients Strategically
Next, add the non-fat dry milk, granulated sugar, and salt to the pan. Make sure these dry ingredients are layered on top of the wet ones, not mixed in yet. The sugar and dry milk will dissolve properly during the kneading cycle.
This order matters: wet ingredients at the bottom, then dry, with yeast last. It prevents the yeast from activating too early and ensures all components incorporate evenly. The salt should never touch the yeast directly, as it can inhibit activation.
Step 3: Add Flour and Create a Well for Yeast
Measure the 3.5 cups bread flour carefully and add it to the pan, covering the previous ingredients completely. Use a spoon to create a small well or indentation in the center of the flour. This is where the yeast will go.
Add the 2.25 tsp active dry yeast to this well. The flour acts as a barrier between the yeast and the liquid ingredients, giving you control over when the yeast activates—in this case, when the machine starts its cycle.
Step 4: Select Settings and Begin the Cycle
Insert the bread pan into the machine securely. Close the lid and select the basic bread cycle with a medium crust setting. My machine takes about 3 hours and 30 minutes for this cycle, but check your manual as times may vary.
Press start and let the machine work its magic. You’ll hear the kneading begin first, followed by the rising cycles. Resist the urge to open the lid during the first hour—the temperature and humidity need to remain stable for proper activation.
Step 5: Remove and Cool the Finished Loaf
When the cycle completes, the machine will beep. I immediately use oven mitts to remove the pan, as it will be very hot. Gently shake the pan to loosen the loaf, then turn it out onto a wire rack.
Let the bread cool for at least 20 minutes before slicing. This cooling period allows the internal structure to set, preventing a gummy texture. The crust should be golden brown with a hollow sound when tapped on the bottom.
Pro Tips For Making Kbs Bread Machine
- Check Yeast First: I learned this the hard way—always proof your active dry yeast in the warm water with a pinch of sugar for 5-10 minutes before adding to the machine. If it doesn’t bubble, your bread won’t rise, no matter how long you wait.
- Use Bread Flour Only: After a few dense loaves, I finally figured out that all-purpose flour just doesn’t cut it here. Bread flour’s higher protein content gives the KBS loaf its structure and chew.
- Skip Overpacking: Resist the urge to max out the machine’s capacity. This recipe works best at about 70-75% full—any more and the dough won’t knead properly, leaving you with a sad, uneven brick.
- Warm the Bowl: Sounds weird, but it works: rinse your bread machine pan with warm water before adding ingredients. It keeps the yeast active during the first mix and shaves 10 minutes off the rise time.
Pro Cooking Tips for Perfect Results
Yeast Activation Control
Always add yeast last to prevent premature activation. I create a small well in the 3.5 cups bread flour to keep it separated from wet ingredients until the machine starts. This ensures the yeast activates at the right moment for perfect rise. 🌡️
Precise Liquid Temperature
The 1.25 cups warm water should be exactly 110°F. Too hot kills the yeast, too cold slows activation. I use a digital thermometer for accuracy—it’s a game-changer for consistent results.
Ingredient Layering Order
Wet ingredients first, then dry, with yeast last. This sequence prevents yeast from touching liquids before kneading begins. I layer non-fat dry milk and granulated sugar between wet and dry ingredients for even distribution.
Crust Setting Adjustment
For a darker crust, select the dark setting on your machine. This adds about 10-15 minutes to the baking time. I prefer medium crust for this recipe—it gives that perfect golden color without being too tough.
Machine Maintenance Tip
Clean the bread pan immediately after use while it’s still warm. Soak stubborn bits in warm, soapy water for 15 minutes. I also wipe the interior with a damp cloth after each use to prevent buildup. 💡
Altitude Adjustments
If you’re above 3,000 feet, reduce yeast by ¼ tsp and increase flour by 2 tbsp. The lower air pressure affects rising time, and these tweaks help compensate for the difference.
Nutrition Facts
Frequently Asked Questions
What’s the ideal water temperature?
Use 110°F water to activate yeast properly. Too hot kills it, too cold delays rising. A digital thermometer ensures accuracy.
Can I use all-purpose flour?
Yes, but add 1 tbsp vital wheat gluten per cup for better texture. Bread flour gives superior rise and structure.
Why did my loaf collapse?
Usually from premature yeast activation or opening the lid too soon. Ensure yeast stays dry until kneading starts.
How do I get a darker crust?
Select the dark crust setting. This adds 10-15 minutes to baking time for deeper color.

- BBQ Sausage Recipe Oven: Smoky Depth Without the Grill - September 28, 2026
- BBQ Chicken Bowl Recipe Rice: Smoky Sweetness Over Fluffy Grains - September 28, 2026
- Beef Cutlet Recipe Ideas: Crispy Breaded Patties With Bold Seasonings - September 28, 2026