
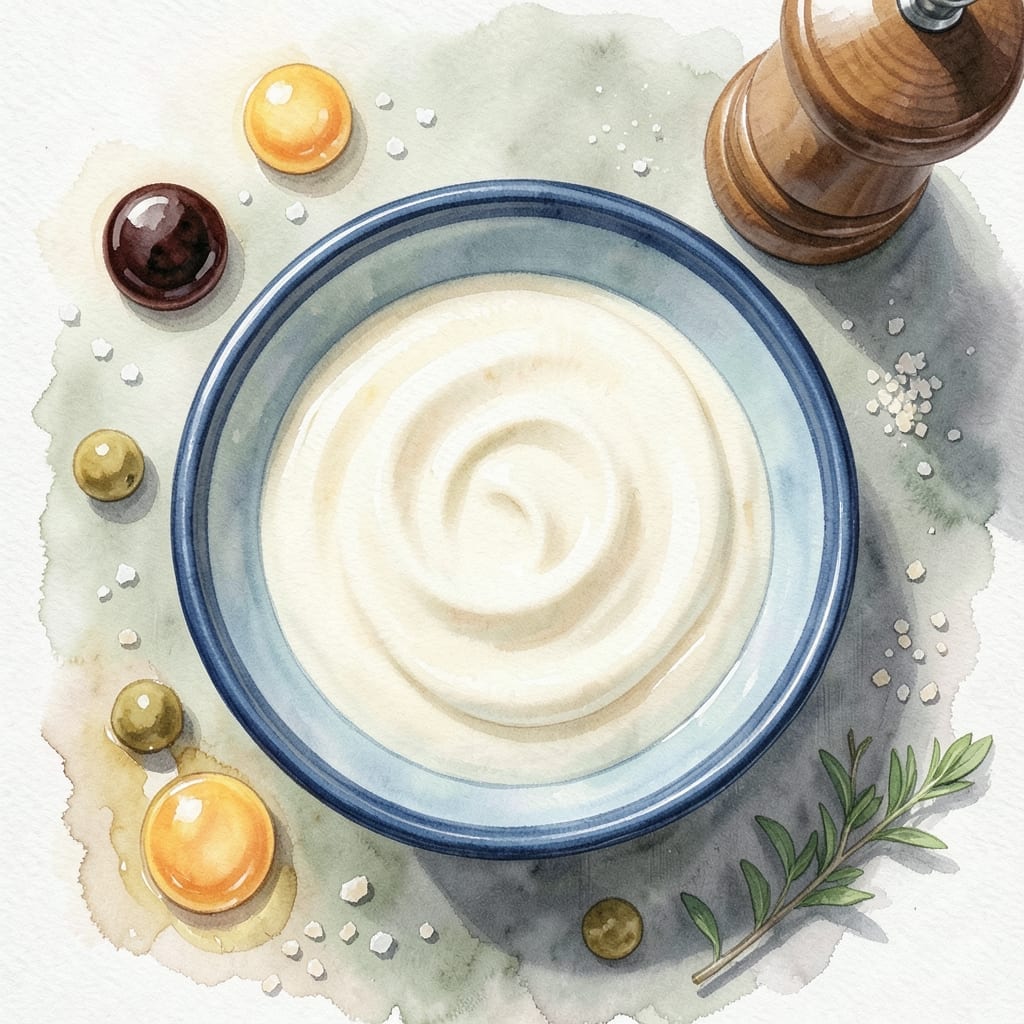
This Japanese condiment transforms ordinary dishes with its rich, umami-packed flavor. I’ve discovered countless ways to use it beyond traditional applications, making it a staple in my kitchen.
Unlike standard mayonnaise, its unique composition creates a creamy, slightly sweet base that elevates everything from sandwiches to salads. The secret lies in its egg yolk-only foundation and special seasoning blend.
You’ll find it works beautifully as a dip for fries, a dressing for slaw, or a secret ingredient in deviled eggs. Its versatility makes it perfect for both everyday meals and special occasions.
Store it properly and you’ll have this flavor booster ready whenever inspiration strikes. Here’s how to make the most of this exceptional condiment.
Ingredients for Kewpie Mayo Recipe Ideas
Eight ingredients create this creamy, umami-rich Japanese condiment everyone raves about.
| Ingredient | Amount | Notes |
|---|---|---|
| Egg Yolks 🥚 | 4 whole | Room temperature for smooth emulsification |
| Rice Vinegar 🍶 | 2 tbsp | Mild and slightly sweet |
| Soy Sauce 🥢 | 1 tsp | Low-sodium preferred for balance |
| Dijon Mustard 🟡 | 1 tsp | Adds depth and tang |
| Granulated Sugar 🍚 | 1 tbsp | Fine grain for quick dissolving |
| Neutral Oil 🛢️ | 1 cup | Light in flavor like canola or grapeseed |
| Monosodium Glutamate 🧂 | ½ tsp | Optional but traditional for umami |
| Salt 🧂 | ¼ tsp | Fine sea salt preferred |
The egg yolks are key here—look for fresh, high-quality eggs at Whole Foods or your local farmers market. Room temperature yolks emulsify better, so take them out 30 minutes before starting. For the oil, any neutral variety works, but grapeseed or avocado oil has the cleanest flavor. Avoid extra-virgin olive oil here (too strong).
No rice vinegar? Apple cider vinegar at the same amount works in a pinch, though the flavor will be slightly different. Skip the MSG if you must, but it’s the umami secret—Kikkoman Ajinomoto is the classic brand. For a gluten-free version, use tamari instead of soy sauce. The Dijon mustard can be swapped for yellow mustard, but it’ll be milder.
Store in an airtight jar in the fridge for up to 1 month. The flavor deepens after a day, so make it ahead if you can. If separation happens, just whisk it back together (or give it a quick blend).
Why You’ll Love This Recipe
- No Fuss Blending: I just toss the egg yolks, rice vinegar, and a pinch of sugar into the blender—no whisking arm required.
- Umami Bomb: The soy sauce and Dijon mustard give it that rich, savory depth you can’t get from regular mayo.
- Endless Uses: Honestly, I slather it on sushi rolls, mix it into potato salad, even use it as a fry dip.
- Fridge Staple: One batch lasts me over a week, and it’s way cheaper than buying the imported stuff.
Step-by-Step Instructions for Kewpie Mayo
Here’s the method I’ve perfected for this rich, tangy Japanese condiment.
Step 1: Whisk the Base Ingredients Until Smooth
In a medium bowl, combine the 4 whole Egg Yolks, 2 tbsp Rice Vinegar, 1 tsp Soy Sauce, 1 tsp Dijon Mustard, 1 tbsp Granulated Sugar, 0.5 tsp Monosodium Glutamate, and 0.25 tsp Salt. Whisk vigorously until the mixture is completely smooth and pale yellow—this is your emulsion base.
I use a wire whisk for this step because it incorporates air while breaking up the yolks thoroughly. The sugar should dissolve completely, and you shouldn’t see any streaks of mustard or soy sauce. This foundation ensures your final product will be velvety and uniform.
Step 2: Begin Emulsifying with Neutral Oil
Start adding the 1 cup Neutral Oil in a very slow, thin stream while whisking constantly. I mean painstakingly slow—this is the secret to a stable emulsion. After adding about ¼ cup of the oil, you’ll notice the mixture starting to thicken and lighten in color.
At this point, you can increase the oil stream slightly, but don’t rush. The mixture should look like a thick, creamy custard. If it starts to separate, stop adding oil and whisk vigorously until it comes back together before continuing. This step takes patience, but it’s worth it.
Step 3: Complete the Emulsion with Remaining Oil
Once you’ve added about ½ cup of the oil and your mixture is thick and pale, you can add the remaining oil a little more quickly, but still in a steady stream. Continue whisking until all the oil is incorporated and the mayo is glossy and holds its shape.
The final texture should be thick enough that a spoon leaves a trail when dragged through it. I’ve found that using a neutral oil like canola or grapeseed gives the cleanest flavor that lets the other ingredients shine. The entire process should take about 5-7 minutes of active whisking.
Step 4: Adjust and Rest for Optimal Flavor
Taste your mayo and adjust seasoning if needed. Remember that flavors will meld and intensify as it rests. The Monosodium Glutamate adds that signature umami depth characteristic of authentic Kewpie, while the Rice Vinegar provides the distinctive tang.
Transfer to a clean jar and let it rest at room temperature for 30 minutes before refrigerating. This resting period allows the flavors to fully develop. The mayo will thicken slightly as it chills. Store in an airtight container in the refrigerator for up to 1 week.
Pro Tips For Making Kewpie Mayo Recipe Ideas
- Whisk Slowly: Add the oil drop by drop at first—I learned this the hard way after my first batch split. Once it starts emulsifying, you can drizzle a little faster.
- Room Temp Yolks: Sounds weird, but it works: let your egg yolks sit out for 10-15 minutes before starting. Cold yolks resist emulsification, and you’ll be whisking forever.
- Skip the Salt: Soy sauce already brings plenty of saltiness, so resist the urge to add more. I skip extra seasoning entirely—it’s one less thing to balance.
- Use Neutral Oil: Kewpie mayo’s mild flavor comes from the rice vinegar and sugar, not the oil. Stick with something neutral like canola or light olive oil—strong oils overpower the delicate taste.
Storing and Reheating This Dish
Refrigerator Storage
Store your homemade condiment in a clean, airtight glass jar in the fridge. It will keep for up to 1 week at 40°F or below. The flavors actually deepen after 24 hours, so I recommend making it a day ahead. 💡
Freezer Considerations
While not ideal, you can freeze this for up to 1 month in ice cube trays. Thaw in the fridge overnight, then whisk vigorously to restore texture. Note that freezing may cause slight separation, but it’s easily fixed.
Room Temperature Use
For best texture, let it sit at room temperature for 15-20 minutes before using. Cold mayo straight from the fridge will be thicker and less spreadable. I always pull mine out before starting meal prep.
Reviving Separated Mayo
If separation occurs, simply whisk in 1 tsp warm water at a time until smooth. A mini food processor works too—pulse for 10-15 seconds until creamy again. This happens rarely with proper storage. ❄️
Portioning for Meals
Divide into small 2 oz jars for easy grab-and-go use. I love having single-serving portions ready for sandwiches or dips. Label with the date to track freshness.
Signs of Spoilage
Discard if you see mold or notice an off smell. Fresh mayo should have a clean, tangy aroma. When in doubt, remember it’s better to be safe than sorry with homemade condiments.
Nutrition Facts
Frequently Asked Questions
Can I substitute regular vinegar for rice vinegar?
Apple cider vinegar works in a pinch, but the flavor will be sharper. Rice vinegar’s mild sweetness is key to authentic taste. Use the same amount, but expect a slightly different tang.
What’s the best way to use this in sandwiches?
Spread thinly on bread for a subtle umami boost. Pairs perfectly with grilled chicken, avocado, or crispy bacon. The creamy texture holds toppings beautifully.
How do I fix mayo that’s too thick?
Whisk in 1 tsp warm water at a time until smooth. A mini food processor works too—pulse for 10-15 seconds. This restores creaminess without thinning too much.
Why does my homemade version separate?
This usually happens if oil is added too quickly. Next time, drizzle it in a thin, steady stream while whisking constantly. If it separates, whisk vigorously to recombine.

- BBQ Sausage Recipe Oven: Smoky Depth Without the Grill - September 28, 2026
- BBQ Chicken Bowl Recipe Rice: Smoky Sweetness Over Fluffy Grains - September 28, 2026
- Beef Cutlet Recipe Ideas: Crispy Breaded Patties With Bold Seasonings - September 28, 2026