
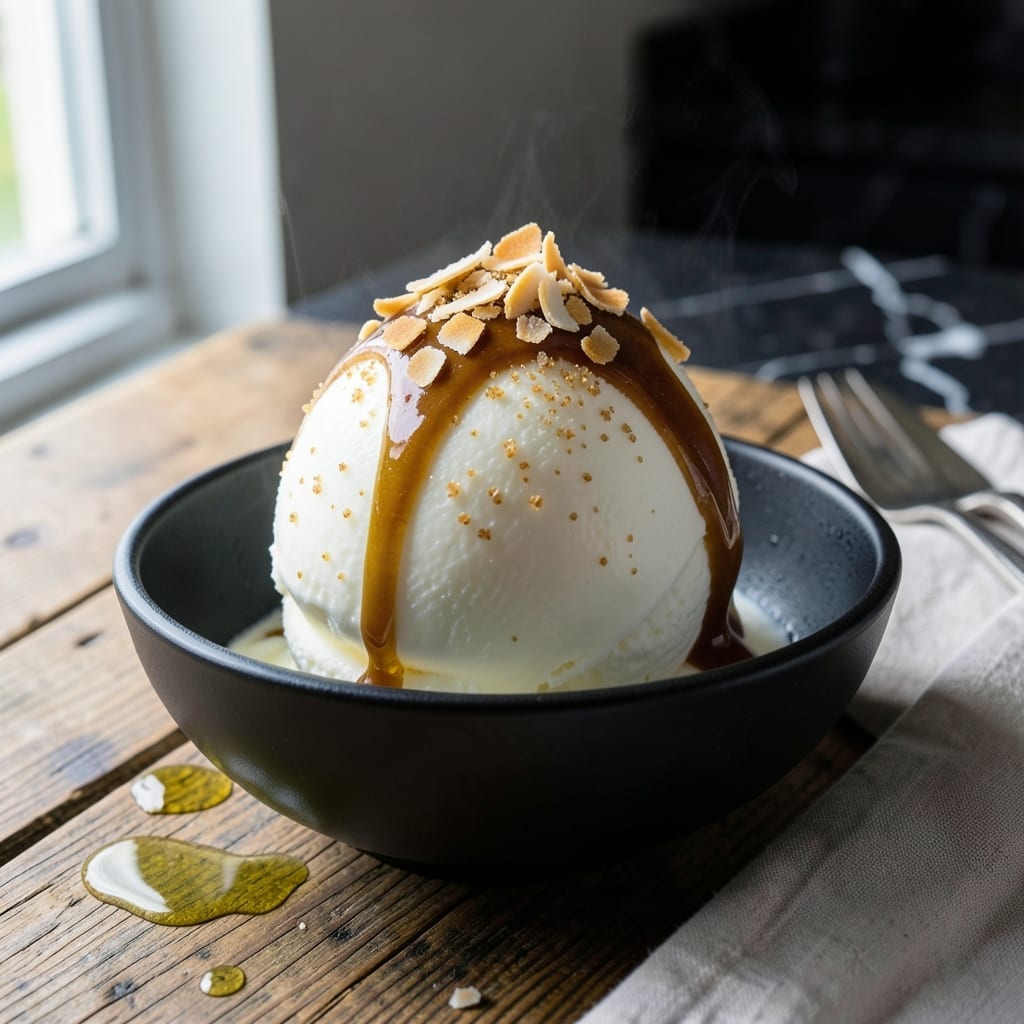
This dairy-free ice cream delivers the creamy texture and rich flavor you crave without any lactose. I developed this recipe after realizing most store-bought alternatives fell short on satisfaction.
The secret lies in using full-fat coconut milk as the base, which provides natural sweetness and that signature velvety mouthfeel. A touch of vanilla and a pinch of salt elevate the flavors beyond basic.
What results is a scoopable, smooth dessert that rivals traditional versions. The coconut flavor is subtle, allowing your mix-ins to shine through beautifully.
Perfect for those avoiding dairy or simply looking for a delicious frozen treat. This method requires no special equipment, just patience during the freezing process.
Ingredients for Lactose Free Ice Cream
Rich coconut milk and natural sweeteners create this velvety, dairy-free frozen treat everyone will love.
| Ingredient | Amount | Notes |
|---|---|---|
| Full-Fat Coconut Milk 🥥 | 2 cans | 13.5 oz each, chilled overnight |
| Coconut Sugar 🌴 | ¾ cup | Or sub maple syrup |
| Pure Vanilla Extract 🌿 | 2 tsp | High-quality for best flavor |
| Sea Salt 🧂 | ¼ tsp | Fine grain for even distribution |
| Coconut Oil 🫒 | 1 tbsp | Melted, helps with creaminess |
| Agave Nectar 🍯 | 2 tbsp | Optional for extra sweetness |
| Dark Chocolate Chunks 🍫 | ½ cup | Vegan, 70% cacao preferred |
| Toasted Coconut Flakes 🥥 | ½ cup | Unsweetened, for texture |
| Almond Butter 🥜 | 2 tbsp | Creamy, for swirls |
| Pecans 🌰 | ¼ cup | Chopped, lightly toasted |
| Vanilla Bean Seeds 🌿 | 1 whole | Scraped, optional for speckles |
The coconut milk is non-negotiable here. Full-fat cans from Thai Kitchen or Native Forest give that ultra-creamy texture (light versions turn icy). I always stock up at Whole Foods or Trader Joe’s—they carry the good brands. Chill the cans overnight so the cream separates fully (don’t shake them). For the chocolate, Hu Kitchen or Enjoy Life make vegan chunks that melt beautifully without weird aftertastes.
No coconut sugar? Maple syrup at a 1:1 ratio works perfectly. Swap the dark chocolate for vegan caramel ribs or fresh berries. The almond butter can be cashew or peanut butter—whatever you’ve got in the pantry. Want it nut-free? Skip the pecans and add extra coconut flakes (toasted, naturally). The vanilla bean seeds are purely for looks—skip if you’re not feeling fancy.
This keeps covered in the freezer for up to 2 months—if it lasts that long. Let it sit at room temp 10-15 minutes before scooping for that perfect soft-serve texture. The coconut oil helps prevent ice crystals, so don’t skip it (worth the extra minute to melt).
Why You’ll Love This Recipe
- One Bowl Wonder: I just dump everything in a bowl, whisk, and freeze—no custard cooking or fancy equipment.
- Rich Coconut Bliss: The full-fat coconut milk gives it this luxurious, creamy texture that’s even better than dairy.
- Dietary Crowd Pleaser: I serve this at parties and nobody even realizes it’s dairy-free.
- Keeps for Weeks: Honestly, it stays scoopable in the freezer for up to a month (if it lasts that long).
Step-by-Step Instructions for Lactose Free Ice Cream
This method delivers ultra-creamy results with rich flavors that rival traditional dairy versions.
Step 1: Blend the Coconut Base
Open the 2 cans Full-Fat Coconut Milk and scoop out the thick cream that’s separated to the top. In a blender, combine this cream with the remaining coconut water from the cans, the 0.75 cup Coconut Sugar, 2 tsp Pure Vanilla Extract, and 0.25 tsp Sea Salt.
Add the 1 tbsp Coconut Oil and 2 tbsp Agave Nectar to the blender. I use melted coconut oil here—it incorporates smoothly and adds to the luxurious mouthfeel. Blend until the mixture is completely smooth with no visible sugar grains, about 1-2 minutes on high speed.
Step 2: Chill the Base Thoroughly
Pour the blended mixture into a shallow container and refrigerate for at least 4 hours, but preferably overnight. This chilling step is crucial for two reasons: it allows the flavors to meld completely, and it ensures your ice cream base is properly cold before churning.
I’ve found that overnight chilling produces the creamiest texture. If you’re in a hurry, you can place the container in the freezer for 2 hours, stirring every 30 minutes to prevent ice crystals from forming. The mixture should be as cold as possible without freezing.
Step 3: Churn According to Manufacturer’s Instructions
Pour the chilled base into your ice cream maker and churn according to the manufacturer’s instructions. For most home machines, this takes about 20-25 minutes. You’ll know it’s ready when the mixture resembles soft-serve ice cream and holds its shape when scooped.
About 5 minutes before the churning is complete, add the 0.5 cup Dark Chocolate Chunks, 0.5 cup Toasted Coconut Flakes, and 0.25 cup Pecans. This timing ensures they’re evenly distributed without sinking to the bottom. If using, add the 1 whole Vanilla Bean Seeds at this point for beautiful speckles.
Step 4: Add Swirls and Freeze Until Firm
Transfer half of the churned ice cream to a freezer-safe container. Dollop the 2 tbsp Almond Butter over the top in several places. Use a butter knife to gently swirl it into the ice cream, creating ribbons of almond butter throughout.
Add the remaining ice cream on top and swirl in any remaining almond butter. Press plastic wrap directly against the surface to prevent ice crystals from forming. Freeze for at least 4 hours or until firm enough to scoop. For best texture, let it sit at room temperature for 5-10 minutes before serving.
Pro Tips For Making Lactose Free Ice Cream
- Chill the Base: Always refrigerate your coconut milk mixture for at least 4 hours before churning—I learned this the hard way after ending up with soupy ice cream more times than I’d like to admit.
- Use Room-Temp Coconut Oil: Mix in the coconut oil when it’s just soft, not melted, or it’ll separate and leave your ice cream greasy; about 70°F is the sweet spot.
- Skip Low-Fat Coconut Milk: Full-fat is non-negotiable here—light coconut milk turns icy and lacks that creamy texture you’re aiming for.
- Add Alcohol for Softness: A splash of vodka, about 1 tablespoon, lowers the freezing point and keeps your ice cream scoopable straight from the freezer—sounds weird, but it works.
Best Sauces and Condiments for These Flavors
Chocolate Magic Shell
Melt ½ cup vegan dark chocolate with 1 tbsp coconut oil in a double boiler. Drizzle over scoops—it hardens instantly into a crisp shell. The coconut oil keeps it from seizing up. I use Enjoy Life chocolate chips for this. 🔥
Salted Caramel Drizzle
Simmer ½ cup coconut sugar, ¼ cup coconut cream, and 1 tbsp maple syrup until thick. Finish with ½ tsp flaky sea salt. This pairs perfectly with the chocolate chunks already in your ice cream.
Let it cool for 5 minutes before using—hot caramel will melt your scoops!
Berry Compote
Cook 1 cup frozen mixed berries with 2 tbsp coconut sugar and 1 tsp lemon juice over medium heat for 8-10 minutes. The natural pectin thickens it beautifully.
Toasted Nut Topping
Combine ¼ cup chopped pecans with 1 tbsp maple syrup and pinch of cinnamon. Toast at 350°F for 5-7 minutes until fragrant. The crunch contrasts wonderfully with the creamy texture. 💫
Nutrition Facts
Frequently Asked Questions
Can I make this without an ice cream maker?
Yes! Pour the base into a shallow container and freeze. Stir vigorously with a fork every 30 minutes for 3-4 hours to break up ice crystals. It won’t be as smooth but still delicious.
Why does my ice cream turn icy?
This usually happens if the base wasn’t cold enough before churning or if alcohol (like vanilla extract) exceeds 2 tbsp. Ensure your mixture is thoroughly chilled and avoid overloading with liquid mix-ins.
How long can I store this in the freezer?
It keeps well for up to 2 months in an airtight container. For best texture, press plastic wrap directly on the surface to prevent freezer burn.
Can I use other milk alternatives?
Full-fat coconut milk works best for creaminess. Cashew milk can work but may require adding 1 tbsp xanthan gum to stabilize. Avoid almond milk—it turns too icy.

- Blue Zone Recipe Ideas: Longevity-Boosting Meals for Vibrant Living - September 28, 2026
- Beefaroni Recipe With Tomato Soup: One-Pot Nostalgic Comfort - September 28, 2026
- Bread Recipe KitchenAid Mixer: Foolproof Loaf With Perfect Rise - September 28, 2026