
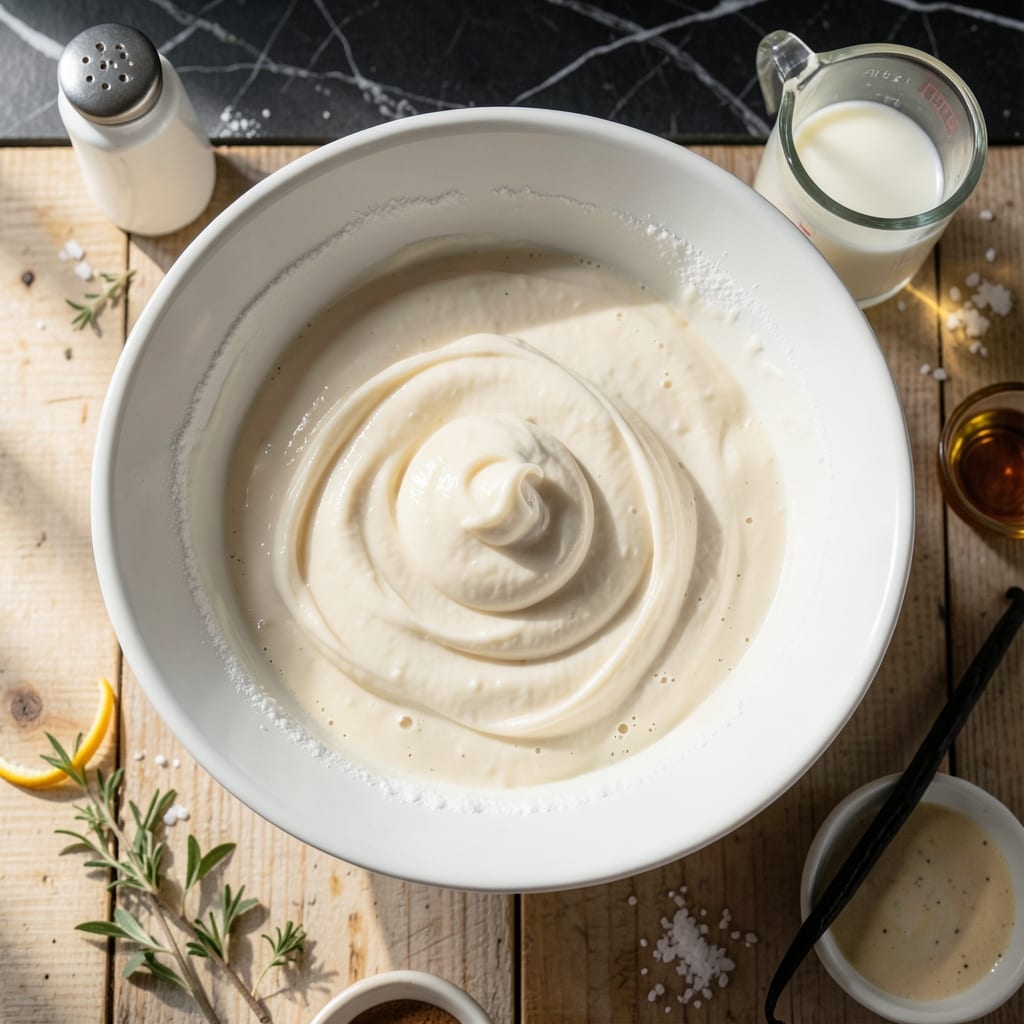
There’s something special about the old-fashioned richness that only lard icing can provide for cakes and pastries. This traditional recipe delivers a smooth, velvety texture that buttercream can’t always match.
What makes this recipe stand out is its simplicity—just a few basic ingredients come together to create a luxuriously creamy frosting with a delicate sweetness. The lard base gives it a lightness that pairs perfectly with spice cakes and traditional pastries.
You’ll find this icing spreads effortlessly and holds its shape beautifully, making it ideal for layer cakes or cupcakes. It also keeps well in the refrigerator for up to a week, ready whenever you need to add a touch of vintage charm to your baking.
Whether you’re frosting a birthday cake or adding the finishing touch to sugar cookies, this versatile icing brings a taste of nostalgia to every bite.
Ingredients for Lard Icing
Eight simple ingredients for that vintage frosting magic. Creamy, sweet, and effortless.
| Ingredient | Amount | Notes |
|---|---|---|
| Lard 🥓 | 1 cup | Leaf lard preferred for purity |
| Powdered Sugar 🍚 | 4 cups | Sifted for smooth texture |
| Whole Milk 🥛 | ¼ cup | Or use evaporated milk |
| Vanilla Extract 🌿 | 1 tsp | Pure vanilla for best flavor |
| Salt 🧂 | ¼ tsp | Fine grain preferred |
| Cream of Tartar 🧂 | ½ tsp | Stabilizes the icing |
| Butter 🧈 | 2 tbsp | Optional for flavor enhancement |
| Almond Extract 🌰 | ¼ tsp | Optional for depth |
The lard is non-negotiable here—leaf lard from a trusted butcher gives the cleanest flavor and smoothest texture. Armour or Morrell are solid grocery store brands if you can’t source fresh. Powdered sugar needs to be sifted (don’t skip this—those lumps ruin the texture). For the milk, whole is ideal, but evaporated milk adds a richness that’s hard to beat in old-school recipes like this.
No leaf lard? Regular lard works in a pinch, but there might be a slight pork flavor. Out of powdered sugar? Blend granulated sugar with cornstarch (1 tbsp cornstarch per cup of sugar). The cream of tartar is key for stability—if you don’t have it, lemon juice at half the amount can work. Vanilla is a must, but feel free to add a dash of almond extract for complexity.
This keeps beautifully. 1 week in the fridge in an airtight container, or 3 months in the freezer. Let it come to room temperature and re-whip before using (it separates slightly when cold). Perfect for spice cakes and sugar cookies, as promised.
Why You’ll Love This Recipe
- I’ll be real: lard keeps forever, so I always have the base ready when a last-minute baking urge hits.
- 5-Minute Whip: I can mix this up faster than the coffee brews—just beat lard, powdered sugar, milk, and vanilla until fluffy.
- Old-Fashioned Taste: Honestly, the lard gives it a richness that butter just can’t match, with that subtle vanilla warmth.
- Crowd Pleaser: Between us, I’ve used this icing on everything from cinnamon rolls to birthday cakes and no one complains.
Step-by-Step Instructions for Lard Icing
This old-school method delivers rich, fluffy icing that’s stable and spreads like a dream.
Step 1: Cream the Lard and Butter
In a large mixing bowl, beat the 1 cup Lard and 2 tbsp Butter with an electric mixer on medium-high speed for 3-4 minutes. You want this mixture to become pale and fluffy, with no visible lumps of fat remaining.
The lard should transform from opaque to nearly white as air incorporates. This step is crucial—under-creaming results in dense, greasy icing. If your kitchen is warm and the mixture looks shiny, chill the bowl for 10 minutes before proceeding.
Step 2: Gradually Incorporate the Powdered Sugar
With the mixer on low speed, gradually add the 4 cups Powdered Sugar, about ½ cup at a time. Allow each addition to fully incorporate before adding more. This prevents a sugar dust cloud and ensures even distribution.
Once all the powdered sugar is added, increase the speed to medium and beat for 2 minutes. The mixture will look dry and crumbly at first—that’s normal. Stop and scrape down the bowl sides as needed to catch any stray sugar.
Step 3: Add Liquids and Stabilizers
Pour in the 0.25 cup Whole Milk, 1 tsp Vanilla Extract, 0.25 tsp Salt, and 0.5 tsp Cream of Tartar. Beat on medium speed for 1 minute until the mixture comes together into a thick, smooth paste.
The cream of tartar stabilizes the icing, while the salt balances the sweetness. If using it, add the 0.25 tsp Almond Extract now—just a little enhances the flavor without overpowering. The mixture should hold its shape when the beaters are lifted.
Step 4: Adjust Consistency and Whip to Perfection
If the icing is too thick, add additional whole milk 1 teaspoon at a time, beating after each addition. For piping, aim for stiff peaks; for spreading, a softer consistency works better. Beat on high speed for 2-3 minutes until light and fluffy.
Watch for the color to turn from dull to bright white and the texture to become airy. Over-beating can cause the lard to separate, so stop as soon as it reaches the desired consistency. The icing should hold a peak when you lift a spoonful.
Use immediately for frosting cakes or pastries, or store in an airtight container at room temperature for up to 3 days. If it stiffens, beat in a splash of milk to revive it.
Pro Tips For Making Lard Icing
- Soften the Lard: Let the lard sit at room temperature for 30-45 minutes before mixing—it should be creamy but not melted, or you’ll end up with a greasy, runny icing.
- Sift the Sugar: Always sift the powdered sugar first, even if the bag says “pre-sifted.” I learned this the hard way after finding tiny lumps in my otherwise smooth icing.
- Add Milk Slowly: Pour the whole milk in a tablespoon at a time while mixing—it’s easier to fix too thick than too thin, and you’ll avoid over-diluting the batch.
- Chill Before Using: Pop the finished icing in the fridge for 15-20 minutes before spreading. It firms up just enough to hold its shape without tearing your cake.
Dietary Considerations for This Dish
Vegetarian Considerations
This icing isn’t suitable for vegetarians as it contains lard, which is animal fat. I recommend substituting vegetable shortening like Crisco for a similar texture. The flavor will be slightly different but still delicious. 💡
Vegan Adaptations
For a vegan version, replace the lard with vegan butter or coconut oil. Use unsweetened almond milk instead of whole milk. The texture may vary slightly, but it’ll still be creamy and sweet.
Gluten-Free Status
This recipe is naturally gluten-free as long as your powdered sugar and extracts are certified gluten-free. Always check labels to avoid cross-contamination. I use Domino powdered sugar for peace of mind.
Dairy-Free Option
To make this dairy-free, swap the whole milk for coconut milk or oat milk. Omit the butter or use a dairy-free alternative. The cream of tartar remains safe as it’s derived from grapes.
Allergen Notes
This icing contains no nuts, eggs, or soy, making it safe for many common allergies. However, always verify ingredient labels, especially for lard and powdered sugar. If almond extract is used, note it introduces a tree nut allergen. ❄️
Lactose-Free Tips
For lactose intolerance, use lactose-free milk in place of regular whole milk. The butter can be omitted entirely without affecting stability, though it adds a nice flavor. The lard itself is lactose-free.
Nutrition Facts
Frequently Asked Questions
Can I use regular lard instead of leaf lard?
Yes, but expect a slightly stronger pork flavor. Leaf lard is preferred for its neutral taste and smooth texture. Regular lard works in a pinch for most recipes.
How long can I store this icing?
Keep it in an airtight container at room temperature for up to 3 days. For longer storage, refrigerate for 1 week or freeze for 3 months. Re-whip before using.
Why does my icing look greasy?
This usually means the lard wasn’t creamed long enough. Beat it on medium-high speed for at least 3-4 minutes until pale and fluffy. Chilling the bowl can also help.
Can I color this icing?
Gel food coloring works best. Add a small amount at a time and mix thoroughly. Avoid liquid coloring as it can thin the consistency.

- BBQ Sausage Recipe Oven: Smoky Depth Without the Grill - September 28, 2026
- BBQ Chicken Bowl Recipe Rice: Smoky Sweetness Over Fluffy Grains - September 28, 2026
- Beef Cutlet Recipe Ideas: Crispy Breaded Patties With Bold Seasonings - September 28, 2026