
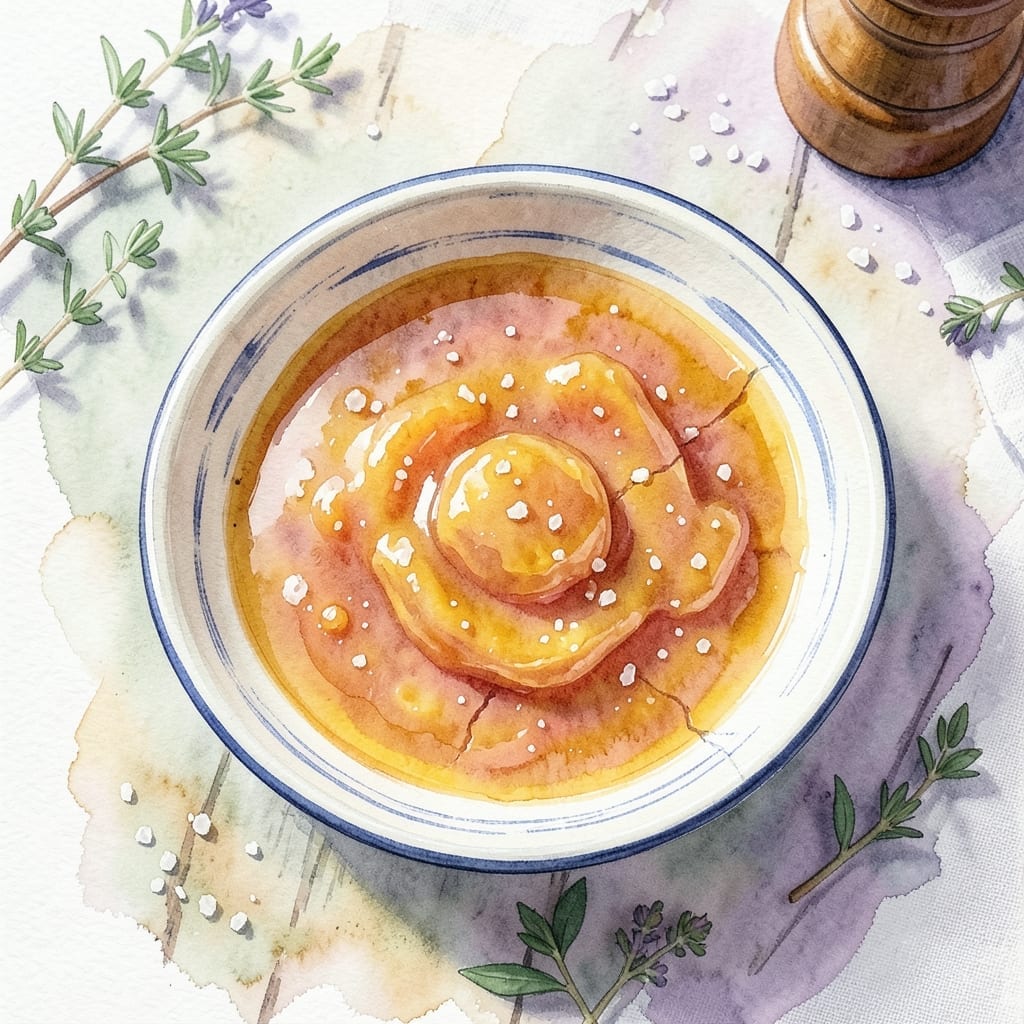
There’s nothing quite like the vibrant, tropical sweetness of homemade mango jam to brighten up your morning toast or afternoon tea.
This naturally thick spread relies on the mango’s own pectin to achieve the perfect consistency without any additives. The key is using ripe but slightly firm mangoes and cooking them down with sugar and lemon juice until they reach that ideal jammy texture.
You’ll end up with a golden, fruit-forward preserve that captures the essence of fresh mango in every spoonful. The natural sweetness shines through, balanced by just enough acidity to keep it from being cloying.
Store in sterilized jars for up to a month in the fridge, or process for longer shelf life. This small-batch method makes about 2 pints of this sunshine-in-a-jar delight.
Ingredients for Mango Jam Recipe Without Pectin
Sunshine in a jar with just seven simple ingredients. Sweet, bright, and totally natural.
| Ingredient | Amount | Notes |
|---|---|---|
| Ripe Mangoes 🥭 | 4 whole | Firm yet ripe, peeled and diced |
| Granulated Sugar 🍚 | 3 cups | White or raw cane sugar |
| Lemon Juice 🍋 | ¼ cup | Freshly squeezed preferred |
| Lemon Zest 🍋 | 1 tbsp | Finely grated for brightness |
| Vanilla Extract 🌿 | 1 tsp | Pure extract for depth |
| Ground Cinnamon 🌶️ | ¼ tsp | Optional for warmth |
| Pinch of Salt 🧂 | 1 pinch | Enhances fruit flavor |
The mangoes are everything here—look for Ataulfo or Keitt varieties at Latin markets or well-stocked grocery stores. They should yield slightly when pressed but still feel firm (overripe ones get mushy). I grab mine at Whole Foods when they’re in season. The sugar amount can be adjusted slightly if your mangoes are super sweet, but keep the ratio close to maintain the jam’s structure.
No fresh lemons? Bottled lemon juice at 1:1 ratio works fine (just avoid the concentrate). Swap vanilla for a splash of orange blossom water for a floral twist. The cinnamon is totally optional—cardamom or ginger would add a nice warmth too. If you want a smoother jam, blend the mangoes before cooking (but I like the rustic texture from hand-chopped fruit).
Once cooled, transfer to sterilized jars. Keeps in the fridge for about 1 month, or process in a water bath for 1 year shelf life. The flavor deepens after a day, so try to wait (I never do).
Why You’ll Love This Recipe
- No Fuss Cooking: I skip the pectin and still get thick, spreadable jam just by cooking down ripe mangoes with sugar.
- Sunshine in a Jar: That combo of sweet mango, bright lemon zest, and vanilla extract? Ridiculously good on toast or yogurt.
- Breakfast Game Saver: I slather this on pancakes, swirl it into oatmeal, or pack it in lunchboxes for a sweet pick-me-up.
- Budget Friendly Batch: A bag of ripe mangoes and pantry staples make multiple jars—way cheaper than store-bought.
Step-by-Step Instructions for Mango Jam Without Pectin
Here’s the method that works every time for naturally thick, vibrant jam.
Step 1: Prepare the Mangoes for Cooking
Peel the 4 whole Ripe Mangoes and dice the flesh into ½-inch pieces. I like to work over a bowl to catch all that precious juice that drips as I cut. You should end up with about 4 cups of diced fruit.
This size gives you chunks that soften beautifully without turning to mush. Real talk: if your mangoes are super ripe and soft, they’ll break down faster—that’s fine, just keep an eye on the texture as it cooks.
Step 2: Combine Ingredients and Start Cooking
In a large, heavy-bottomed pot (wide is better than tall), combine the diced ripe mangoes, 3 cups Granulated Sugar, 0.25 cup Lemon Juice, 1 tbsp Lemon Zest, 1 tsp Vanilla Extract, 0.25 tsp Ground Cinnamon, and 1 pinch Pinch of Salt.
Place the pot over medium heat and stir constantly until the sugar completely dissolves. This usually takes about 5-7 minutes. You’ll know it’s ready when the mixture looks syrupy and you can’t see any sugar crystals on the bottom of the pot.
Step 3: Cook Down to Jam Consistency
Once the sugar dissolves, increase the heat to medium-high and bring the mixture to a full rolling boil. Stir frequently to prevent sticking—mango has a tendency to catch on the bottom if you walk away.
After about 20-25 minutes, the mixture will start to thicken noticeably. Here’s the thing—you’re looking for it to reach 220°F on a candy thermometer, but if you don’t have one, do the plate test: spoon a little onto a chilled plate, let it sit for 30 seconds, then push it with your finger. It should wrinkle slightly when it’s ready.
Step 4: Test and Adjust for Perfect Thickness
When you think it’s close, do the plate test again. If it’s too thin, cook for another 5 minutes and test again. Remember, the jam will thicken more as it cools, so it should be slightly looser than you want the final product to be.
I know it seems weird, but don’t stir constantly during this final stage—you want it to reach a proper boil. Just stir every 2-3 minutes to prevent burning. The color will deepen to a beautiful amber as it thickens.
Step 5: Jar and Cool Properly
Remove from heat and let the jam sit in the pot for 5 minutes to cool slightly. This helps prevent the fruit from floating to the top in the jars. Skim off any foam that rises to the surface with a clean spoon.
Ladle the hot jam into sterilized jars, leaving ¼-inch headspace. Seal with lids and let cool completely at room temperature. The jam is ready to eat once cooled, but the flavor deepens after 24 hours. Store in the refrigerator for up to 3 weeks, or process for canning if you want longer storage.
Pro Tips For Making Mango Jam Recipe Without Pectin
- Test for Ripeness: Press your thumb gently into the mango—if it gives slightly like a ripe avocado, it’s perfect. Overripe fruit turns to mush too fast, and underripe won’t break down enough.
- Pre-Cook the Sugar: Warm the sugar in a dry pan for 2-3 minutes before adding it to the mangoes. Sounds weird, but it actually changes the outcome by helping the jam thicken faster without pectin.
- Skip the Big Batches: I learned this the hard way—cook no more than 4 cups of mango at a time, or the jam won’t reduce evenly. Smaller batches mean better control and no scorched bottoms.
- Use a Wide Pot: A broad, heavy-bottomed pot lets the liquid evaporate faster, so your jam sets in about half the time. My grandmother swore by this, and she was right.
Make-Ahead Tips for This Dish
Prep Ahead Strategy
You can peel and dice the 4 whole Ripe Mangoes up to 24 hours in advance. Store them in an airtight container in the fridge with 1 tbsp lemon juice to prevent browning. This actually helps soften the fruit slightly, giving you a head start on cooking. 💡
Batch Cooking
Double or triple the recipe to make multiple batches. The cooking time will increase by 10-15 minutes due to the larger volume. Use a wide, heavy-bottomed pot to ensure even cooking and prevent scorching. I often make 4 pints at once to share with friends.
Jar Preparation
Sterilize your jars and lids by boiling them for 10 minutes before filling. Keep them hot until ready to use—this prevents thermal shock when adding the hot jam. I use Ball or Mason jars and always have a few extra on hand for larger batches.
Flavor Maturation
For best flavor, let the jam rest for 24 hours before eating. The flavors meld and deepen overnight. If you can’t wait, at least give it 4-6 hours to cool completely. The vanilla and cinnamon notes become more pronounced with time. ✨
Long-Term Storage
For shelf-stable storage, process filled jars in a boiling water bath for 10 minutes. This extends shelf life to 1 year. Make sure the lids seal properly—you’ll hear a satisfying pop as they cool. Store in a cool, dark place until ready to use.
Freezing Option
If canning feels intimidating, freeze the jam in airtight containers for up to 6 months. Leave ½-inch headspace for expansion. Thaw overnight in the fridge before using. The texture remains perfect, though the color may fade slightly.
Nutrition Facts
Frequently Asked Questions
Why do I need lemon juice in the recipe?
The acidity from 0.25 cup Lemon Juice helps activate the natural pectin in mangoes. It also balances the sweetness and preserves the bright color. Without it, your jam might turn out bland or dull in appearance.
How do I know when the jam is done?
Use the plate test: spoon a bit onto a chilled plate, wait 30 seconds, then push it. If it wrinkles, it’s ready. A candy thermometer should read 220°F.
Can I reduce the sugar amount?
Sugar isn’t just for sweetness—it helps with preservation and texture. Reducing it by more than ¼ cup may result in a runny jam that spoils faster. For best results, stick to the original ratio.
What’s the best way to store this jam?
For short-term use, keep in sterilized jars in the fridge for up to 3 weeks. For longer storage, process in a water bath for 10 minutes to extend shelf life to 1 year.

- BBQ Sausage Recipe Oven: Smoky Depth Without the Grill - September 28, 2026
- BBQ Chicken Bowl Recipe Rice: Smoky Sweetness Over Fluffy Grains - September 28, 2026
- Beef Cutlet Recipe Ideas: Crispy Breaded Patties With Bold Seasonings - September 28, 2026