
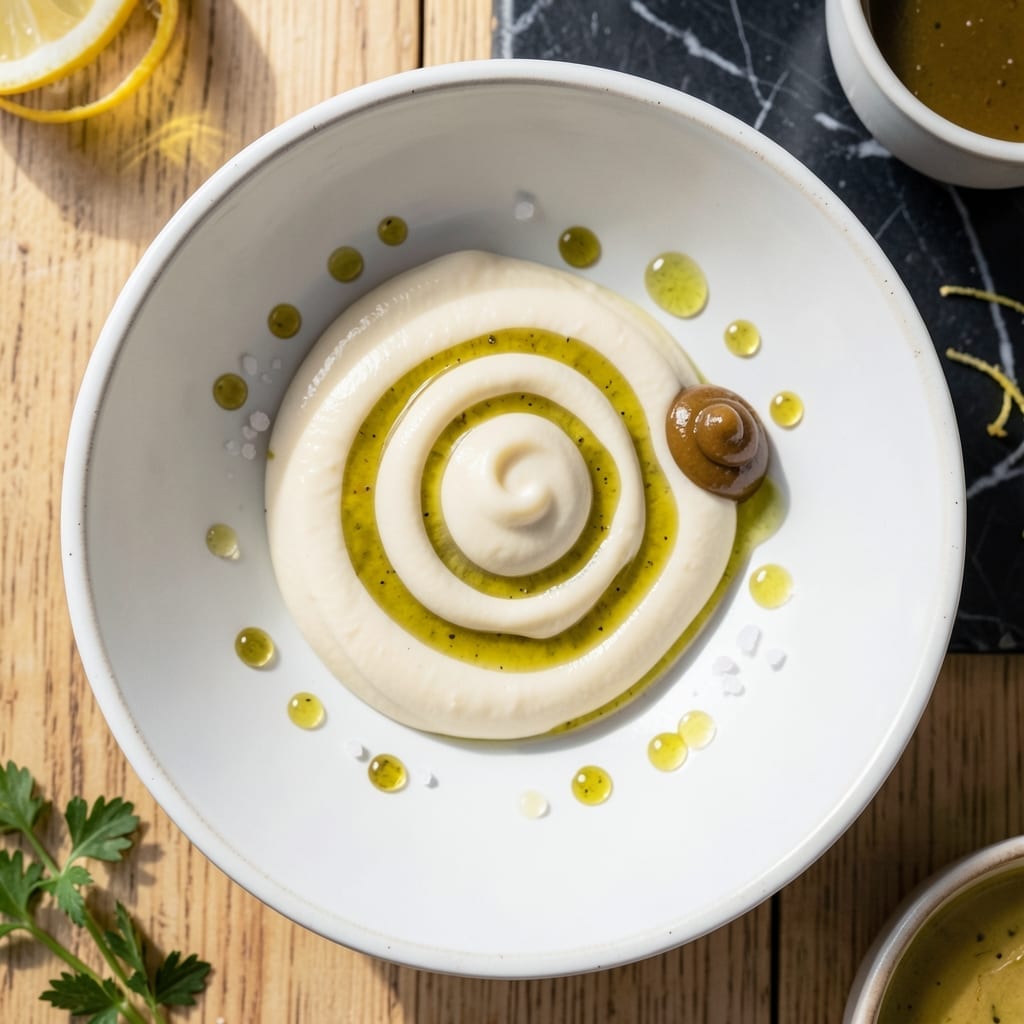
Homemade mayonnaise transforms with the richness of olive oil, creating a velvety spread that outshines any store-bought version. This method ensures perfect emulsification for a smooth, creamy texture every time.
With just a few simple ingredients and a little patience, you’ll have a rich condiment ready for sandwiches, dips, or dressings. Storage is straightforward—keep it refrigerated for up to a week.
Ingredients for Mayo Recipe with Olive Oil
Eight simple ingredients yield a velvety, restaurant-quality spread with minimal effort required.
| Ingredient | Amount | Notes |
|---|---|---|
| Extra-Virgin Olive Oil 🫒 | 1 cup | Light or mild variety preferred |
| Large Egg Yolk 🥚 | 1 whole | Room temperature for best emulsification |
| Dijon Mustard 🟡 | 1 tsp | Smooth variety for creaminess |
| White Wine Vinegar 💧 | 1 tbsp | Or substitute apple cider vinegar |
| Lemon Juice 🍋 | 1 tbsp | Freshly squeezed for brightness |
| Sea Salt 🧂 | ½ tsp | Fine grain for even distribution |
| Granulated Sugar 🍚 | ¼ tsp | Optional, balances acidity |
| White Pepper 🌶️ | ¼ tsp | Freshly ground for subtle heat |
For optimal emulsification, high-quality extra-virgin olive oil is essential—California Olive Ranch or Filippo Berio offer reliable light varieties that won’t overpower. Use a neutral-tasting oil if you prefer a milder mayo. The egg yolk should be at room temperature to maximize volume and stability during whisking. Organic eggs often have richer, deeper-colored yolks that enhance the final product.
No Dijon? Yellow mustard at equal parts works in a pinch, though the flavor profile will be slightly different. Short on white wine vinegar? Rice vinegar or lemon juice can substitute at a 1:1 ratio. For a tangier mayo, increase the vinegar to 1.5 tablespoons. The sugar is optional but recommended to balance the acidity—honey or maple syrup work if avoiding refined sugar.
Store in an airtight glass jar in the refrigerator for up to 1 week. The emulsion may separate slightly over time—simply whisk again before using. For longer storage, add a pinch of cream of tartar to help stabilize the mixture.
Why You’ll Love This Recipe
- One Bowl Wonder: I whisk this together in the same jar I’ll store it in—no extra bowls, no fuss.
- Bright & Zingy: The lemon juice and Dijon cut through the richness of the olive oil for a tang I crave on everything.
- Weeknight MVP: Honestly, I slather it on sandwiches, drizzle it on roasted veggies, and even use it as a base for quick salad dressings.
- Budget Keeper: A single egg yolk and pantry staples stretch into a jar of mayo that costs pennies compared to store-bought.
Step-by-Step Instructions for Mayo With Olive Oil
Master the emulsion technique and you’ll create a rich, velvety spread that surpasses any store-bought version.
Step 1: Combine Acidic Components and Seasonings
In a medium mixing bowl, whisk together the 1 tbsp White Wine Vinegar, 1 tbsp Lemon Juice, 1 tsp Dijon Mustard, 0.5 tsp Sea Salt, 0.25 tsp Granulated Sugar, and 0.25 tsp White Pepper until fully combined.
The mustard acts as an emulsifier, while the vinegar and lemon juice provide the necessary acidity to balance the richness of the olive oil. I always use a smooth Dijon for the creamiest texture. The mixture should look slightly cloudy with no visible separation.
Step 2: Incorporate the Egg Yolk
Add the 1 whole Large Egg Yolk to the bowl with the acid mixture. Whisk vigorously for 30 seconds until the mixture becomes pale yellow and slightly thickened. This step is crucial for creating the base of your emulsion.
I use a room temperature egg yolk because cold yolks can cause the emulsion to break more easily. The mixture should coat the back of a spoon when you’re done whisking. If it appears too thin, whisk for another 15-20 seconds until it reaches the proper consistency.
Step 3: Begin the Emulsion with Olive Oil
With your whisk in one hand and the 1 cup Extra-Virgin Olive Oil in the other, begin adding the oil in a very slow, thin stream while whisking constantly. Start with just a few drops at a time, then gradually increase to a thin trickle as the mixture begins to thicken.
This is the most critical step. If you add the oil too quickly, the emulsion will break. After adding about ¼ cup of the oil, the mixture should start to look like a thin mayonnaise. The color will lighten significantly as the oil incorporates.
Step 4: Complete the Emulsion
Once the base emulsion has formed, you can add the remaining olive oil in a slightly faster but still controlled stream, continuing to whisk constantly. The mixture will become noticeably thicker and more opaque as you incorporate all the oil.
If at any point the emulsion appears to be breaking (you’ll see oil separating from the mixture), stop adding oil and whisk vigorously for 10-15 seconds to reincorporate. Then continue with a slower stream of oil. The final product should be thick, creamy, and pale ivory in color.
Step 5: Adjust and Rest
After all the oil has been incorporated, taste and adjust seasoning if needed. Remember that flavors will meld and intensify as the mayonnaise rests. I often find that the initial seasoning is perfect, but you may prefer a touch more salt or acid.
Transfer the mayonnaise to a clean jar and let it rest at room temperature for 10-15 minutes before refrigerating. This allows the flavors to fully develop. Store in the refrigerator for up to 1 week. The texture will thicken slightly as it chills.
Pro Tips For Making Mayo Recipe With Olive Oil
- Drip Slowly: Add the olive oil in a thin, steady stream—about a teaspoon every 5 seconds. I learned this the hard way after my first three batches broke from rushing it.
- Use Room-Temp Egg: Take the egg yolk out 30 minutes early so it’s not cold. Sounds weird, but it works: cold yolks resist emulsifying with the oil.
- Skip the Blender: A whisk and a bowl give you more control than a blender, which can overheat the mayo. Plus, you’ll see the texture change as it thickens.
- Balance the Acid: Start with 1 teaspoon each of vinegar and lemon juice, then taste before adding more. Too much acid can make the mayo bitter, especially with robust olive oil.
Pro Cooking Tips for mayo recipe with olive oil
Oil Temperature Matters
Always use room temperature olive oil—cold oil can shock the emulsion. I let my California Olive Ranch oil sit on the counter for 30 minutes before starting. This ensures smooth incorporation and stable emulsification from the first drop. 🌡️
Whisk Like a Pro
A balloon whisk gives the best control for that slow, steady stream. I prefer OXO’s 11-inch whisk for its comfortable grip. Keep the bowl at a slight angle and whisk in a figure-eight motion for maximum efficiency.
Fix Broken Emulsions
If your mayo breaks, don’t panic. Start with 1 tsp water in a clean bowl, then slowly whisk in the broken mixture as if it were oil. The water helps restart the emulsion. Works every time for me.
Upgrade Your Tools
For foolproof results, use an immersion blender with a tall, narrow jar. The Bamix M150 creates perfect mayo in 20 seconds with zero effort. Just pulse while slowly lifting the blender through the oil.
Flavor Development
Let your mayo rest for 10-15 minutes at room temperature before refrigerating. This allows the Dijon mustard and citrus to fully meld with the oil. The difference in depth of flavor is noticeable. 💡
Avoid Common Pitfalls
Never use a food processor—it adds oil too quickly. Also, skip extra-virgin olive oils with strong peppery notes. Stick to light or mild varieties for the smoothest, most balanced spread.
Frequently Asked Questions
Can I use a different type of oil?
For best results, stick with a light or mild olive oil to avoid overpowering flavors. A neutral oil like avocado or grapeseed works too, but may produce a less rich taste.
Why did my mixture separate?
This usually happens if the oil was added too quickly. Fix it by whisking 1 tsp water in a clean bowl, then slowly incorporate the broken mixture as if it were oil.
How long does homemade mayo last?
Stored in an airtight container in the fridge, it stays fresh for up to 1 week. Stir before using if any separation occurs.
Can I make this without a whisk?
Yes! An immersion blender works perfectly. Blend in a tall jar, slowly lifting the blender as the emulsion forms.
Nutrition Facts

- BBQ Sausage Recipe Oven: Smoky Depth Without the Grill - September 28, 2026
- BBQ Chicken Bowl Recipe Rice: Smoky Sweetness Over Fluffy Grains - September 28, 2026
- Beef Cutlet Recipe Ideas: Crispy Breaded Patties With Bold Seasonings - September 28, 2026