
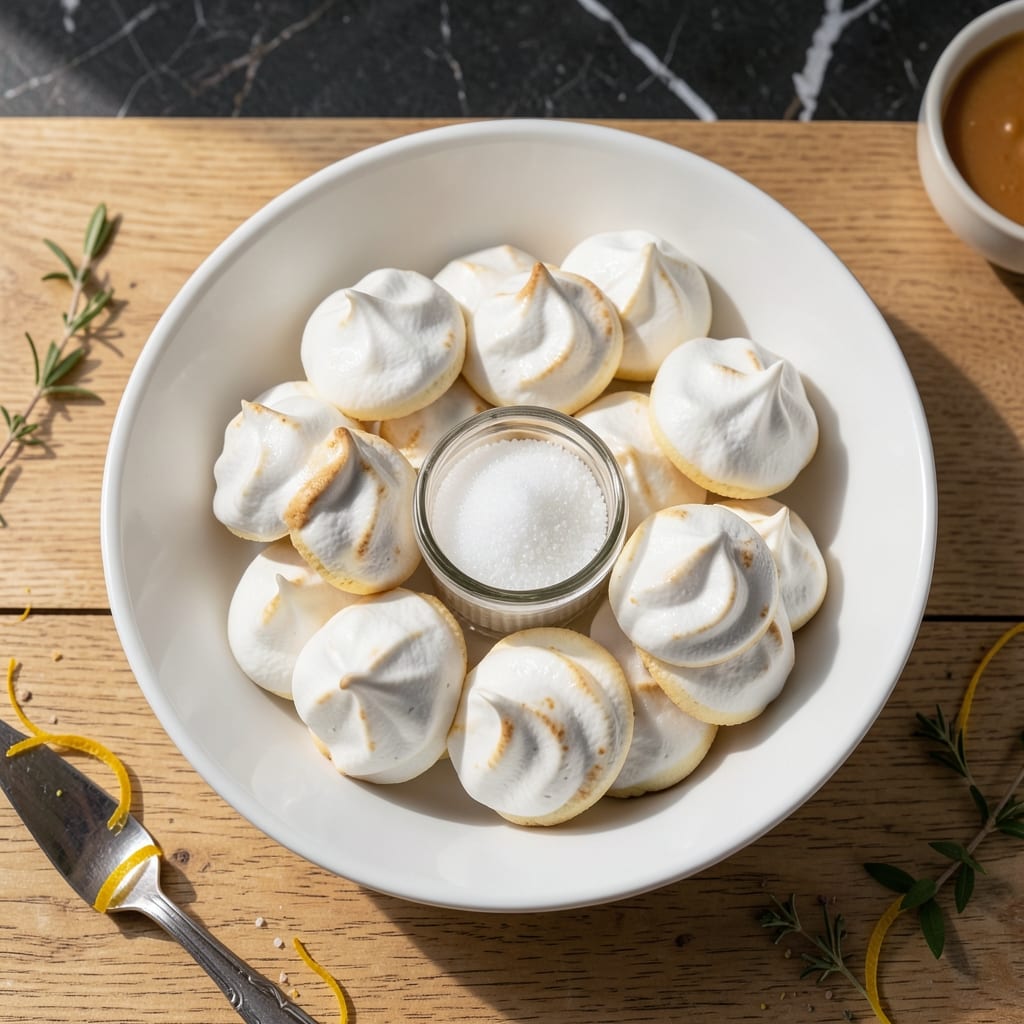
Achieving perfect meringue cookies without cream of tartar is easier than you might think. This recipe relies on a simple acid substitute to stabilize the egg whites, resulting in light and airy cookies with crisp shells.
I’ve tested multiple methods to ensure these meringues hold their shape and texture. The key is using lemon juice or vinegar as a natural stabilizer, which mimics the role of cream of tartar. Whipping the egg whites to stiff peaks creates the ideal structure.
Baked at a low temperature, these cookies develop a delicate, melt-in-your-mouth quality. They’re sweet, airy, and perfect for any occasion. The process is straightforward, with no special equipment required.
You’ll end up with beautiful meringues that are just as impressive as traditional versions. This method proves you don’t need cream of tartar for exceptional results.
Ingredients for Meringue Cookies Recipe Without Cream of Tartar
Room temperature egg whites and sugar create these delicate meringues with a simple acid swap.
| Ingredient | Amount | Notes |
|---|---|---|
| Large Egg Whites 🥚 | 6 whole | Room temperature for best volume |
| Granulated Sugar 🍚 | 1 ½ cups | Superfine sugar preferred |
| Lemon Juice 🍋 | 1 tsp | Freshly squeezed for acidity |
| Vanilla Extract 🌿 | 1 tsp | Pure vanilla for best flavor |
| Salt 🧂 | ¼ tsp | Fine grain for even distribution |
| White Vinegar 💧 | ½ tsp | Alternative acid stabilizer |
| Cornstarch 🌾 | 1 tsp | Helps crisp the shells |
Egg whites at room temperature whip up best—cold ones won’t hold as much air. I always use superfine sugar (it dissolves faster), but regular granulated works if you’re patient. The lemon juice or vinegar is doing the heavy lifting here, replacing cream of tartar’s stabilizing role. Freshly squeezed lemon juice gives the cleanest flavor, but bottled works in a pinch.
No lemon juice? White vinegar at the same amount works perfectly. Skip the vanilla if you want pure white meringues. For extra flavor, try a drop of almond extract instead. The salt might seem tiny, but it balances the sweetness. If your sugar is coarse, pulse it in a food processor first—prevents that gritty texture.
Store in an airtight container at room temperature for up to 2 weeks. They’ll soften in humidity, so add a silica packet if you’ve got one. Freezing works too—layer between parchment, then seal tightly for up to 1 month.
Why You’ll Love This Recipe
- No Fuss Whipping: I can make these with just egg whites, sugar, and a splash of lemon juice—no hunting for cream of tartar at the last minute.
- Sweet Vanilla Kiss: The vanilla extract gives them that warm, cozy flavor that makes them taste like a bakery treat.
- Party in a Pan: They’re my go-to for holiday cookie swaps, baby showers, or just because—everyone loves a light, airy bite.
- Budget Bites: Egg whites and sugar are all it takes, so I can make a big batch without breaking the bank.
Step-by-Step Instructions for Meringue Cookies Without Cream of Tartar
This method delivers crisp shells and marshmallow-soft centers without the traditional stabilizer.
Step 1: Prepare the Egg Whites and Equipment
Start by separating the 6 whole Large Egg Whites into a clean, grease-free bowl. Even a trace of yolk or oil will prevent proper volume, so I use a copper or stainless steel bowl and ensure my beaters are spotless. Room temperature egg whites whip up better, so if yours are cold, place the bowl in warm water for 5 minutes.
Add the 1 tsp Lemon Juice and 0.5 tsp White Vinegar to the egg whites. These acids mimic cream of tartar’s stabilizing effect, helping the proteins unfold properly for maximum volume. I’ve found this combination works just as well as the traditional ingredient.
Step 2: Whip the Egg Whites to Stiff Peaks
Using a stand mixer with the whisk attachment (or a hand mixer), beat the egg white mixture on medium speed until foamy. Gradually increase to high speed and continue beating until you reach soft peaks. This takes about 2-3 minutes with a stand mixer.
Now, with the mixer running, slowly add the 1.5 cups Granulated Sugar, 1 tablespoon at a time, waiting until each addition is fully incorporated before adding more. This slow addition prevents deflation and ensures a stable meringue. The mixture should become glossy and hold stiff, shiny peaks when the whisk is lifted—this is your visual cue that it’s ready.
Step 3: Incorporate Flavorings and Stabilizers
Once stiff peaks form, stop the mixer and gently fold in the 1 tsp Vanilla Extract, 0.25 tsp Salt, and 1 tsp Cornstarch using a silicone spatula. The cornstarch absorbs moisture, which helps create that crisp exterior, while the salt balances sweetness.
Fold just until combined—overmixing will deflate the meringue. The vanilla should be evenly distributed, but you’ll still see some streaks. That’s fine; the goal is to maintain as much air as possible. At this stage, the meringue should look like a thick, marshmallow-like cloud.
Step 4: Pipe and Shape the Cookies
Preheat your oven to 200°F and line two baking sheets with parchment paper. Transfer the meringue to a piping bag fitted with a large star tip (or a zip-top bag with a corner snipped off). Pipe 1.5-inch mounds onto the prepared sheets, spacing them 1 inch apart to allow for slight expansion.
For a classic look, I like to pipe a small swirl on top of each mound. Alternatively, you can spoon the meringue onto the sheets—just be mindful of keeping the portions consistent for even baking. The peaks should hold their shape; if they start to slump, the meringue needs more whipping.
Step 5: Bake Low and Slow for Perfect Texture
Bake the meringues for 1.5 hours, then turn off the oven and let them cool completely in the oven with the door closed for another 1-2 hours. This gradual cooling prevents cracking and ensures the centers dry out without browning too much.
The cookies are done when they lift easily from the parchment and have a crisp shell with a slightly chewy interior. They should be pure white or very lightly golden—any deeper color means the oven temperature was too high. Store in an airtight container for up to 5 days, if they last that long.
Pro Tips For Making Meringue Cookies Recipe Without Cream Of Tartar
- Whip to Stiff Peaks: Beat the egg whites with lemon juice and salt until they hold a peak when you lift the beaters—this is non-negotiable for structure without cream of tartar.
- Add Sugar Slowly: Sprinkle in granulated sugar 1 tablespoon at a time, waiting 10-15 seconds between additions to guarantee a stable meringue.
- Skip Wet Bowls: I learned this the hard way—even a drop of grease or yolk in your bowl will keep the egg whites from fluffing up properly.
- Bake Low and Slow: Set the oven to 200°F and bake for 1.5-2 hours—this dries them out without browning, giving that perfect crisp texture.
Common Mistakes When Making This Dish
Greasy Equipment
Even a trace of oil or yolk in your bowl will sabotage the meringue. I always wipe my bowl and beaters with lemon juice or vinegar before starting. A copper bowl can help stabilize egg whites naturally, but stainless steel works too if cleaned thoroughly. 💡
Underwhipped Eggs
Stopping too soon results in flat, weeping meringues. Beat until you see stiff, glossy peaks that hold their shape when the whisk is lifted. This usually takes 8-10 minutes with a hand mixer. The mixture should look like thick shaving cream.
Rushing Sugar Addition
Adding sugar too quickly causes grainy texture and deflation. Sprinkle 1 tablespoon at a time, waiting until fully dissolved between additions. This process should take 5-7 minutes total. Superfine sugar speeds this up significantly.
High Oven Temperature
Baking above 200°F causes cracking and browning. Low and slow is key—expect a 1.5-hour bake followed by 1-2 hours of cooling in the turned-off oven. This gradual drying prevents collapse.
Humid Weather
Meringues absorb moisture from the air. On humid days, add an extra ½ tsp cornstarch to the recipe. Store cooled cookies with a silica packet to maintain crispness for up to 2 weeks. ❄️
Improper Cooling
Opening the oven door too soon creates temperature shock. Let them cool completely in the closed oven. If they stick slightly to parchment, they need more drying time. I test one first—it should release cleanly when ready.
Nutrition Facts
Frequently Asked Questions
Why do I need an acid substitute in this recipe?
Acids like lemon juice help stabilize the egg whites by strengthening the protein bonds. Without cream of tartar, this substitution prevents weeping and helps maintain structure during baking.
Can I use a hand mixer instead of a stand mixer?
Yes, a hand mixer works perfectly. It may take 8-10 minutes to reach stiff peaks, compared to 5-7 minutes with a stand mixer. Just ensure your bowl is completely grease-free for best results.
How do I know when they’re fully baked?
The cookies are done when they lift cleanly from the parchment and sound hollow when tapped. They should be crisp on the outside with a marshmallow-like center. Bake at 200°F for 1.5 hours.
What’s the best way to store these?
Keep in an airtight container at room temperature for up to 5 days. On humid days, add a silica packet to maintain crispness. Avoid refrigeration, as it can make them sticky.

- BBQ Sausage Recipe Oven: Smoky Depth Without the Grill - September 28, 2026
- BBQ Chicken Bowl Recipe Rice: Smoky Sweetness Over Fluffy Grains - September 28, 2026
- Beef Cutlet Recipe Ideas: Crispy Breaded Patties With Bold Seasonings - September 28, 2026