
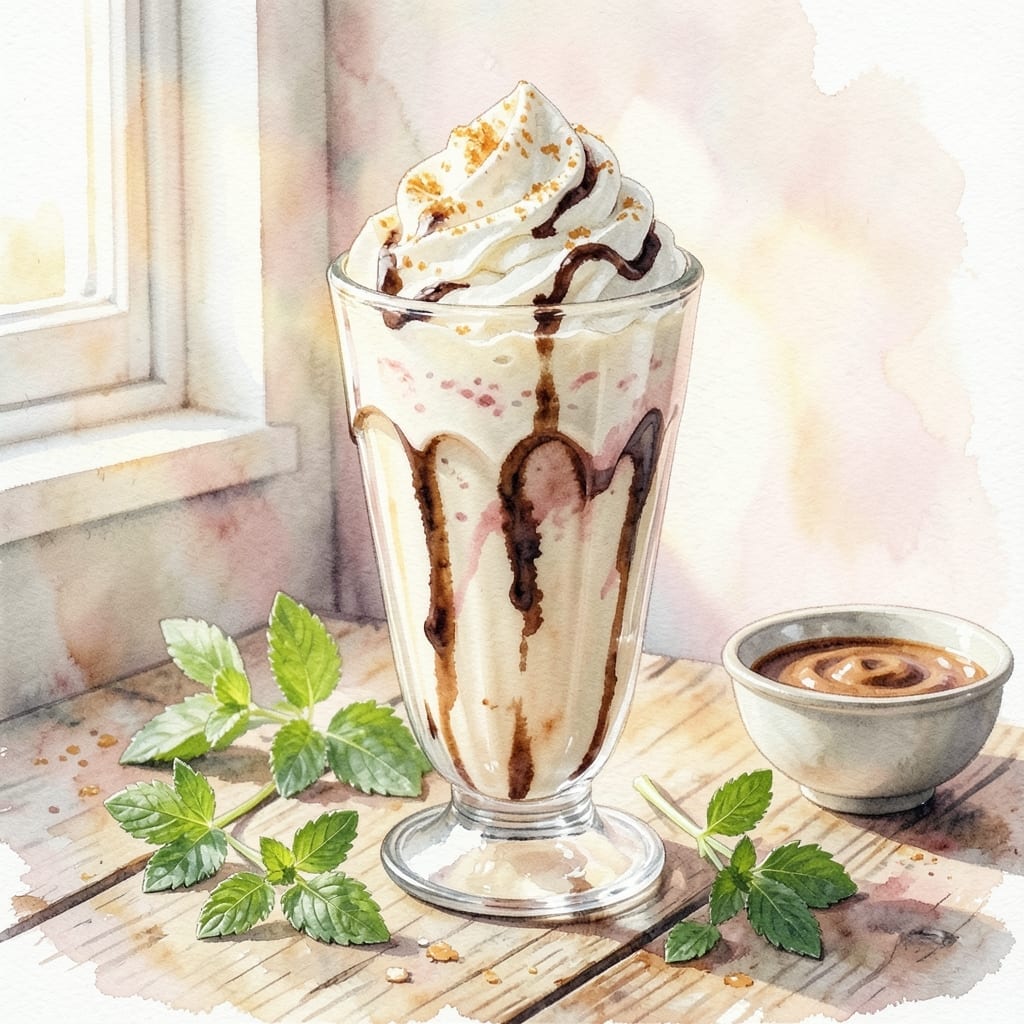
Craving a creamy milkshake but don’t have a blender? This method delivers the same rich, smooth texture with just a jar and some elbow grease. No fancy equipment needed—just simple tools and a few minutes of shaking.
The secret lies in using cold ingredients and vigorous shaking to emulsify the mixture into that signature thick consistency. Ice cream softens just enough to blend with milk, while the shaking incorporates air for a light, frothy finish.
You’ll achieve a milkshake so velvety, no one will guess it was made by hand. The process is straightforward, and the results are just as satisfying as any blender version.
Try classic vanilla or chocolate, or customize with syrups and mix-ins. Here’s how to shake up the perfect glass.
Ingredients for Milkshake Recipe Without Blender
Simple pantry staples and cold dairy create this hand-shaken creamy treat with ease.
| Ingredient | Amount | Notes |
|---|---|---|
| Vanilla Ice Cream 🍦 | 2 cups | Full-fat for creaminess |
| Whole Milk 🥛 | ¾ cup | Cold, straight from fridge |
| Vanilla Extract 🌿 | 1 tsp | Pure, not imitation |
| Granulated Sugar 🧂 | 1 tbsp | Adjust to taste preference |
| Heavy Whipping Cream 🥛 | ¼ cup | Optional for extra richness |
| Chocolate Syrup 🍫 | 2 tbsp | For chocolate variation |
| Crushed Ice ❄️ | ½ cup | Helps achieve thickness |
| Whipped Topping 🍦 | ¼ cup | For garnish (optional) |
| Maraschino Cherries 🍒 | 2 whole | For garnish (optional) |
| Chocolate Sprinkles 🎉 | 1 tbsp | For garnish (optional) |
The ice cream is non-negotiable here. Full-fat premium brands like Häagen-Dazs or Ben & Jerry’s give you that ultra-creamy base—low-fat versions just won’t emulsify the same way. Grab yours from any major grocery store with a well-stocked freezer section. The milk needs to be whole for the right richness, and cold is critical for proper emulsification.
No vanilla ice cream? Vanilla bean gelato works beautifully (just reduce milk slightly). For a lighter version, frozen yogurt at half the quantity still delivers. Swap chocolate syrup for strawberry or caramel—Hershey’s and Smucker’s are reliable brands. Want more thickness? An extra 1/4 cup ice cream does the trick without overwhelming the jar.
Best consumed immediately, but leftovers (unlikely, I know) keep in the freezer for 2-3 days. Shake again before serving. The whipped topping and cherries? Store-bought is fine—just add them right before drinking.
Why You’ll Love This Recipe
- No Blender Needed: I just use a mason jar and shake—works like magic with the ice cream and milk.
- Rich Vanilla Cream: The heavy whipping cream and vanilla extract make it taste like a diner classic.
- Kid-Friendly Fun: My little ones love helping shake the jar, and it’s ready before they lose interest.
- Budget Saver: Honestly, it’s cheaper than takeout and uses pantry staples I always have on hand.
Step-by-Step Instructions for Milkshake Without Blender
Master this method for perfectly smooth, creamy results using only a jar and some elbow grease.
Step 1: Combine Ice Cream and Milk for the Base
In a large, airtight jar or container with a lid, add the 2 cups Vanilla Ice Cream and 0.75 cup Whole Milk. The cold temperature of the milk straight from the fridge helps maintain the shake’s thickness as you mix.
Secure the lid tightly—this prevents spills as you agitate the mixture. At this stage, the ice cream will begin to soften slightly, which is exactly what you want for easy integration with the milk. Don’t be tempted to use warm milk; it will melt the ice cream too quickly and dilute the flavor.
Step 2: Incorporate Sweetener and Flavor Enhancers
Add the 1 tsp Vanilla Extract and 1 tbsp Granulated Sugar to the jar. The sugar enhances the natural sweetness of the ice cream, while the vanilla extract deepens the flavor profile. For extra richness, include the 0.25 cup Heavy Whipping Cream.
For a chocolate variation, add the 2 tbsp Chocolate Syrup now. This ensures it blends evenly throughout the mixture rather than settling at the bottom. Seal the jar again and give it a gentle swirl to begin distributing the ingredients.
Step 3: Add Crushed Ice for Thickness and Texture
Introduce the 0.5 cup Crushed Ice to the jar. The crushed ice is critical—it helps achieve the signature milkshake thickness without the need for a blender. Its small, uniform pieces integrate smoothly as you shake, rather than creating large, icy chunks.
Secure the lid tightly and begin shaking vigorously. The goal is to break down the ice cream and ice into a uniform, creamy mixture. Shake for 2-3 minutes until the contents are fully combined and smooth, with no visible ice cream lumps remaining.
Step 4: Verify Consistency and Adjust if Needed
Open the jar and check the texture. The mixture should be thick yet pourable, with a velvety consistency. If it’s too thin, add a bit more crushed ice and shake again for 30-60 seconds. If it’s too thick, incorporate a splash of milk to reach your desired creaminess.
Taste and adjust the sweetness if necessary. The granulated sugar can be increased slightly, but remember that the ice cream and syrup already contribute significant sweetness. This step ensures the flavor is balanced to your preference.
Step 5: Serve and Garnish for Presentation
Pour the milkshake into chilled glasses. For an elegant finish, top each serving with 0.25 cup Whipped Topping, then garnish with 2 whole Maraschino Cherries and a sprinkle of 1 tbsp Chocolate Sprinkles. These garnishes add visual appeal and a fun, textural contrast.
Serve immediately while the milkshake is at its creamiest. The crushed ice will continue to melt slightly, so enjoy it right away for the best texture. Use a long spoon or straw to mix any settled ingredients before the first sip.
Pro Tips For Making Milkshake Recipe Without Blender
- Soften the Ice Cream: Let the vanilla ice cream sit at room temperature for 10-15 minutes before mixing—it blends smoother with just a whisk or fork.
- Chill Your Milk: Use ice-cold whole milk straight from the fridge to keep the shake thick and prevent it from turning soupy.
- Skip the Sugar Rush: Taste before adding granulated sugar; most vanilla ice cream is already sweet enough, and extra sugar can make it cloying.
- Whisk in the Cream: Add heavy whipping cream last and whisk vigorously for 30 seconds to create a frothy, milkshake-shop texture without a blender.
Make-Ahead Tips for milkshake recipe without blender
Prep Ingredients Ahead
Measure all your ingredients the night before and store them in the fridge. I keep 2 cups Vanilla Ice Cream in the freezer and pre-measure the 0.75 cup Whole Milk in a sealed container. Cold ingredients emulsify better when shaken. 🥛
Pre-Chill Your Jar
Place your shaking jar in the freezer for 30 minutes before use. This keeps everything colder longer during shaking, which means thicker, creamier results. I use a wide-mouth mason jar—it’s easy to clean and has a tight seal.
Partial Mixing Option
Combine the ice cream, milk, and flavorings in the jar and store in the freezer for up to 2 hours. When ready, just add crushed ice and shake. This gives you a head start without sacrificing texture.
Garnish Prep
Chop your garnishes in advance. Slice maraschino cherries or crush additional toppings and store them in small containers. This saves time when you’re ready to serve. I like to keep everything in silicone muffin cups for easy access.
Batch Making
Double the recipe and make two jars at once. Shake them simultaneously or store one in the freezer for later. When reheating—well, there’s no reheating—just give it a good shake and serve. ❄️
Cleanup Tip
Rinse your jar immediately after use with warm water. The sugar and dairy can be sticky, but a quick rinse prevents a messy scrub later. I keep a bottle brush handy for those hard-to-reach spots.
Nutrition Facts
Frequently Asked Questions
What can I use instead of a jar?
A large Tupperware container with a tight lid works just as well. Even a protein shaker bottle can work for single servings. Just ensure it’s leak-proof before shaking.
Why is my shake too thin?
Use less milk or add more crushed ice. Start with 1/2 cup milk and adjust. Shaking longer (3-4 minutes) also thickens it by incorporating more air.
How do I make it dairy-free?
Swap ice cream for dairy-free vanilla (like almond or coconut milk based) and use oat milk or almond milk. The texture stays creamy if ingredients are very cold.
Can I add fruit to this?
Yes! Mash 1/2 cup berries or blend soft fruit like banana with a fork first. Add to the jar before shaking to avoid chunks. Shake 1 extra minute for smoothness.

- BBQ Sausage Recipe Oven: Smoky Depth Without the Grill - September 28, 2026
- BBQ Chicken Bowl Recipe Rice: Smoky Sweetness Over Fluffy Grains - September 28, 2026
- Beef Cutlet Recipe Ideas: Crispy Breaded Patties With Bold Seasonings - September 28, 2026