
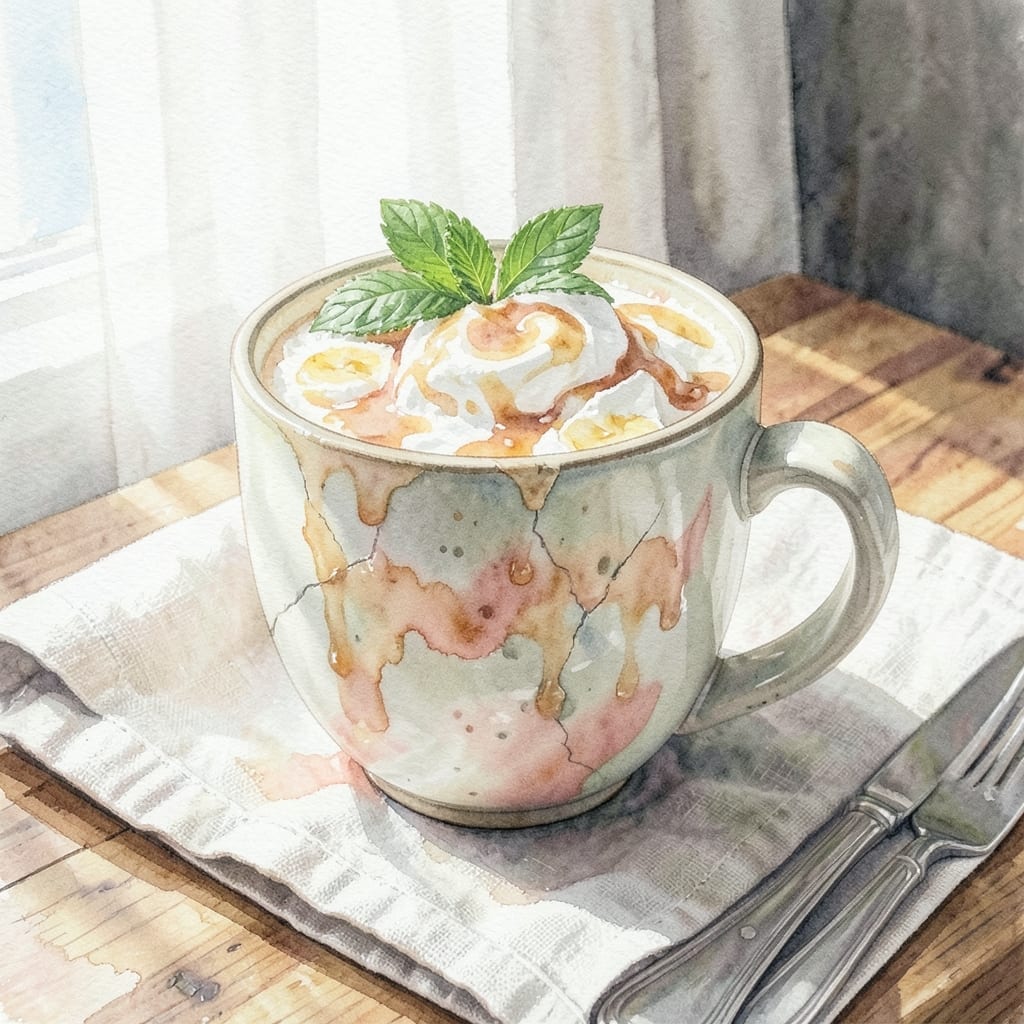
This dairy-free milkshake delivers the same creamy texture you love without a drop of traditional milk. I developed this recipe after realizing how many people need delicious alternatives that don’t compromise on richness or flavor.
The secret lies in using full-fat coconut milk or almond milk as the base, combined with frozen bananas for natural sweetness and thickness. A splash of vanilla extract and a pinch of salt elevate the taste to something truly indulgent.
What you get is a smooth, velvety blend that’s every bit as satisfying as the classic version. The frozen fruit creates a luxurious consistency, while dairy-free ice cream adds an extra layer of decadence.
Perfect for anyone avoiding dairy or simply exploring plant-based options. This is one treat that proves you don’t need milk to make magic.
Ingredients for Milkshake Recipe Without Milk
Rich, creamy, and completely dairy-free. These ingredients blend into pure indulgence.
| Ingredient | Amount | Notes |
|---|---|---|
| Full-Fat Coconut Milk 🥥 | 1 cup | Canned, well-shaken before use |
| Frozen Bananas 🍌 | 2 whole | Sliced before freezing for easy blending |
| Dairy-Free Vanilla Ice Cream 🍦 | 1 cup | Use premium brand for best texture |
| Almond Milk 🌰 | ½ cup | Unsweetened for balanced flavor |
| Vanilla Extract 🌿 | 1 tsp | Pure extract for best flavor |
| Maple Syrup 🍁 | 2 tbsp | Adjust to taste preference |
| Sea Salt 🧂 | ¼ tsp | Fine grain preferred to dissolve easily |
| Ice Cubes ❄️ | 1 cup | Optional for thicker texture |
| Cocoa Powder 🍫 | 1 tbsp | Unsweetened for chocolate version |
| Peanut Butter 🥜 | 2 tbsp | Creamy for smooth blending |
The coconut milk is non-negotiable for that ultra-creamy texture. Thai Kitchen or Native Forest brands are my go-to—full-fat only, none of that light stuff. Frozen bananas need to be spotty and ripe before freezing (the sweeter, the better). Trader Joe’s has great dairy-free ice cream options that won’t break the bank. Look for ones with a high fat content for that luxurious mouthfeel.
No coconut milk? Full-fat oat milk works in a pinch but adds a slightly grainy texture. Swap maple syrup for agave or date syrup if that’s what you’ve got. For a chocolate shake, add that cocoa powder—Hershey’s Special Dark gives the best flavor. Peanut butter can be any nut butter you prefer (almond butter is amazing here). Skip the ice cubes if your blender struggles with them.
Everything blends best straight from the freezer—no need to thaw. This keeps well in the fridge for 1 day (it separates, so stir before serving). Freeze extras in popsicle molds for up to 3 months (a genius way to use leftovers).
Why You’ll Love This Recipe
- Five-Minute Blend: Honestly, it’s just dump, blend, and drink—the frozen bananas and coconut milk do all the work.
- Creamy Dreamy: That rich coconut milk plus dairy-free vanilla ice cream? It’s so thick and luscious you’d swear there was dairy in it.
- Leftovers? Nope: Not the prettiest, but the taste makes up for it—and there’s never any left to store.
Step-by-Step Instructions for a Dairy-Free Milkshake
This blending technique guarantees a velvety texture that rivals any classic milkshake.
Step 1: Prepare Your Base Liquids
Begin by pouring the 1 cup Full-Fat Coconut Milk and 0.5 cup Almond Milk into your blender. I always use full-fat coconut milk for its rich, creamy consistency—this is what gives the shake its luxurious mouthfeel without dairy.
The almond milk adds a subtle nutty note and helps thin the mixture just enough for easy blending. Make sure both are well-chilled before starting; cold ingredients blend smoother and create that perfect frosty texture.
Step 2: Add Sweet and Flavorful Elements
Next, add the 2 whole Frozen Bananas, 1 cup Dairy-Free Vanilla Ice Cream, 2 tbsp Maple Syrup, 1 tsp Vanilla Extract, and 0.25 tsp Sea Salt. The frozen bananas are key—they provide natural sweetness and a thick, creamy base without any dairy.
I break the bananas into chunks before freezing to make blending easier. The maple syrup enhances the natural sweetness, while the vanilla extract deepens the flavor. The sea salt might seem small, but it balances all the sweetness beautifully.
Step 3: Customize with Mix-Ins
For a chocolate peanut butter version, add the 1 tbsp Cocoa Powder and 2 tbsp Peanut Butter. The cocoa powder should be unsweetened to let the natural sweetness of the other ingredients shine.
I use creamy peanut butter for the smoothest texture, but crunchy works if you like a little bite. If you prefer a thicker shake, toss in the 1 cup Ice Cubes—this is optional but gives it that classic milkshake consistency. Blend until completely smooth, about 1-2 minutes.
Step 4: Blend to Creamy Perfection
Secure the lid tightly and start blending on low, gradually increasing to high speed. This gradual start prevents splattering and ensures all ingredients incorporate evenly. You’ll know it’s ready when the mixture is completely smooth with no visible chunks.
Stop the blender and scrape down the sides with a spatula, then blend for another 20-30 seconds to ensure everything is fully combined. The final texture should be thick but pourable, with a creamy, frothy top—just like a traditional milkshake.
Taste and adjust sweetness if needed, though the 2 tbsp Maple Syrup usually hits the perfect balance with the natural sweetness from the bananas and ice cream.
Pro Tips For Making Milkshake Recipe Without Milk
- Chill Your Glass: Pop your serving glass in the freezer for 10 minutes before pouring—I learned this the hard way after watching my first dairy-free shake melt into soup before I could finish it.
- Use Ripe Bananas: The frozen bananas need to be speckled and sweet, not green and starchy. I skip this when I’m in a rush, but the shake tastes noticeably less creamy.
- Blend in Stages: Start with the almond milk and coconut milk first, then add the frozen ingredients. After burning out two blenders, I finally figured out this order prevents motor strain.
- Skip the Ice: Sounds weird, but it works: the frozen bananas and ice cream are cold enough—adding ice just waters it down. My grandmother swore by this, and she was right.
Dietary Considerations for These Flavors
Vegan-Friendly Options
This recipe is naturally vegan, using full-fat coconut milk and dairy-free ice cream as the base. I always check labels to ensure no hidden dairy derivatives like whey or casein. So Delicious or Ben & Jerry’s Non-Dairy brands are reliable choices for the ice cream. 🌱
Lactose Intolerance Safe
For those with lactose issues, this creation is a game-changer. The almond milk and coconut milk contain no lactose, so you can enjoy without discomfort. I’ve served this to lactose-intolerant friends, and they’re always amazed by the creamy texture.
Nut-Free Adaptations
If nut allergies are a concern, swap almond milk for oat milk or soy milk. Also, replace peanut butter with sunflower seed butter for a nut-free version. Oatly or Silk soy milk work beautifully here.
Gluten-Free Considerations
This is inherently gluten-free if you use certified gluten-free oat milk and ensure all add-ins are safe. I double-check vanilla extract and ice cream labels, as some brands add gluten-containing thickeners. Bob’s Red Mill cocoa powder is a safe bet for chocolate versions.
Lower Sugar Version
To reduce sugar, use unsweetened coconut milk and skip the maple syrup, relying on ripe bananas for sweetness. You can also use sugar-free dairy-free ice cream, like Halo Top or Nick’s. The texture remains creamy while cutting sugar by over 50%. 💡
High-Protein Boost
For extra protein, add 1 scoop of vanilla plant-based protein powder or 2 tbsp chia seeds. I recommend Orgain or Garden of Life protein powders, as they blend smoothly. This turns your treat into a more balanced snack or post-workout recovery drink.
Nutrition Facts
Frequently Asked Questions
What can I use instead of dairy milk?
Full-fat coconut milk or almond milk work best for creaminess. Oat milk is another great option, though it may be slightly thinner. Avoid low-fat versions as they won’t deliver the same rich texture.
Why do I need frozen bananas?
Frozen bananas add natural sweetness and create a thick, creamy base without dairy. They also help achieve that perfect frosty temperature, just like traditional milkshakes.
How do I make it thicker?
Add 1 cup ice cubes or extra frozen fruit. For ultra-thickness, use less liquid and more dairy-free ice cream. Blend until smooth for best results.
Can I make this ahead of time?
It keeps well in the fridge for 1 day but may separate. Stir before serving, or freeze in popsicle molds for up to 3 months for a cool treat later.

- BBQ Sausage Recipe Oven: Smoky Depth Without the Grill - September 28, 2026
- BBQ Chicken Bowl Recipe Rice: Smoky Sweetness Over Fluffy Grains - September 28, 2026
- Beef Cutlet Recipe Ideas: Crispy Breaded Patties With Bold Seasonings - September 28, 2026