
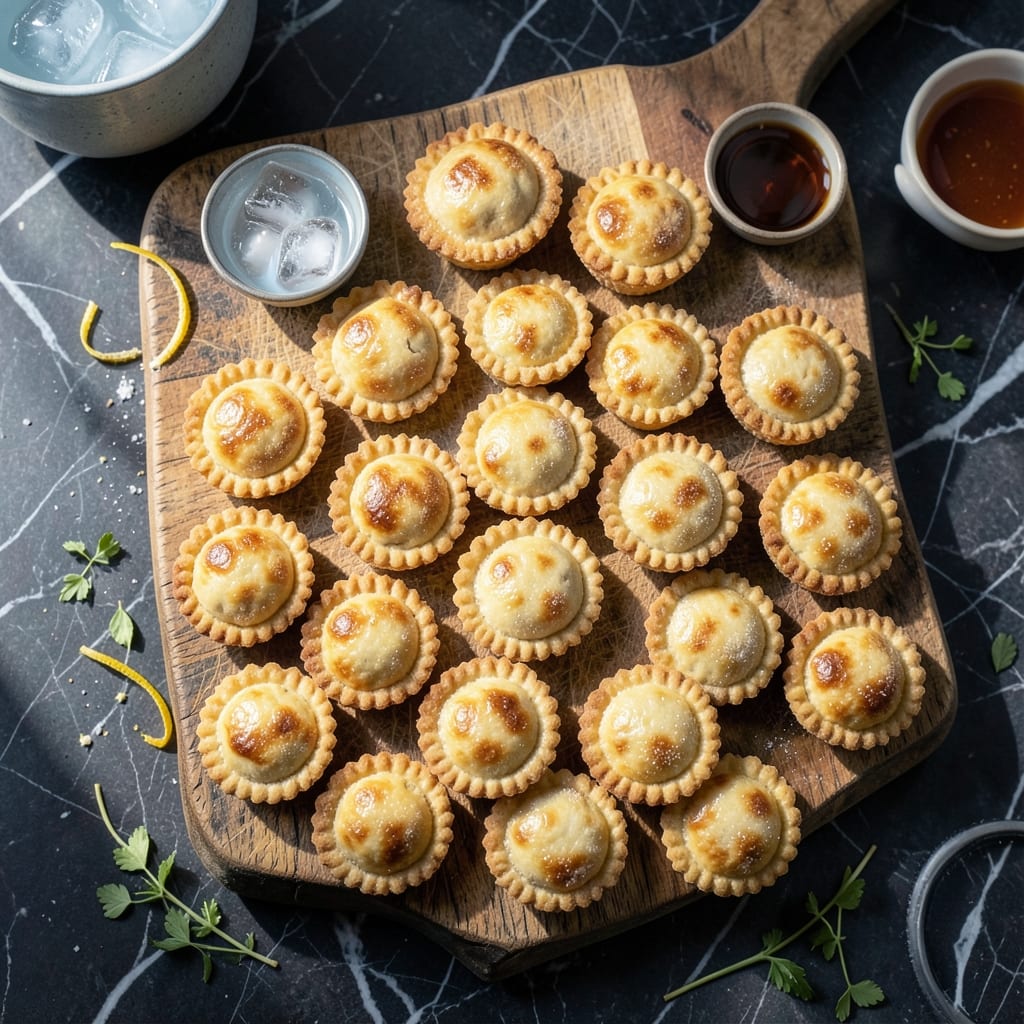
There’s something special about handcrafted mini pie crusts that transforms any dessert into a showstopper. This method delivers a buttery, flaky base perfect for both traditional and creative fillings.
I developed this technique to ensure consistent results every time, with a texture that’s crisp yet tender. The dough comes together quickly with basic ingredients, then rolls out smoothly for easy shaping.
You’ll create lattice tops or solid crusts that bake to golden perfection at 375°F. These mini crusts work beautifully with fruit fillings, custards, or even savory options.
Perfect for individual servings, these crusts can be made ahead and frozen for convenience. Here’s how to make them.
Ingredients for Mini Pie Crust Recipe Ideas
Basic pantry staples transform into flaky, buttery mini pie crusts with ease.
| Ingredient | Amount | Notes |
|---|---|---|
| All-Purpose Flour 🌾 | 2 ½ cups | Sifted for lighter texture |
| Unsalted Butter 🧈 | 1 cup | Cold, cut into cubes |
| Granulated Sugar 🍚 | 1 tbsp | Fine grain preferred |
| Salt 🧂 | ½ tsp | Diamond Crystal kosher |
| Ice Water 💧 | ⅓ cup | Plus extra as needed |
| Apple Cider Vinegar 🍏 | 1 tsp | For flakiness |
| Egg Yolk 🥚 | 1 whole | For golden wash |
| Heavy Cream 🥛 | 1 tbsp | Optional for richer dough |
| Vanilla Extract 🌿 | ½ tsp | Pure, not imitation |
| Lemon Zest 🍋 | ½ tsp | Finely grated for brightness |
The butter must be cold—European-style with 82% butterfat is ideal for superior flakiness. King Arthur Flour produces consistent all-purpose results, though any unbleached variety works. The vinegar tenderizes without affecting flavor. For professional results, use weight measurements (1 cup flour ≈ 120g) and avoid overworking the dough.
No apple cider vinegar? White vinegar or lemon juice at equal amounts works. For a dairy-free version, substitute coconut oil for butter (keep it solid). Skip the egg wash? Heavy cream or milk brushes well. The sugar can be omitted for savory applications. If your kitchen is warm, chill the flour briefly before mixing.
Dough keeps 3 days refrigerated or 3 months frozen (wrap tightly). Baked crusts freeze well for 1 month—re-crisp in a 350°F oven for 5-10 minutes. Always handle dough minimally to maintain flakiness.
Why You’ll Love This Recipe
- 5-Minute Mix: I toss the flour, cold butter, and ice water in a bowl, and it comes together faster than my coffee brews.
- Buttery Crisp: That flaky, golden edge from the butter and flour combo? I catch myself sneaking bites before filling them.
- Endless Fillings: Sweet jam or savory quiche—I’ve used these crusts for everything from dessert to brunch.
- Freezer Friendly: I double the batch, freeze the extras, and pull out a fresh crust whenever I need one. No waste.
Step-by-Step Instructions for Mini Pie Crust
Master the technique for flaky, golden pastry that holds its shape in mini form.
Step 1: Combine Dry Ingredients and Cold Butter
In a large bowl, whisk together the 2.5 cups all-purpose flour, 1 tbsp granulated sugar, and 0.5 tsp salt until uniformly combined. The sugar adds subtle sweetness while the salt enhances all the flavors in your creation.
Add the 1 cup unsalted butter, cut into cubes, to the flour mixture. Using a pastry cutter or your fingertips, work the butter into the flour until the mixture resembles coarse crumbs with pea-sized butter pieces visible. This texture is critical—it creates the flaky layers that define exceptional pastry.
Step 2: Incorporate Liquid Ingredients for Flakiness
Create a well in the center of the flour-butter mixture. Add the 0.33 cup ice water and 1 tsp apple cider vinegar to the well. The vinegar tenderizes the gluten, guaranteeing a more delicate crust that won’t turn tough.
Using a fork, gradually incorporate the liquid into the dry ingredients until the dough just begins to come together. It should look shaggy and slightly dry—resist the urge to add more water. Overworking the dough at this stage develops gluten, which compromises the flaky texture.
Step 3: Chill and Rest the Dough
Turn the dough out onto a lightly floured surface and gently shape it into a disk about 1-inch thick. Wrap it tightly in plastic wrap and refrigerate for at least 1 hour, or up to 24 hours for convenience.
This resting period allows the gluten to relax and the butter to rechill, which prevents shrinking during baking and ensures distinct, flaky layers. The dough should feel firm but pliable when ready to roll.
Step 4: Roll, Cut, and Prepare for Filling
On a floured surface, roll the chilled dough to ⅛-inch thickness. Use a round cutter to cut out circles slightly larger than your mini pie molds. For lattice tops, cut additional strips about ½-inch wide.
Press the circles gently into your mini pie molds, ensuring the dough conforms to the shape without stretching. Stretching the dough causes it to shrink during baking. Arrange the lattice strips in your desired pattern for the tops.
Step 5: Add Egg Wash and Final Touches
In a small bowl, whisk together the 1 whole egg yolk, 1 tbsp heavy cream, 0.5 tsp vanilla extract, and 0.5 tsp lemon zest until smooth. Brush this mixture lightly over the visible dough surfaces.
The egg wash creates a deep golden color and glossy finish, while the vanilla and lemon zest add subtle aromatic complexity. Chill the assembled crusts for 15-20 minutes before baking to prevent shrinking and maintain clean edges.
Pro Tips For Making Mini Pie Crust Recipe Ideas
- Chill the Butter: Cut your unsalted butter into small cubes and refrigerate for 15 minutes before mixing—this keeps it from melting into the flour too soon, which is what gives you that flaky texture.
- Use Ice Water: I learned this the hard way—warm water makes the dough tough. Fill a cup with ice and water, then measure from that to keep the dough cold and tender.
- Don’t Overwork: Mix just until the dough comes together, even if it looks shaggy. Overworking develops gluten, and suddenly your crust is chewy, not crisp.
- Rest Before Rolling: Give the dough a solid 30 minutes in the fridge before shaping—it relaxes the gluten and makes rolling out those mini crusts way easier.
Health Benefits of This mini pie crust recipe ideas
Heart-Healthy Fats
The butter in this recipe provides essential fatty acids that support cell function. While it’s high in saturated fat, the small portions used in mini crusts make it manageable. I often use European-style butter for its richer flavor and slightly better nutrient profile.
Low Sugar Content
With only 1 tbsp granulated sugar in the entire batch, these crusts are surprisingly low in added sugars. This makes them suitable for those watching their sugar intake while still delivering that classic pie crust taste we all love.
Whole Grain Boost
For added nutrition, I sometimes substitute 1 cup of the all-purpose flour with whole wheat flour. This increases the fiber content significantly while maintaining good texture. The King Arthur Flour whole wheat works particularly well in this application.
Gluten Considerations
While traditional pie crust contains gluten, the small amount of apple cider vinegar helps tenderize the gluten strands, making the crust easier to digest for some people. For gluten-free versions, I recommend using a 1:1 gluten-free flour blend with xanthan gum included.
Portion Control
The mini size naturally encourages portion control, making it easier to enjoy treats without overindulging. Each mini crust typically uses about ¼ of the recipe, keeping servings reasonable. This approach helps maintain balance in a healthy diet. 💪
Nutrient-Dense Additions
The egg yolk in the wash provides vitamins A, D, and B12, while the lemon zest adds a small but meaningful amount of vitamin C. These small additions contribute to the overall nutritional value without compromising the flavor or texture.
Nutrition Facts
Frequently Asked Questions
Can I use store-bought dough instead?
Yes, but results will differ. Store dough often lacks the buttery flavor and flakiness of homemade. For best texture, roll it ⅛-inch thick and chill before shaping.
How do I prevent the crust from shrinking?
Chill the dough for at least 1 hour before rolling and again after shaping. Avoid stretching when fitting into molds. This keeps the butter firm.
What’s the best way to create lattice tops?
Cut dough into ½-inch strips and weave on parchment paper before transferring. Freeze the lattice for 10 minutes to firm up before baking.
Can I make these ahead of time?
Unbaked crusts keep in the fridge for 24 hours or frozen for 1 month. Bake from frozen, adding 2-3 minutes to the time.

- Peanut Brittle Recipe With Dry Roasted Peanuts: Crunchy Caramelized Sweetness - October 7, 2026
- Peanut Butter and Banana Bread Recipe UK: Moist Crumb With Nutty Swirls - October 7, 2026
- Frittata Recipe Oven: Fluffy Eggs with Crisp Golden Top - October 7, 2026