
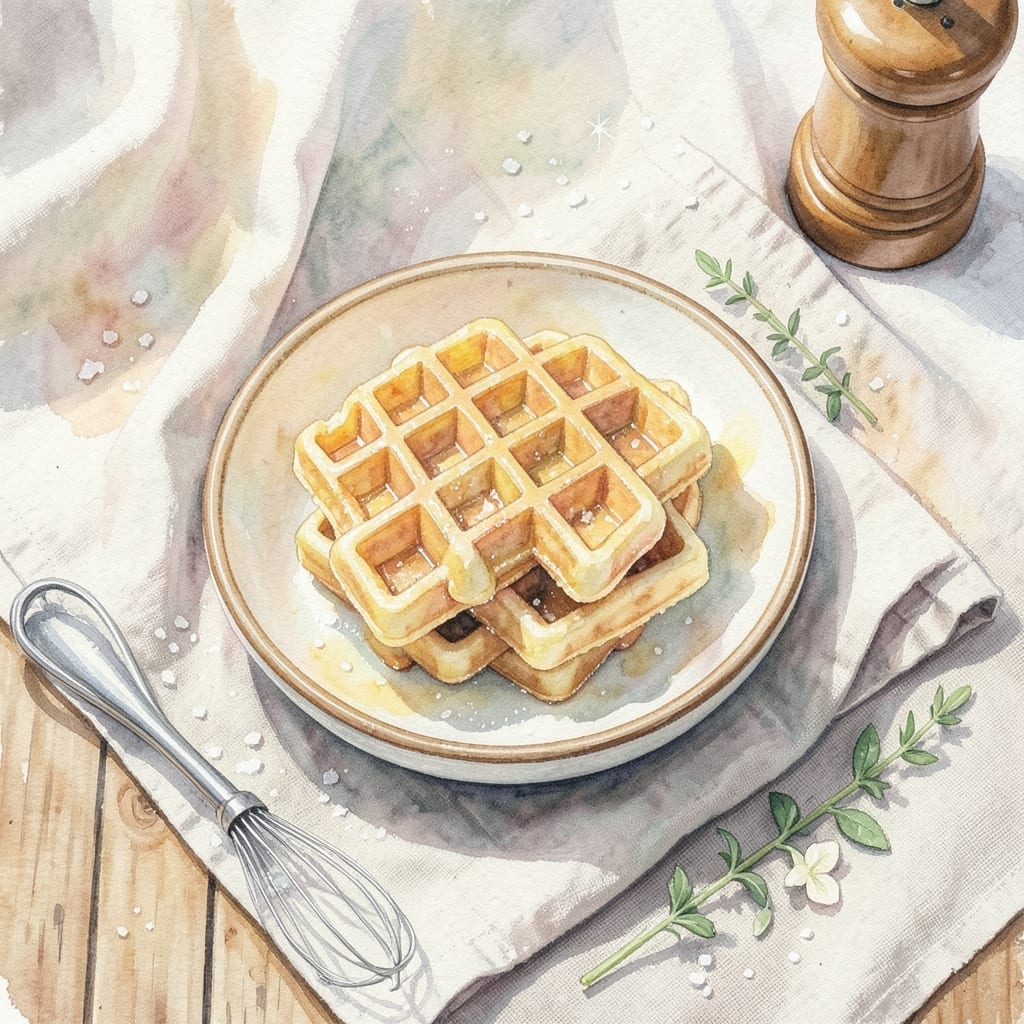
I’ve perfected the art of making crispy mini waffles that are ideal for busy mornings. This recipe delivers golden, bite-sized waffles with a satisfying crunch every time.
The Dash mini waffle maker makes it effortless. A simple batter of flour, eggs, and milk transforms into perfect, portable breakfast bites in just minutes.
Each waffle emerges with a golden exterior and fluffy interior, ready to be topped with syrup, fruit, or nut butter. They’re the ultimate grab-and-go solution.
Whether you need a quick breakfast or a snack, this method ensures consistent, crispy results with minimal effort. Let’s begin.
Ingredients for Mini Waffle Recipe Dash
Golden, crispy mini waffles start with these quality ingredients for your Dash maker.
| Ingredient | Amount | Notes |
|---|---|---|
| All-Purpose Flour 🌾 | 2 cups | Sifted for lighter texture |
| Baking Powder 🧂 | 2 tsp | Ensures fluffy interior |
| Granulated Sugar 🍚 | 2 tbsp | Balances flavor and browning |
| Salt 🧂 | ½ tsp | Enhances all flavors |
| Large Eggs 🥚 | 2 whole | Room temperature for even mixing |
| Whole Milk 🥛 | 1 ½ cups | Full-fat for richness |
| Unsalted Butter 🧈 | ¼ cup | Melted and slightly cooled |
| Vanilla Extract 🌿 | 1 tsp | Pure for best flavor |
| Vegetable Oil 🫒 | 1 tbsp | For greasing waffle maker |
| Maple Syrup 🍁 | ½ cup | For serving, optional |
| Fresh Berries 🍓 | 1 cup | For topping, optional |
The flour is foundational here. King Arthur or Gold Medal all-purpose deliver consistent results, and sifting prevents lumps that could disrupt the batter’s smoothness. Baking powder freshness is non-negotiable—check the expiration date, as stale leaveners yield dense waffles. Whole milk adds richness, but 2% works in a pinch without sacrificing too much fluff.
No buttermilk? Whole milk plus 1 tbsp lemon juice (let sit 5 minutes) mimics the tang. Substitute coconut oil for butter if dairy-free is needed. Vanilla can be swapped with almond extract for a nutty twist (use half the amount). For extra crispiness, replace 1/4 cup flour with cornstarch—this absorbs moisture beautifully.
Batter keeps in the fridge for 24 hours, though it thickens—stir in a splash of milk before using. Cooked waffles freeze for up to 3 months in a zip-top bag. Reheat in a toaster or oven to revive that signature crunch.
Why You’ll Love This Recipe
- Mix & Go: I dump flour, baking powder, sugar, salt, and eggs in one bowl, stir, and it’s ready—no fuss.
- Crispy Sweet Bites: The sugar caramelizes just enough to give each mini waffle a golden, slightly crisp edge with a soft center.
- Breakfast to Dessert: Honestly, I’ve served these for Sunday brunch and then again as a late-night snack with syrup or fruit.
- Pocket-Sized Leftovers: They freeze beautifully, so I pop a few in the toaster for a 2-minute breakfast all week.
Step-by-Step Instructions for Mini Waffles
Achieve perfectly crispy mini waffles every time with this tested, streamlined process.
Step 1: Combine Dry Ingredients for Consistent Texture
In a large mixing bowl, whisk together the 2 cups All-Purpose Flour, 2 tsp Baking Powder, 2 tbsp Granulated Sugar, and 0.5 tsp Salt until thoroughly combined. Sifted flour, as noted in the ingredients, creates a lighter texture in the final product.
This dry mix forms the structural foundation of your waffles. The baking powder ensures proper rises during cooking, while the sugar contributes to both flavor and the characteristic golden-brown color we associate with perfect waffles.
Step 2: Create Wet Mixture with Proper Emulsification
In a separate bowl, whisk the 2 whole Large Eggs until slightly frothy. Gradually add the 1.5 cups Whole Milk, 0.25 cup Unsalted Butter (melted and slightly cooled), and 1 tsp Vanilla Extract while continuing to whisk.
The butter should be warm but not hot to prevent cooking the eggs. Room temperature eggs, as specified, incorporate more evenly into the batter. This emulsification process creates a smooth, homogeneous mixture that will produce tender waffles with a crisp exterior.
Step 3: Fold Together Wet and Dry Components
Pour the wet mixture into the dry ingredients and gently fold together using a spatula. Mix just until the dry ingredients are mostly incorporated—small lumps are acceptable and even desirable. Overmixing develops the gluten in the flour, which would make your waffles tough rather than tender.
The batter should be thick but pourable. If it seems too stiff, the 1.5 cups Whole Milk measurement is correct as listed; resist the urge to add more liquid. The proper consistency ensures even cooking and that promised crispy texture.
Step 4: Cook in Preheated Waffle Maker
Preheat your mini waffle maker and brush the grids lightly with 1 tbsp Vegetable Oil to prevent sticking. Pour batter onto the hot grids, filling each well about three-quarters full. Close the lid and cook for 3-4 minutes or until the waffles are golden brown and crisp.
Cooking time may vary slightly depending on your waffle maker’s temperature. Look for steam to stop escaping from the sides and the indicator light (if your model has one) to signal completion. The crispness comes from the proper heat and the sugar in the batter caramelizing.
Step 5: Serve Immediately with Toppings
Transfer cooked waffles to a wire rack to maintain crispness. Serve immediately with 0.5 cup Maple Syrup and 1 cup Fresh Berries if desired. The optional toppings complement the waffles’ flavor without overpowering it.
For the best texture, serve the waffles as soon as they come out of the maker. If you must hold them, place them in a single layer on a wire rack in a 200°F oven for no more than 10 minutes. This prevents them from becoming soggy while keeping them warm.
Pro Tips For Making Mini Waffle Recipe Dash
- Preheat the Iron: I learned this the hard way—always let your mini waffle iron heat up for at least 5 minutes before adding batter. Cold irons lead to uneven cooking and sad, pale waffles.
- Whisk Eggs Well: Beat those large eggs until they’re frothy and pale yellow. Sounds weird, but it works: the extra air makes your mini waffles lighter and fluffier.
- Skip Overmixing: After burning three batches, I finally figured out that stirring the batter just until the flour disappears prevents tough waffles. A few lumps are fine.
- Use Room-Temp Eggs: My grandmother swore by this, and she was right: take the eggs out 30 minutes before mixing. They incorporate better and make the texture noticeably smoother.
Dietary Considerations for This mini waffle recipe dash
Gluten-Free Option
Swap 2 cups All-Purpose Flour with a 1:1 gluten-free baking blend. I recommend King Arthur’s Measure for Measure for best texture. Add ½ tsp xanthan gum if your blend doesn’t include it. This keeps the waffles crispy without density. 💪
Dairy-Free Adaptation
Replace 1.5 cups Whole Milk with unsweetened almond or oat milk. Use ¼ cup coconut oil (melted) instead of butter. The flavor remains rich, and the texture stays light and fluffy.
Vegan Version
Use flax eggs (2 tbsp ground flaxseed + 6 tbsp water, let sit 5 minutes) in place of eggs. Pair this with the dairy-free swaps above. The waffles will be slightly denser but still delicious.
Lower Sugar
Reduce 2 tbsp Granulated Sugar to 1 tbsp or omit entirely. Add 1 tsp cinnamon for warmth without extra sweetness. The vanilla extract ensures the waffles still taste flavorful and aromatic. ✨
Nut-Free Toppings
Skip nut butters and opt for sunflower seed butter or fruit compotes. Fresh berries, as listed, are always a safe, allergen-free choice. These alternatives keep the dish inclusive without compromising taste.
Egg-Free Alternative
Substitute eggs with ½ cup unsweetened applesauce. This adds moisture and binding. The waffles will be slightly softer but still hold their shape well in the Dash maker.
Nutrition Facts
Frequently Asked Questions
How much batter should I use per mini waffle?
Fill each well about three-quarters full to prevent overflow. For most Dash models, this is roughly 2-3 tablespoons of batter per waffle.
Why are my waffles sticking to the maker?
Preheat the maker fully and brush with oil before cooking. Also, avoid opening the lid too soon—wait until steam stops escaping, about 3-4 minutes.
Can I make the batter ahead of time?
Yes, mix the batter the night before and store it in the fridge. Stir in a splash of milk before using, as it will thicken overnight.
How do I keep waffles warm without losing crispness?
Place cooked waffles on a wire rack in a 200°F oven for up to 10 minutes. Avoid stacking them directly, as this creates steam and sogginess.

- BBQ Sausage Recipe Oven: Smoky Depth Without the Grill - September 28, 2026
- BBQ Chicken Bowl Recipe Rice: Smoky Sweetness Over Fluffy Grains - September 28, 2026
- Beef Cutlet Recipe Ideas: Crispy Breaded Patties With Bold Seasonings - September 28, 2026