
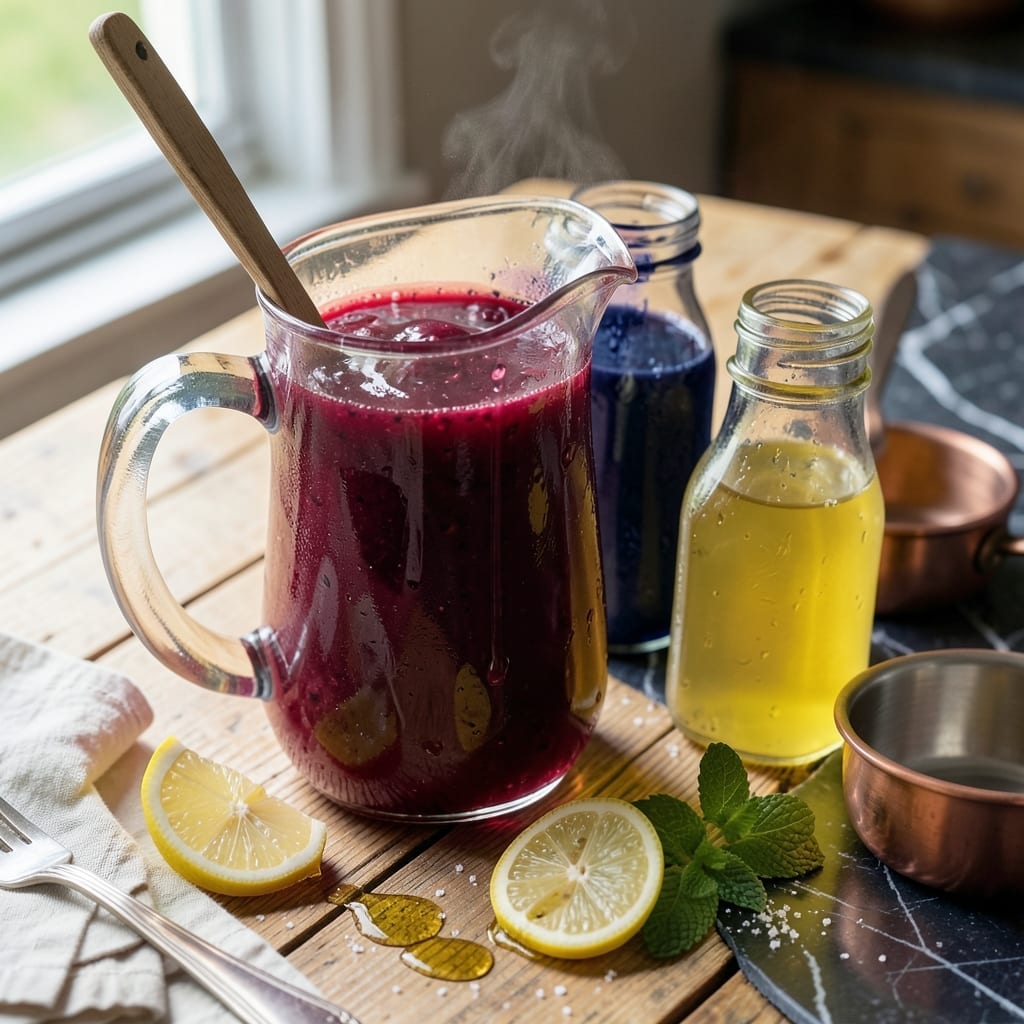
This homemade syrup transforms plain shaved ice into vibrant, naturally flavored snow cones that taste like summer. The secret is using real fruit juices and pure extracts instead of artificial colors and flavors.
I developed this recipe to create restaurant-quality syrups at home without any synthetic additives. The process is simple: combine natural sweeteners with concentrated fruit flavors, then let them meld together.
What you’ll get is a vibrant, intensely flavored syrup that pours beautifully over ice and creates authentic snow cone textures. Each batch makes enough for multiple servings.
Store in the refrigerator for up to two weeks. Perfect for parties, hot days, or whenever you crave that nostalgic treat.
Ingredients for Natural Snow Cone Syrup
Eight natural ingredients create vibrant, restaurant-quality snow cone syrups at home.
| Ingredient | Amount | Notes |
|---|---|---|
| Granulated Cane Sugar 🍚 | 2 cups | Organic preferred for purity |
| Water 💧 | 1 cup | Filtered for cleanest flavor |
| Fresh Lemon Juice 🍋 | ¼ cup | Strained for pulp-free syrup |
| Pure Vanilla Extract 🌿 | 1 tsp | Alcohol-free if preferred |
| Strawberry Juice Concentrate 🍓 | ½ cup | 100% fruit, unsweetened |
| Blueberry Juice Concentrate 🫐 | ½ cup | 100% fruit, unsweetened |
| Cherry Juice Concentrate 🍒 | ½ cup | 100% fruit, unsweetened |
| Citric Acid 🧂 | ¼ tsp | Natural preservative for shelf life |
The juice concentrates are key here. Whole Foods and Trader Joe’s carry excellent 100% fruit options without added sugar. For the sugar, organic cane sugar gives the cleanest flavor, but regular granulated works too. I always keep a bag of citric acid on hand (find it in the canning section at Walmart or Amazon)—it’s a natural preservative that keeps the colors bright.
No strawberry concentrate? Blend fresh strawberries with a bit of sugar and strain for a homemade version. Same goes for blueberry or cherry—just cook down fresh fruit with sugar until syrupy. Want to skip the concentrates entirely? Use 100% fruit juice (like pomegranate or raspberry) and reduce it on the stove first. The vanilla extract can be swapped for almond extract if you prefer a different depth of flavor.
These syrups keep beautifully in the fridge for up to 2 weeks. For longer storage, freeze in ice cube trays, then transfer to a bag—thaw as needed. The citric acid helps maintain that vibrant color, but even without it, they’ll stay fresh for about 1 week.
Why You’ll Love This Recipe
- I’ll be real: I make a double batch because leftovers keep for weeks, and it’s way cheaper than pre-made syrups.
- 5-Minute Magic: I just stir sugar, water, and lemon juice in a saucepan—no complicated steps, and it’s ready before the kids finish arguing over flavors.
- Strawberry-Kissed Sweetness: The vanilla and strawberry concentrate give it that bright, nostalgic taste that beats any store-bought syrup.
- Party or Porch: Honestly, I use it for backyard BBQs, birthday parties, or just a lazy afternoon treat on the porch.
Step-by-Step Instructions for Natural Snow Cone Syrup
This method ensures vibrant, perfectly balanced syrups that pour beautifully over shaved ice every time.
Step 1: Create the Simple Syrup Base
In a medium saucepan, combine 2 cups Granulated Cane Sugar and 1 cup Water over medium-high heat. Stir constantly until the sugar completely dissolves and the mixture just begins to simmer—this usually takes about 3-4 minutes.
You’ll notice the liquid transform from cloudy to clear as the sugar crystals melt. This simple syrup base forms the foundation for all your fruit flavors, so don’t rush this step. Remove from heat once the sugar is fully incorporated to prevent caramelization.
Step 2: Infuse with Bright Citrus Notes
Stir in 0.25 cup Fresh Lemon Juice and 1 tsp Pure Vanilla Extract while the syrup is still warm. The lemon juice adds a necessary brightness that balances the sweetness, while the vanilla rounds out the flavors with subtle depth.
At this point, the mixture should have a glossy sheen and a fragrant citrus aroma. I always use strained lemon juice to ensure a smooth, pulp-free syrup that won’t clog your snow cone dispenser. Let this base cool for 5 minutes before dividing.
Step 3: Divide and Flavor with Fruit Concentrates
Evenly divide the cooled syrup base into three separate containers. To one portion, add 0.5 cup Strawberry Juice Concentrate; to another, add 0.5 cup Blueberry Juice Concentrate; and to the last, add 0.5 cup Cherry Juice Concentrate.
Each fruit concentrate will transform the base into a distinct, vibrant flavor. Stir each mixture thoroughly until fully combined—you should see the color deepen as the concentrate incorporates. The strawberry will turn a brilliant red, blueberry a rich purple, and cherry a deep ruby.
Step 4: Preserve and Enhance with Citric Acid
Add 0.25 tsp Citric Acid to each flavored syrup. This tiny amount acts as a natural preservative, extending shelf life while adding a subtle tang that makes the flavors pop. Stir well until completely dissolved—this prevents any graininess in your final syrup.
Taste each flavor and adjust if needed. The citric acid should enhance the fruitiness without making the syrup sour. If it tastes too sharp, a touch more sugar can balance it, but I’ve found this ratio works perfectly for most palates.
Step 5: Cool, Store, and Serve
Let all syrups cool to room temperature, then transfer to clean, airtight bottles or jars. For best results, refrigerate for at least 2 hours before using—this allows the flavors to meld completely. The syrups will thicken slightly as they chill.
When ready to use, pour over finely shaved ice. Each bottle will yield enough for multiple snow cones, and the colors will remain vibrant for up to 2 weeks in the refrigerator. Shake well before each use to redistribute any settled fruit particles.
Pro Tips For Making Natural Snow Cone Syrup
- Simmer, Don’t Boil: Keep the heat at a gentle simmer—boiling too hard will caramelize the sugar and give your syrup a bitter edge.
- Use Fine Sugar: Granulated cane sugar dissolves faster than coarse varieties, so you won’t end up with a grainy texture in your final syrup.
- Strain the Juice: Fresh lemon juice can carry pulp or seeds that cloud your syrup; a quick strain through fine mesh keeps it smooth and clear.
- Add Vanilla Last: Stir in the pure vanilla extract after removing from heat to preserve its delicate flavor—high heat can dull its aroma.
Common Mistakes When Making This Dish
Over-Sweetening the Base
Using too much sugar creates syrups so thick they won’t pour properly over ice. Stick to the 2:1 sugar-to-water ratio—this gives the perfect consistency for snow cones. I learned this the hard way when my first batch turned into candy-like sludge. 💡
Skipping the Citric Acid
Omitting citric acid leads to dull colors and shorter shelf life. Just ¼ tsp per batch preserves vibrancy and adds that signature tangy kick. It’s a tiny amount but makes a huge difference in flavor balance.
Boiling the Syrup
Never let your syrup reach a rolling boil—this causes sugar crystallization and a grainy texture. Remove from heat as soon as the sugar dissolves, around 3-4 minutes. The goal is a smooth, glossy liquid, not a thick reduction.
Using Pulp-Heavy Juices
Unstrained lemon juice or fruit concentrates with pulp will clog your snow cone dispenser. Always strain juices for a smooth, pour-able consistency. I use a fine-mesh sieve for the best results.
Improper Storage
Storing syrups at room temperature speeds up spoilage. Always refrigerate in airtight containers for up to 2 weeks. For longer storage, freeze in ice cube trays and thaw as needed.
Mixing Flavors Prematurely
Combining all fruit concentrates in one batch creates a muddy brown syrup. Divide your base first, then add each flavor separately to maintain vibrant, distinct colors. This keeps your strawberry red, blueberry purple, and cherry ruby. 🔥
Nutrition Facts
Frequently Asked Questions
Can I use honey instead of cane sugar?
Yes, but it changes the flavor and texture. Substitute 1:1, but honey is sweeter and thicker. Heat gently to avoid caramelization.
Why do my colors look dull?
Natural fruit colors fade without citric acid. Always add ¼ tsp per batch to preserve vibrancy. Also, store in airtight containers away from light.
How long does it take to make?
About 20 minutes total. 5 minutes to make the base, 5 minutes to cool, and 10 minutes to flavor and divide.
Can I make it without concentrates?
Simmer fresh fruit with sugar to create a thick syrup, then strain. Use 1 cup fruit purée + ½ cup sugar per flavor.

- BBQ Sausage Recipe Oven: Smoky Depth Without the Grill - September 28, 2026
- BBQ Chicken Bowl Recipe Rice: Smoky Sweetness Over Fluffy Grains - September 28, 2026
- Beef Cutlet Recipe Ideas: Crispy Breaded Patties With Bold Seasonings - September 28, 2026