
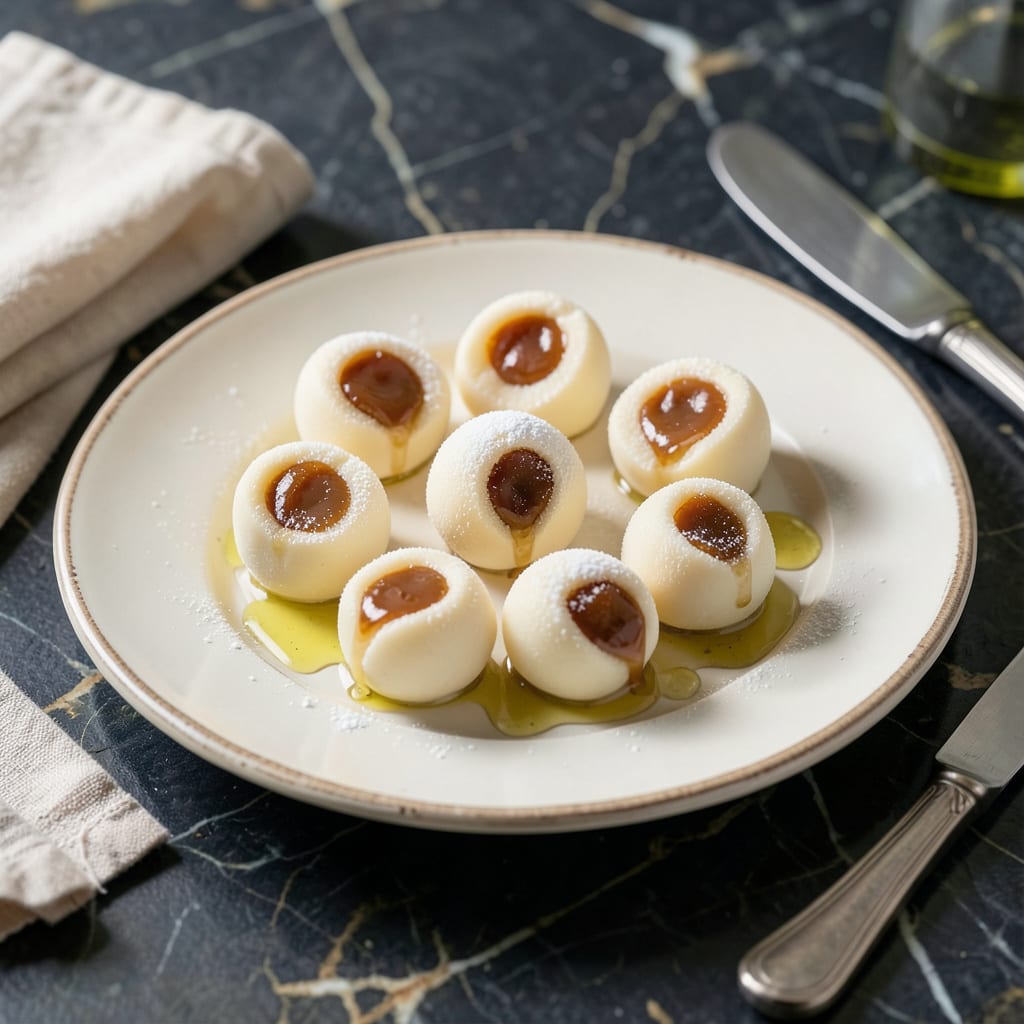
There’s nothing like biting into a piece of nostalgia that melts in your mouth. I’ve spent years perfecting this classic candy recipe that brings back childhood memories with every creamy bite.
These old-fashioned treats are surprisingly simple to make at home with just a few ingredients. The result is a smooth, velvety center wrapped in a delicate shell that dissolves on your tongue.
Ingredients for Old Fashioned Creme Drops
Simple sweet staples create that nostalgic melt-in-your-mouth magic everyone loves.
| Ingredient | Amount | Notes |
|---|---|---|
| Granulated Sugar 🍚 | 2 cups | Fine grain for smooth texture |
| Light Corn Syrup 🧈 | ½ cup | Karo brand recommended |
| Heavy Cream 🥛 | ½ cup | Full-fat for creaminess |
| Unsalted Butter 🧈 | 4 tbsp | Room temperature preferred |
| Vanilla Extract 🌿 | 1 tsp | Pure extract for best flavor |
| Salt 🧂 | ¼ tsp | Fine table salt |
| Powdered Sugar 🍚 | 1 ½ cups | Sifted for smooth coating |
| Cocoa Powder 🌰 | ¼ cup | Unsweetened for balance |
| Coconut Flakes 🥥 | ½ cup | Sweetened or unsweetened |
| Food Coloring 🎨 | 2 drop | Optional for color variation |
The heavy cream is non-negotiable here—full-fat from the dairy aisle (not the canned stuff) gives that velvety center. Karo light corn syrup is the classic choice, but any light syrup works in a pinch. Sugar quality matters less than you’d think, but fine grain dissolves better. I grab mine from Walmart—their store brand is perfectly adequate for candy-making.
No heavy cream? Half-and-half with a pat of butter gets close, though the texture won’t be as rich. Out of corn syrup? Honey or agave at one-to-one ratio (but expect a slightly different flavor). The cocoa powder is for the chocolate version—Hershey’s Special Dark adds depth. Skip the food coloring entirely if you prefer a classic white creme drop.
Store these in an airtight container at room temperature—they’ll keep for 2-3 weeks (if they last that long). The powdered sugar coating can absorb moisture, so add a silica packet if you’re making a big batch. Freezing isn’t recommended—they lose that delicate texture.
Why You’ll Love This Recipe
- I’ll be real: these disappear faster than any cookie at my Christmas cookie swap.
- Five Ingredients: I love that this only needs sugar, corn syrup, cream, butter, and vanilla—no hunting for obscure items at the store.
- Holiday MVP: I’ll be real: these disappear faster than any cookie at my Christmas cookie swap.
- Stays Fresh: Between us, they keep for over a week in an airtight container, so I can make them way ahead of time.
Step-by-Step Instructions for Old Fashioned Creme Drops
These nostalgic candies come together with careful timing and a watchful eye for perfect texture.
Step 1: Create the Sugar Syrup Base
In a heavy-bottomed saucepan, combine the 2 cups Granulated Sugar, 0.5 cup Light Corn Syrup, and 0.5 cup Heavy Cream. I recommend using a 3-quart pan to prevent boiling over. Stir just until the sugar dissolves, then stop stirring to avoid crystallization.
Clip a candy thermometer to the side of the pan and bring the mixture to a boil over medium-high heat. Cook undisturbed until the temperature reaches 235-240°F (soft-ball stage). You’ll notice the mixture becomes thick and syrupy, with large bubbles that pop slowly.
Step 2: Incorporate Butter and Flavorings
Once at temperature, immediately remove the pan from heat. Stir in the 4 tbsp Unsalted Butter, 1 tsp Vanilla Extract, and 0.25 tsp Salt until the butter melts completely. This step tempers the syrup and adds depth of flavor.
The mixture will bubble vigorously when you add these ingredients—that’s normal. Let it settle for 1-2 minutes before proceeding. The vanilla’s aroma should be pronounced at this stage, signaling that the flavor base is properly developed.
Step 3: Prepare the Dry Coating Mixture
While the syrup cools slightly, whisk together the 1.5 cups Powdered Sugar, 0.25 cup Cocoa Powder, and 0.5 cup Coconut Flakes in a large bowl. Sift the ingredients if they appear lumpy—this ensures a smooth, professional finish on your candies.
If using 2 drop Food Coloring, add it now to the dry mixture and blend thoroughly for even distribution. The color should be uniform before you begin coating the candies.
Step 4: Shape and Coat the Creme Drops
Pour the warm syrup onto a lightly greased surface or silicone mat. Working quickly while it’s still pliable, use a spoon or small scoop to portion 1-inch balls of the mixture. The syrup should hold its shape but remain soft enough to work with.
Roll each portion between your palms to form smooth spheres, then immediately roll them in the powdered sugar mixture. Press gently to ensure full coverage. The coating should adhere easily to the slightly sticky syrup, creating that signature creme drop appearance.
Step 5: Set and Store the Finished Candies
Place the coated candies on a parchment-lined tray and let them set at room temperature for 1-2 hours. They should become firm to the touch but still yield slightly when pressed. This setting time allows the centers to achieve that perfect creamy texture.
Store in an airtight container at room temperature with parchment between layers. These will keep for up to 2 weeks, though I doubt they’ll last that long. The coconut flakes add a subtle chew that complements the melt-in-your-mouth centers beautifully.
Pro Tips For Making Old Fashioned Creme Drops
- Use a Candy Thermometer: I learned this the hard way—guessing temperatures leads to either rock-hard or runny creme drops. 235-240°F is the sweet spot for that perfect chewy texture.
- Cut Butter Small: Dice the unsalted butter into tiny cubes before adding to the sugar mixture. Sounds fussy, but it melts evenly and prevents oily separation.
- Avoid Stirring Late: Resist the urge to stir once the mixture starts boiling. Stirring at this stage can cause graininess—I ruined two batches before figuring this out.
- Warm the Cream: Take the heavy cream out of the fridge 10-15 minutes before using. Cold cream can make the syrup seize up, and nobody wants clumpy creme drops.
Best Sauces and Condiments for This Dish
Chocolate Drizzle
Melt ½ cup semi-sweet chocolate chips with 1 tbsp coconut oil for a smooth drizzle over these candies. I use Ghirardelli chips for the best melt. Drizzle while candies are still slightly warm so it adheres better. 🔥
Vanilla Glaze
Whisk 1 cup powdered sugar with 2 tbsp milk and ½ tsp vanilla until smooth. Dip half of each candy in the glaze, then let set on parchment for 20 minutes. This adds a sweet contrast to the creamy center.
Caramel Sauce
Warm ¼ cup store-bought caramel sauce and drizzle over a plate of these candies. I love Smucker’s brand for its thick consistency. The salt in the caramel amplifies the sweetness of the creme drops beautifully.
Citrus Zest
Add brightness by sprinkling orange or lemon zest over the powdered sugar coating. Use 1 tsp zest per dozen candies for a subtle citrus note. This works especially well with the vanilla version.
The oils in the zest release as you bite in, creating a refreshing contrast. 💛
Spiced Dusting
Mix 1 tsp cinnamon or ½ tsp pumpkin pie spice into your powdered sugar coating. This adds warmth to the coconut and chocolate versions. I prefer Penzeys cinnamon for its strong aroma.
Nutrition Facts
Frequently Asked Questions
Can I use heavy whipping cream instead of heavy cream?
Yes, heavy whipping cream works perfectly as a substitute. It has a slightly higher fat content, which may make your creme drops even richer. Just use the same 0.5 cup measurement.
Why did my mixture crystallize while cooking?
Crystallization usually happens from stirring after the sugar dissolves or if the pan isn’t clean. Use a wet pastry brush to wash down any sugar crystals on the pan sides and avoid stirring once boiling begins.
How do I know when they’re done setting?
They’re ready when firm to touch but still slightly yielding, after about 1-2 hours at room temperature. If they feel sticky, give them more time. The centers should be creamy, not runny.

- BBQ Sausage Recipe Oven: Smoky Depth Without the Grill - September 28, 2026
- BBQ Chicken Bowl Recipe Rice: Smoky Sweetness Over Fluffy Grains - September 28, 2026
- Beef Cutlet Recipe Ideas: Crispy Breaded Patties With Bold Seasonings - September 28, 2026