
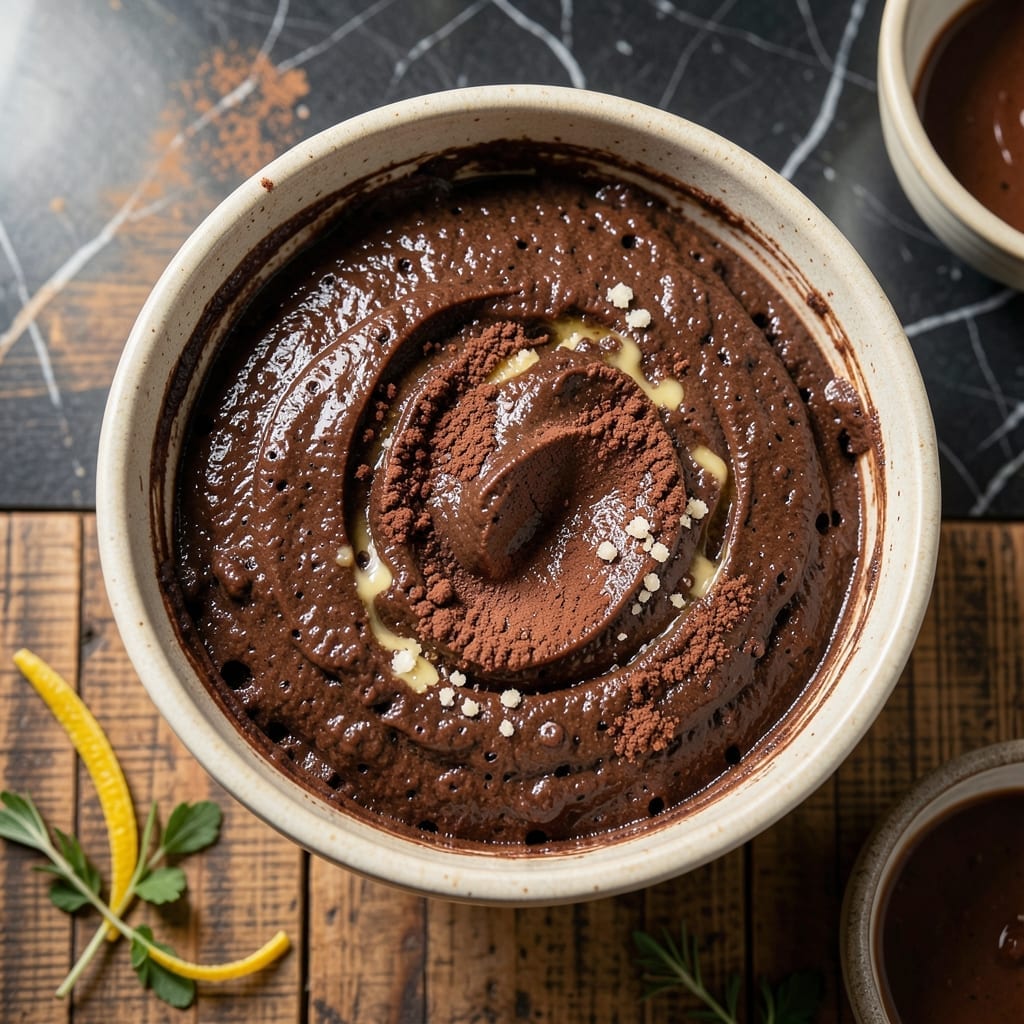
There’s a reason this classic brownie recipe has stood the test of time—it delivers fudgy centers and crackly tops with minimal effort. The original Hershey method transforms simple ingredients into rich, chocolate-packed squares that define comfort food.
What makes this version special is its reliability. No fancy equipment or techniques required, just a bowl, a spoon, and about 30 minutes from start to finish. The recipe balances sweetness and depth, creating a texture that’s dense yet tender.
The magic happens in the oven, where a thin, paper-like crust forms on top while the interior stays moist and decadent. This contrast is what makes each bite so satisfying, whether served warm or at room temperature.
Perfect for bake sales, potlucks, or an afternoon treat, these brownies prove that sometimes the simplest recipes yield the most impressive results. Here’s how to make them.
Ingredients for Original Hershey Brownie
Classic pantry staples create fudgy, crackly-topped brownies everyone loves.
| Ingredient | Amount | Notes |
|---|---|---|
| Unsalted Butter 🧈 | ½ cup | Melted and cooled slightly |
| Granulated Sugar 🍚 | 1 cup | Fine white sugar preferred |
| Vanilla Extract 🌿 | 1 tsp | Pure vanilla for best flavor |
| Large Eggs 🥚 | 2 whole | Room temperature for even mixing |
| All-Purpose Flour 🌾 | ½ cup | Spoon and level method |
| Hershey's Unsweetened Cocoa Powder 🍫 | ½ cup | Sifted if lumpy |
| Salt 🧂 | ¼ tsp | Fine table salt |
| Baking Powder 🧂 | ¼ tsp | Ensures proper rise |
| Chopped Walnuts 🌰 | ½ cup | Optional for texture |
The cocoa powder is non-negotiable here—Hershey’s Unsweetened is the gold standard for this recipe, delivering that deep chocolate flavor the original is known for. Find it in the baking aisle of any supermarket or grab a bulk can from Costco. The butter should be high-quality (I prefer Land O’Lakes), unsalted to control the sodium content yourself. Splurge on the vanilla too—pure extract beats imitation every time.
No unsweetened cocoa? Dutch-processed at one-to-one ratio works, but the flavor will be milder. Out of walnuts? Pecans or chocolate chips add a nice contrast (or skip entirely). The flour can be swapped for gluten-free 1:1 blend with no other adjustments. If you’re using salted butter, reduce the added salt by a pinch—but unsalted is ideal for precision.
Store brownies in an airtight container at room temperature for up to 4 days. They actually improve overnight as flavors meld. Freeze for 3 months wrapped in foil and plastic—thaw at room temperature. The batter itself keeps 24 hours in the fridge if you want to prep ahead.
Why You’ll Love This Recipe
- One Bowl Wonder: I just melt the butter, mix in the sugar and vanilla, crack in the eggs, and fold in the flour—no fuss, no extra dishes.
- Classic Chocolate Fix: That rich, fudgy texture from the butter and sugar combo? It’s the Hershey taste I remember from childhood.
- Bake Sale Hero: I’ve taken these to potlucks, packed them in lunchboxes, and even served them at birthday parties—always a hit.
- Stays Fresh: Honestly, they taste even better the next day, and a batch lasts us all week if I hide them from the kids.
Step-by-Step Instructions for Fudgy Chocolate Brownies
Master the technique for dense, rich squares with that signature crackly top every time.
Step 1: Melt and Combine the Butter and Sugar
Begin by melting the 0.5 cup Unsalted Butter in a saucepan over low heat, then let it cool slightly. Transfer to a mixing bowl and stir in the 1 cup Granulated Sugar until fully combined. The mixture should look slightly grainy at this stage.
I use a whisk here to break up any sugar clumps. The residual heat from the melted butter helps dissolve the sugar partially, creating a smooth base for the batter. Don’t skip this step—it ensures even distribution of sweetness.
Step 2: Incorporate Vanilla and Eggs
Add the 1 tsp Vanilla Extract to the butter-sugar mixture, followed by the 2 whole Large Eggs, one at a time. Beat vigorously with a wooden spoon or whisk for 1-2 minutes after each addition until the mixture turns glossy and slightly ribbony.
This step is critical for that crackly top. The eggs add structure, while the vigorous mixing incorporates air, which creates the characteristic sheen and texture. The batter should look thick and smooth, with no streaks of egg visible.
Step 3: Sift and Fold in Dry Ingredients
In a separate bowl, sift together the 0.5 cup Hershey’s Unsweetened Cocoa Powder, 0.5 cup All-Purpose Flour, 0.25 tsp Salt, and 0.25 tsp Baking Powder. Sifting the cocoa ensures no lumps remain, which is especially important for a smooth, fudgy texture.
Gradually fold the dry ingredients into the wet mixture using a spatula. Stir just until the flour disappears—overmixing will develop gluten, resulting in cakey rather than fudgy brownies. The batter will be thick and slightly sticky.
Step 4: Fold in Walnuts and Bake
Gently fold in the 0.5 cup Chopped Walnuts (if using) until evenly distributed. Pour the batter into a greased 8×8-inch baking pan, spreading it into an even layer with the spatula. The top should be smooth but may look slightly dull—this is normal.
Bake in a preheated 350°F oven for 20-25 minutes, or until a toothpick inserted in the center comes out with a few moist crumbs. The edges should pull away slightly from the pan, and the top should have a thin, papery crust with visible cracks.
Step 5: Cool Completely Before Slicing
Remove the pan from the oven and let the brownies cool completely in the pan on a wire rack for at least 1 hour. This step is non-negotiable—cutting too soon will result in a gummy texture rather than clean, fudgy squares.
Once cooled, slice into 16 squares for serving. The interior should be dense and moist, with a rich chocolate flavor that lingers. Store leftovers in an airtight container at room temperature for up to 3 days.
Pro Tips For Making Original Hershey Brownie
- Melt Butter Slowly: Use low heat and stir constantly to melt the butter without browning—burnt butter will give your Hershey brownies a bitter edge. I learned this the hard way after rushing it on high heat once.
- Room Temp Eggs: Take your eggs out 30 minutes before baking. Cold eggs don’t emulsify as well with the sugar, and you’ll end up with less volume and a denser texture.
- Don’t Overmix Flour: Fold in the flour just until you can’t see streaks—overmixing develops gluten, and nobody wants cakey Hershey brownies. They should be fudgy, not tough.
- Pull Them Early: Take the brownies out when a toothpick has a few moist crumbs, not clean. They’ll keep cooking in the pan, and waiting for a clean test means dry, overbaked edges.
Perfect Pairings for This original hershey brownie
Beverage Pairings
I love serving these brownies with a cold 8-ounce glass of milk—the classic pairing that never fails. Whole milk adds a creamy contrast to the deep chocolate, while skim milk keeps it lighter. For a grown-up twist, chilled vanilla almond milk adds nutty depth. 🥛
Coffee Companions
A 6-ounce cup of black coffee cuts through the richness beautifully. I prefer a medium roast from Starbucks or Peet’s to balance the sweetness. For espresso lovers, a double shot with a sprinkle of cocoa powder on top creates a mocha-like experience.
Ice Cream Toppings
Transform these into a sundae by serving warm with 1 scoop vanilla ice cream and a drizzle of hot fudge. The temperature contrast is divine. For a simpler approach, just add a dollop of whipped cream and fresh berries.
Wine Pairings
For wine enthusiasts, a 5-ounce pour of Ruby Port complements the chocolate perfectly. The berry notes and slight sweetness enhance the cocoa flavors. Banyuls, a French dessert wine, is another excellent but less common choice. 🍷
Fruit Accompaniments
Fresh strawberries or raspberries add a bright contrast to the richness. I toss 1 cup of sliced berries with 1 tsp of sugar and let them macerate for 10 minutes before serving. The natural acidity balances the sweetness beautifully.
Nutrition Facts
Frequently Asked Questions
Why do my brownies turn out cakey instead of fudgy?
Overmixing the batter develops gluten in the flour, creating a cake-like texture. Stir just until the dry ingredients disappear for dense, fudgy results.
Can I substitute Dutch-process cocoa for unsweetened?
Yes, use the same amount. Dutch-process has a milder flavor, but it works well. The texture will remain the same.
How do I get the signature crackly top?
Vigorously beat the eggs and sugar mixture for 1-2 minutes until glossy. This incorporates air, creating that iconic papery crust.
What’s the best way to store leftovers?
Keep in an airtight container at room temperature for up to 4 days. They taste even better the next day as flavors meld.

- BBQ Sausage Recipe Oven: Smoky Depth Without the Grill - September 28, 2026
- BBQ Chicken Bowl Recipe Rice: Smoky Sweetness Over Fluffy Grains - September 28, 2026
- Beef Cutlet Recipe Ideas: Crispy Breaded Patties With Bold Seasonings - September 28, 2026