
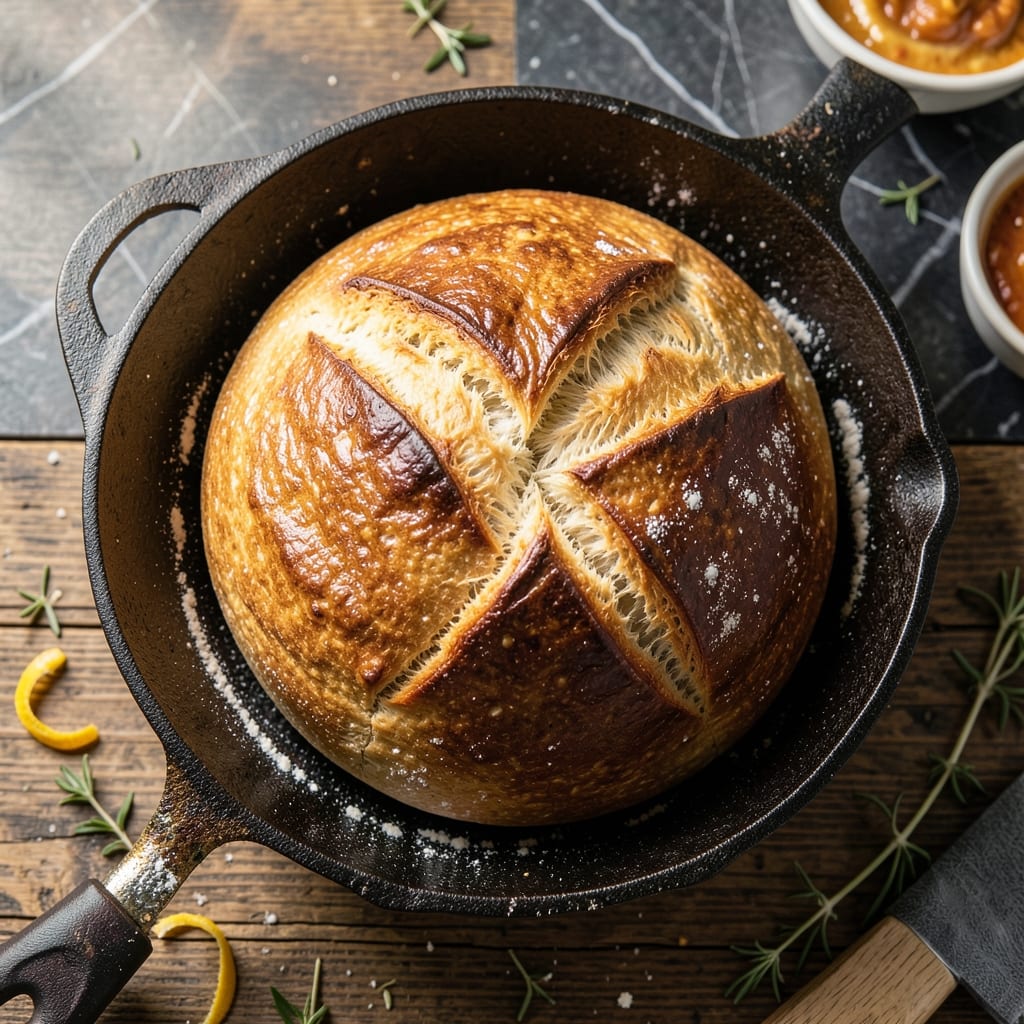
I’ve perfected a way to make fluffy bread without yeast, and it’s surprisingly simple.
This method relies on baking powder for lift, eliminating the need for rising time. The result is soft, tender bread with a golden crust, ready in under an hour. No special skills or equipment required.
What makes this recipe special is its versatility—use it for sandwiches, toast, or as a side for any meal. The texture rivals traditional yeast breads, but with far less effort.
You’ll have warm, homemade bread on the table faster than you can say no yeast.
Ingredients for Pan Bread Recipe No Yeast
Simple pantry staples plus a few fridge essentials. Warm bread in no time.
| Ingredient | Amount | Notes |
|---|---|---|
| All-Purpose Flour 🌾 | 3 cups | Sifted for best texture |
| Baking Powder 🧂 | 2 ½ tsp | Fresh for maximum lift |
| Salt 🧂 | 1 tsp | Fine sea salt preferred |
| Granulated Sugar 🍚 | 1 tbsp | Balances the flavor |
| Greek Yogurt 🥛 | 1 cup | Plain, full-fat for richness |
| Milk 🥛 | ½ cup | Whole milk works best |
| Unsalted Butter 🧈 | 4 tbsp | Melted and cooled slightly |
| Large Egg 🥚 | 1 whole | Room temperature preferred |
| Honey 🍯 | 1 tbsp | Optional for extra sweetness |
| Olive Oil 🫒 | 1 tbsp | For greasing the pan |
The yogurt is key here—Greek yogurt with full-fat gives you that tender crumb. I grab mine from Whole Foods or any grocery store with a good dairy section. Baking powder loses potency over time, so check the expiration date (yes, it has one). For the flour, King Arthur or Gold Medal are solid choices. Don’t skip sifting if your flour’s been sitting awhile.
No Greek yogurt? Plain regular yogurt at half the amount works in a pinch. Milk can be swapped for any dairy or plant-based kind (oat milk adds a nice sweetness). Out of honey? Maple syrup or sugar does the trick. The egg helps bind everything, but you can use flax egg if needed—mix 1 tbsp ground flax with 3 tbsp water, let it sit 5 minutes.
Bread stays fresh wrapped in foil or plastic for about 3 days at room temp. Slice before storing for easy toast. Freeze slices for up to 3 months—just pop in the toaster straight from frozen (trust me, it works).
Why You’ll Love This Recipe
- No Yeast Needed: I can mix this dough in 5 minutes flat—baking powder does all the rising work.
- Tangy & Soft: That Greek yogurt gives it the perfect tender crumb with just a hint of tang.
- Feeds the Crowd: One pan, eight servings, and everyone fights over the warm edges.
- Budget Friendly: A cup of flour, a dollop of yogurt, and I’ve got fresh bread without a grocery run.
Step-by-Step Instructions for No Yeast Pan Bread
Here’s how to make this bread quickly—no yeast, no waiting, just great results.
Step 1: Mix Dry Ingredients Thoroughly
In a large mixing bowl, whisk together the 3 cups All-Purpose Flour, 2.5 tsp Baking Powder, 1 tsp Salt, and 1 tbsp Granulated Sugar. I like to sift the flour first for a lighter texture, but it’s not mandatory. Just make sure there are no lumps in your dry mix.
This step ensures even distribution of the leavening agent and prevents any bitter pockets of baking powder. You’ll notice the mixture looks uniform and smooth when it’s ready for the wet ingredients.
Step 2: Combine Wet Ingredients Separately
In another bowl, whisk the 1 cup Greek Yogurt, 0.5 cup Milk, 4 tbsp Unsalted Butter (melted and cooled slightly), 1 whole Large Egg, and 1 tbsp Honey until fully combined. The butter should be cool enough that it doesn’t cook the egg.
I always use full-fat Greek yogurt for richness, and whole milk for the best texture. The mixture should be smooth and slightly thick, almost like a thin pancake batter.
Step 3: Fold Wet and Dry Mixes Together
Pour the wet ingredients into the dry ingredients and stir gently with a wooden spoon or silicone spatula until just combined. Don’t overmix—you’ll see small lumps, but that’s fine. Overworking the dough makes it dense instead of fluffy.
The batter will be thick and slightly sticky, almost like a muffin batter. If it looks too dry, add a splash of milk, but I’ve found the recipe works perfectly as long as you measure accurately.
Step 4: Bake in a Prepared Pan
Preheat your oven to 375°F. Grease a 9×5-inch loaf pan with the 1 tbsp Olive Oil, making sure to coat the bottom and sides evenly. Pour the batter into the pan and smooth the top with the back of your spatula.
Bake for 45-50 minutes until the top is golden brown and a toothpick inserted into the center comes out clean. If the top browns too quickly, tent the pan loosely with foil.
Let the bread cool in the pan for 10 minutes, then transfer it to a wire rack to cool completely. This prevents it from becoming soggy as it finishes setting up.
Pro Tips For Making Pan Bread Recipe No Yeast
- Preheat the Pan: Heat your pan on medium-low for at least 3 minutes before adding the dough—I learned this the hard way after my first few loaves came out dense and gummy.
- Use Full-Fat Yogurt: Skip the low-fat versions; full-fat Greek yogurt gives the bread a tender crumb and richer flavor, and it’s the thing that matters most for texture.
- Don’t Overmix: Stir just until the flour is incorporated, or you’ll end up with a tough, rubbery bread—my grandmother swore by this, and she was right.
- Cover While Cooking: Drape a lid or foil over the pan for the first 5 minutes to trap steam, which helps the bread rise evenly without yeast.
Pro Cooking Tips for Perfect Results
Baking Powder Freshness
Always check your baking powder’s expiration date—it loses potency over time. I test mine by mixing 1 tsp with ½ cup hot water. If it bubbles vigorously, it’s active. Old powder means flat bread. 💡
Prevent Dense Texture
Overmixing develops gluten, making bread tough. Stir just until combined—small lumps are fine. I use a silicone spatula for gentle folding. The batter should look shaggy, not smooth.
Oven Temperature Accuracy
Invest in an oven thermometer—many ovens run hot or cold. I keep mine at $8 from Walmart. Preheat for 15 minutes to ensure even baking. This prevents uneven rising or burnt edges.
Pan Preparation
Use parchment paper in your loaf pan for easy removal. I cut a strip to fit the length, leaving overhang on the sides. This ensures clean release without sticking. Grease the exposed pan surfaces too.
Doneness Test
Don’t rely on color alone. The toothpick test is most reliable—insert into the center. If it comes out clean or with a few moist crumbs, it’s done. I check at 45 minutes, then every 5 minutes after. 🔥
Cooling Properly
Resist slicing immediately. Cooling in the pan for 10 minutes sets the structure. Then transfer to a wire rack to prevent steam from making the crust soggy. This step makes a noticeable difference in texture.
Nutrition Facts
Frequently Asked Questions
Can I use baking soda instead of baking powder?
No, they’re not interchangeable here. Baking soda needs an acid to activate, while baking powder contains its own acid. Using soda alone will leave your bread dense and flat.
Why does my bread turn out dense?
Overmixing or expired baking powder are the top culprits. Stir just until combined and check your powder’s freshness. The batter should look shaggy, not smooth.
Can I make this in a different pan?
Yes! For muffins, bake at 375°F for 18-22 minutes. For a sheet pan, spread batter thin and bake 15-20 minutes. Adjust time based on thickness.
How do I store leftovers?
Wrap cooled bread tightly in foil or plastic for up to 3 days. For longer storage, freeze slices and toast straight from frozen. Reheating revives the texture beautifully.

- Blue Zone Recipe Ideas: Longevity-Boosting Meals for Vibrant Living - September 28, 2026
- Beefaroni Recipe With Tomato Soup: One-Pot Nostalgic Comfort - September 28, 2026
- Bread Recipe KitchenAid Mixer: Foolproof Loaf With Perfect Rise - September 28, 2026