
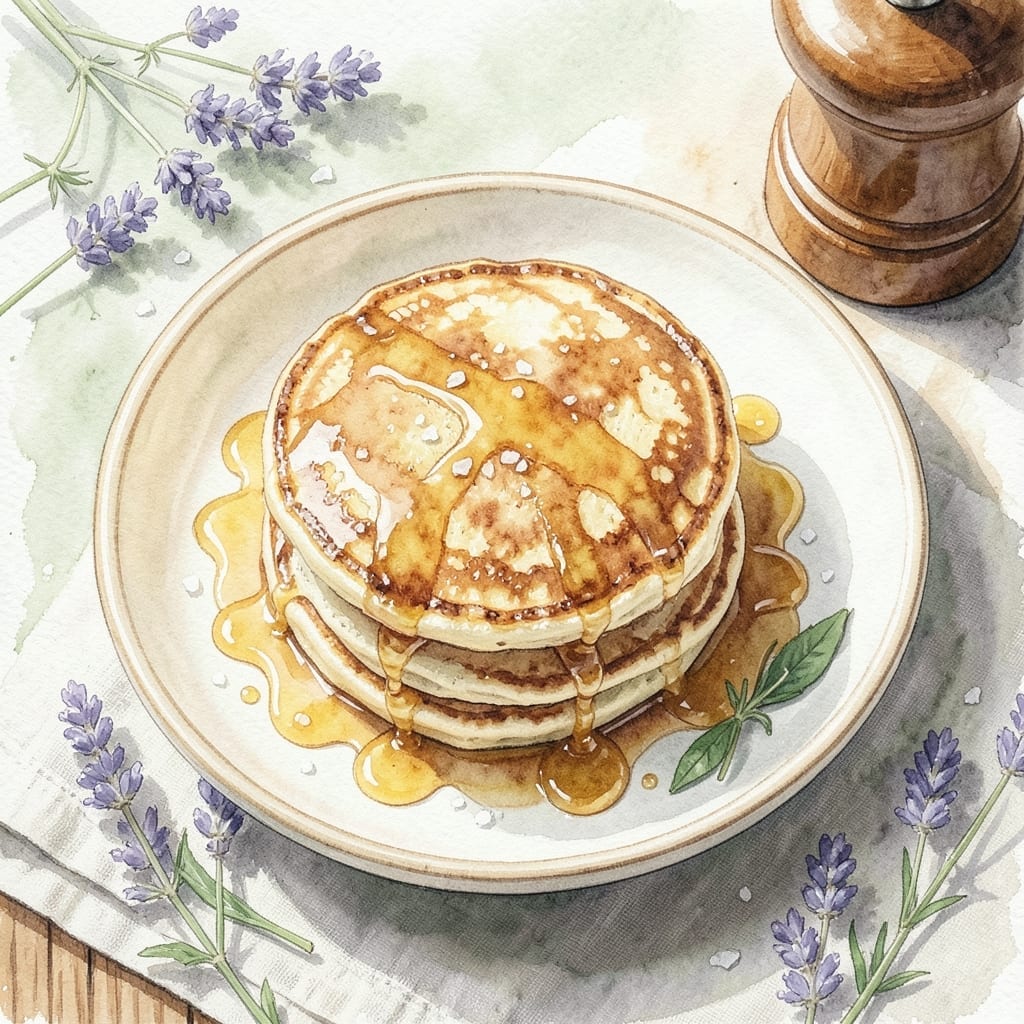
Achieving pancakes with crispy edges requires precise heat control and a simple batter adjustment. This proven method delivers golden, lacy borders with fluffy centers every time.
The key is cooking on medium-low heat with a touch of oil in the pan. The batter rests briefly to develop structure, ensuring edges crisp without burning while centers stay tender.
Each pancake emerges with delicate, buttery lace framing the perfect stack. The contrast between the shatteringly crisp perimeter and soft interior makes these irresistible.
Serve immediately for maximum texture. This technique works with any pancake variation while guaranteeing those coveted edges.
Ingredients for Pancake Recipe with Crispy Edges
Precise ingredients deliver those golden edges with fluffy centers every time you make them.
| Ingredient | Amount | Notes |
|---|---|---|
| All-Purpose Flour 🌾 | 2 cups | Sifted for lighter texture |
| Baking Powder 🧂 | 2 tsp | Ensures fluffy centers |
| Granulated Sugar 🍚 | 2 tbsp | Balances batter sweetness |
| Salt 🧂 | ½ tsp | Fine sea salt preferred |
| Large Eggs 🥚 | 2 whole | Room temperature for even mixing |
| Whole Milk 🥛 | 1 ¾ cups | Full-fat for richness |
| Unsalted Butter 🧈 | 4 tbsp | Melted and slightly cooled |
| Vegetable Oil 🫒 | 2 tbsp | For pan crisping edges |
| Vanilla Extract 🌿 | 1 tsp | Pure extract for best flavor |
| Buttermilk 🥛 | ¼ cup | Optional for extra tang |
The flour quality makes a difference here. King Arthur all-purpose is my go-to for consistent results—its protein content hits the sweet spot for structure without toughness. The baking powder must be fresh (test by dropping a pinch in hot water; it should bubble vigorously). For the milk, whole milk yields the richest flavor, but 2% works in a pinch. The butter? Always unsalted so you control the salt content precisely.
No buttermilk? Stir 1 tbsp vinegar or lemon juice into regular milk and let it sit for 5 minutes. Vegetable oil can be swapped for an equal amount of melted coconut oil (refined for neutral flavor). The sugar can be reduced to 1 tbsp if you prefer less sweet pancakes. For gluten-free, use a 1:1 baking blend like Bob’s Red Mill—just add 1 extra tsp of baking powder to compensate for density.
Store dry ingredients in airtight containers at room temperature for up to 6 months. The batter can rest in the fridge for 1 hour before cooking if needed. Leftovers? Rare, but they’ll keep in the fridge for 2 days—reheat in a toaster oven to revive the crisp edges.
Why You’ll Love This Recipe
- One Bowl Wonder: I toss everything in a single bowl—flour, baking powder, sugar, eggs—no fuss, no extra dishes.
- Crispy Perfection: That golden, buttery edge with the fluffy center? Honestly, it’s the reason I make these every weekend.
- Breakfast or Brinner: We’ve had these for lazy Sunday mornings and quick weeknight dinners (yes, even on a Tuesday night).
- Pantry Staples: All-purpose flour and a few basics are all it takes—no special ingredients, just reliable, delicious results.
Step-by-Step Instructions for Pancakes With Crispy Edges
Master the technique for golden, lacy edges and tender centers with this precise method.
Step 1: Combine Dry Ingredients for Lift and Structure
In a large mixing bowl, whisk together the 2 cups All-Purpose Flour, 2 tsp Baking Powder, 2 tbsp Granulated Sugar, and 0.5 tsp Salt until fully incorporated. Sifting the flour first ensures a lighter texture, which is crucial for achieving that perfect balance between fluffy interiors and crisp edges.
This dry mix creates the foundation for your batter. The baking powder will activate once it meets the liquid ingredients, producing air pockets that give your pancakes their lift while the sugar caramelizes slightly at the edges for that coveted crispness.
Step 2: Whisk Wet Ingredients Until Smooth
In a separate bowl, combine the 2 whole Large Eggs, 1.75 cups Whole Milk, 4 tbsp Unsalted Butter (melted and slightly cooled), 2 tbsp Vegetable Oil, 1 tsp Vanilla Extract, and 0.25 cup Buttermilk. Whisk until the mixture is completely smooth and homogeneous.
The vegetable oil in this step is key—it contributes to the crispy edges by promoting higher heat tolerance in the pan. The buttermilk adds a subtle tang that complements the sweetness, while the melted butter ensures richness throughout. Make sure your eggs are at room temperature to prevent the butter from re-solidifying.
Step 3: Create the Batter with Minimal Mixing
Pour the wet ingredients into the dry ingredients and gently fold them together using a spatula. Mix just until the flour is barely incorporated—it’s okay if a few streaks remain. Overmixing develops gluten, which would make your pancakes tough rather than tender.
The batter should be thick but pourable. If it seems too dense, resist the urge to add more milk; the consistency is correct. Lumps will dissolve during cooking, and maintaining this texture ensures your pancakes will hold their shape while developing those delicate, crispy lace edges.
Step 4: Cook Low and Slow for Even Crisping
Heat a nonstick skillet or griddle over medium-low heat. Lightly grease with additional vegetable oil if needed. Pour ¼ cup of batter per pancake into the pan. Cook undisturbed for 3-4 minutes until the edges appear set and you see bubbles forming on the surface with golden brown lace forming at the perimeter.
This is where patience pays off. The lower heat allows the edges to crisp gradually without burning, while the center cooks through evenly. When the bubbles on top begin to pop and the edges look dry, it’s time to flip. Cook for another 2-3 minutes until the second side is golden brown and the pancake is cooked through.
Serve immediately while the edges are at their crispiest. The contrast between the tender center and the buttery, lacy crust is what makes this recipe exceptional.
Pro Tips For Making Pancake Recipe With Crispy Edges
- Heat the Pan First: I learned this the hard way—crank your pan to medium-high and let it preheat for at least 3 minutes before adding butter or batter. Cold pans make gummy edges, not crispy ones.
- Rest the Batter: After mixing, give the batter 5-10 minutes to sit. The flour absorbs the liquid, and the baking powder starts working, leading to better structure and crisper edges.
- Skip Overcrowding: Leave at least an inch between pancakes in the pan. Steaming from crowded pancakes softens the edges, and you’ll lose that coveted crisp.
- Use Room-Temp Eggs: Sounds minor, but it works: take your eggs out of the fridge 15 minutes before mixing. They incorporate more smoothly, and the batter cooks more evenly for better texture.
Health Benefits of This pancake recipe with crispy edges
Energy Boost
These pancakes provide a balanced carbohydrate-rich start to your day, with 2 cups of flour offering sustained energy. The complex carbs break down slowly, keeping you full for hours. I notice I don’t crash mid-morning after this breakfast. 💪
Protein Power
The 2 large eggs and whole milk deliver about 15g of protein per serving, supporting muscle repair and growth. This protein content helps stabilize blood sugar, preventing that post-breakfast slump.
Calcium Source
With 1.75 cups of whole milk and buttermilk, you’re getting a significant calcium boost—about 30% of your daily needs per serving. Calcium is vital for bone health and nerve function.
B Vitamin Bonus
The eggs and milk provide B vitamins like riboflavin and B12, which help convert food into energy. These nutrients also support brain function and red blood cell production.
Healthy Fats
The 4 tbsp butter and vegetable oil contribute healthy fats that aid vitamin absorption. These fats also add richness, making the pancakes more satisfying and flavorful.
Iron Content
Enriched all-purpose flour provides a modest iron boost. Pair your stack with fresh fruit or a small glass of orange juice to enhance iron absorption. This combo helps prevent fatigue and supports oxygen transport in your body. ✨
Nutrition Facts
Frequently Asked Questions
Why do my edges burn before the center cooks?
Your heat is likely too high. Use medium-low and cook undisturbed for 3-4 minutes per side. The sugar caramelizes gradually at lower temps, creating lace without burning.
Can I use a cast iron skillet instead of nonstick?
Preheat the cast iron well and use 1 tbsp oil per batch. Cast iron retains heat beautifully, giving even crispier edges with that signature buttery crust.
How do I keep them crispy when serving a crowd?
Place cooked pancakes on a wire rack in a 200°F oven. This prevents steam buildup that would soften the edges. Serve within 15 minutes for best texture.
What’s the trick to extra-lacy edges?
Add 1 extra tbsp oil to the batter. The additional fat creates more browning at the edges while keeping centers tender. Don’t overmix the batter either.

- BBQ Sausage Recipe Oven: Smoky Depth Without the Grill - September 28, 2026
- BBQ Chicken Bowl Recipe Rice: Smoky Sweetness Over Fluffy Grains - September 28, 2026
- Beef Cutlet Recipe Ideas: Crispy Breaded Patties With Bold Seasonings - September 28, 2026