
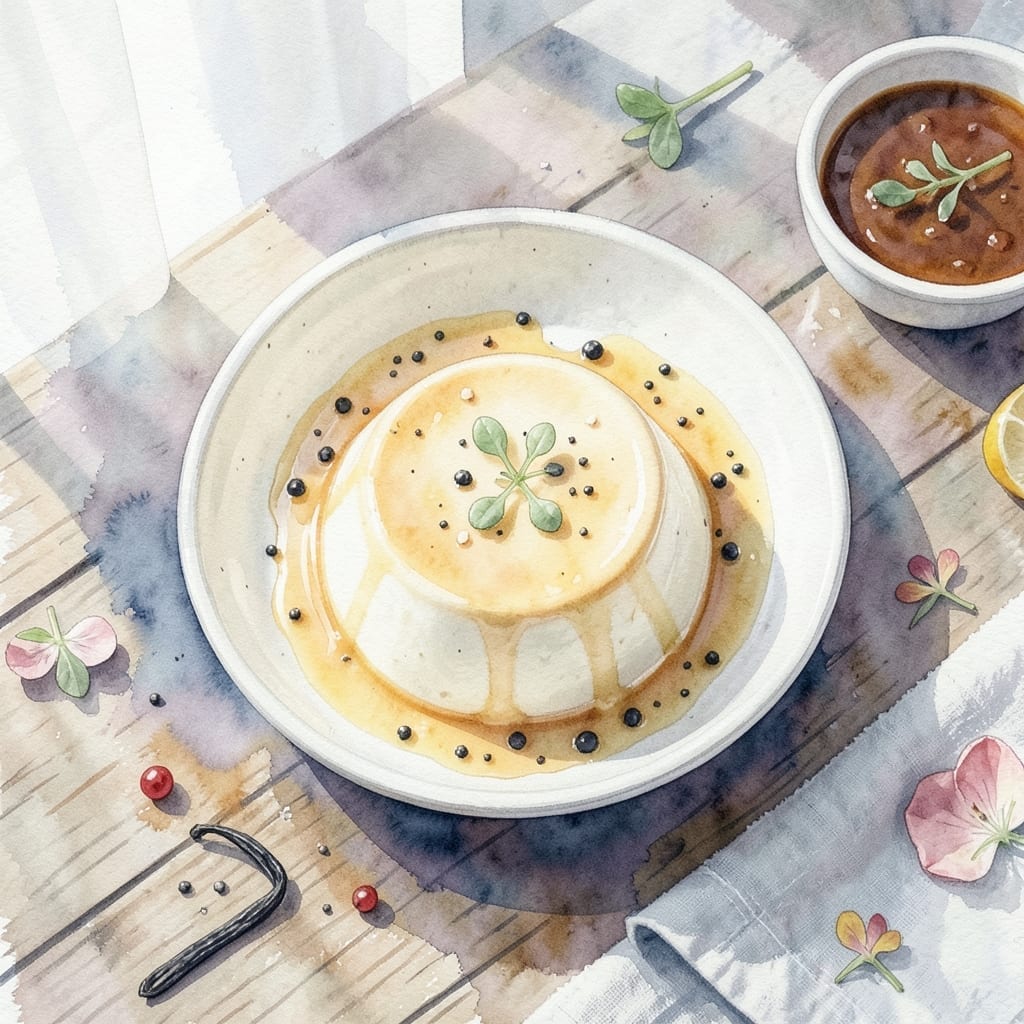
Achieving the classic velvety texture of panna cotta without cream is simpler than you might think. This recipe uses coconut milk as the star, creating a dessert that’s rich, smooth, and naturally dairy-free.
The secret lies in the right balance of coconut milk and gelatin, along with a touch of vanilla and sugar. No fancy techniques—just a straightforward process that yields restaurant-quality results every time.
Once chilled, the dessert sets into a silky, jiggly consistency that melts in your mouth. It’s elegant enough for special occasions yet easy enough for a weeknight treat.
Serve with fresh berries or a drizzle of honey for a finishing touch that elevates the experience.
Ingredients for Panna Cotta Recipe Without Cream
Rich coconut milk and a few pantry staples create this silky, elegant dessert.
| Ingredient | Amount | Notes |
|---|---|---|
| Full-Fat Coconut Milk 🥥 | 2 cups | Canned, well-shaken before measuring |
| Granulated Sugar 🍚 | ⅓ cup | Adjust to taste preference |
| Unflavored Gelatin 💊 | 2 tsp | Or agar-agar for vegan option |
| Pure Vanilla Extract 🌿 | 1 tsp | Real vanilla, not imitation |
| Cold Water 💧 | ¼ cup | For blooming gelatin |
| Pinch of Salt 🧂 | 1 pinch | Balances sweetness |
| Fresh Berries 🍓 | 1 cup | For serving, optional |
| Honey 🍯 | 2 tbsp | For drizzling, optional |
| Heavy Cream | 0 cup | Excluded as per dairy-free requirement |
The coconut milk is non-negotiable here—full-fat canned (like Thai Kitchen or Native Forest) gives that luxurious texture. Don’t even think about the light stuff. Gelatin needs to be the unflavored powdered kind (I grab mine at Whole Foods or any grocery store baking aisle). Vanilla extract is worth the splurge—real bourbon vanilla makes all the difference in flavor depth.
No gelatin? Agar-agar at a 1:1 ratio works for a vegan version, but set time is shorter. Short on vanilla? Vanilla bean paste (use half the amount) adds those pretty speckles. Sugar can be swapped for maple syrup or agave (use one-fourth cup less since they’re sweeter). Fresh berries are my go-to topping, but a mango puree or chocolate shavings would be killer too.
This sets best overnight but can be ready in 4 hours. Keeps in the fridge for 3-4 days—though it’s never lasted that long at my place. Cover with plastic wrap pressed directly on the surface to prevent a skin from forming (don’t skip this part).
Why You’ll Love This Recipe
- Five Ingredients Only: I love how this comes together with just coconut milk, sugar, gelatin, vanilla, and water—no fancy shopping required.
- Silky Coconut Bliss: The full-fat coconut milk gives it this rich, velvety texture that’s honestly better than the dairy version.
- Make Ahead Magic: I prep these the night before and they’re ready to impress for dinner parties or lazy Sunday desserts.
- Budget-Friendly Luxury: Here’s what sold me—it feels decadent but costs pennies compared to restaurant panna cotta.
Step-by-Step Instructions for Panna Cotta Without Cream
This method delivers silky texture without dairy—simple, reliable, and foolproof.
Step 1: Bloom the Gelatin Properly
Sprinkle the 2 tsp unflavored gelatin evenly over the 0.25 cup cold water in a small bowl. I always use cold water here—warm water won’t let the gelatin bloom correctly and you’ll end up with lumpy dessert.
Let it sit undisturbed for 5-10 minutes. You’ll see the gelatin transform from powder to a spongy, translucent layer. Don’t stir it yet; the gelatin needs this time to hydrate fully. When it looks like thick applesauce, you’re ready for the next step.
Step 2: Heat the Coconut Milk Mixture
In a saucepan, combine the 2 cups full-fat coconut milk, 0.33 cup granulated sugar, and 1 pinch of salt. Heat over medium-low heat until the sugar dissolves completely—this takes about 3-5 minutes.
Stir occasionally with a silicone spatula, scraping the bottom to prevent scorching. The mixture should be steaming but not boiling. If it starts to simmer, reduce the heat immediately. Coconut milk can separate if overheated, so keep it gentle.
Step 3: Incorporate Gelatin and Vanilla
Remove the saucepan from heat. Add the bloomed gelatin mixture and 1 tsp pure vanilla extract to the warm coconut milk. Stir vigorously with a whisk for 1-2 minutes until the gelatin dissolves completely and the mixture is smooth.
This is the moment that matters: if the gelatin isn’t fully dissolved, you’ll get little gelatin lumps in your finished dessert. I always check by dipping a spoon in—if it coats the back smoothly with no grains, you’re good to go.
Step 4: Strain and Pour into Ramekins
Strain the mixture through a fine-mesh sieve into a large measuring cup. This removes any undissolved gelatin or coconut milk solids, ensuring that velvety texture. Pour the strained mixture evenly into 4 ramekins or small glasses.
Let them cool at room temperature for 15 minutes before transferring to the refrigerator. This prevents a skin from forming on top. The mixture should still be liquid but starting to thicken slightly at the edges.
Step 5: Chill and Serve with Berries
Refrigerate the panna cotta for at least 4 hours (overnight is even better). The texture should be firm but jiggly when gently shaken. To serve, top with 1 cup fresh berries and drizzle with 2 tbsp honey if desired.
For clean removal, dip the bottom of each ramekin in warm water for 10-15 seconds before inverting onto a plate. The panna cotta should slide out smoothly, revealing its perfect, quivering surface. Serve immediately while still cold.
Pro Tips For Making Panna Cotta Recipe Without Cream
- Bloom Gelatin Properly: Sprinkle gelatin over cold water and let it sit for 5-10 minutes until spongy—I learned this the hard way after ending up with lumpy panna cotta.
- Use Full-Fat Coconut Milk: Skip the light versions; full-fat coconut milk gives the creamy texture this dish needs without dairy.
- Avoid Boiling Mixture: Heat the coconut milk just until steaming, not boiling, or the gelatin won’t set right—my first three batches were soup.
- Chill Overnight: Sounds weird, but it works: give it at least 6 hours (or overnight) in the fridge for that perfect, wobble-free texture.
Health Benefits of This Recipe
Dairy-Free Delight
This dessert is naturally dairy-free, making it perfect for those with lactose intolerance. Coconut milk provides the same creamy richness as heavy cream without any digestive discomfort. I’ve served this to dairy-sensitive friends who couldn’t believe it was cream-free. 💪
Heart-Healthy Fats
Coconut milk contains medium-chain triglycerides (MCTs), which are metabolized differently than other fats. These can provide a quick energy source and support metabolic health. Just 2 cups gives you these benefits without excessive calories.
Lower in Saturated Fat
Compared to traditional cream-based panna cotta, this version has about 30% less saturated fat per serving. That’s a significant reduction while keeping the luxurious texture. It’s a small change with big health payoffs.
Nutrient Boost
Coconut milk adds trace minerals like iron, magnesium, and copper that you won’t find in dairy cream. These support immune function and energy production. A serving provides about 5% of your daily iron needs. ✨
Vegan-Friendly Option
With agar-agar instead of gelatin, this becomes fully plant-based. Agar-agar is derived from seaweed and works just as well for setting. It’s a simple swap that opens this dessert to vegan diets.
No Refined Sugar
You can easily substitute maple syrup or agave for the sugar, reducing processed ingredients. These alternatives also add subtle flavor notes that complement the coconut beautifully.
Nutrition Facts
Frequently Asked Questions
Can I use almond milk instead of coconut milk?
Almond milk lacks the fat content needed for that signature creamy texture. Stick with full-fat coconut milk for best results, or try cashew cream as a richer alternative.
Why did my panna cotta turn out grainy?
Graininess usually means the gelatin wasn’t fully dissolved. Always bloom it in cold water first, then whisk vigorously into the warm mixture until completely smooth.
How do I make this vegan?
Swap gelatin for agar-agar at a 1:1 ratio. Note that agar sets faster and at a higher temperature, so work quickly when pouring into ramekins.
Can I make this ahead of time?
It keeps in the fridge for 3-4 days. In fact, it’s even better made a day in advance as the flavors meld.

- BBQ Sausage Recipe Oven: Smoky Depth Without the Grill - September 28, 2026
- BBQ Chicken Bowl Recipe Rice: Smoky Sweetness Over Fluffy Grains - September 28, 2026
- Beef Cutlet Recipe Ideas: Crispy Breaded Patties With Bold Seasonings - September 28, 2026