
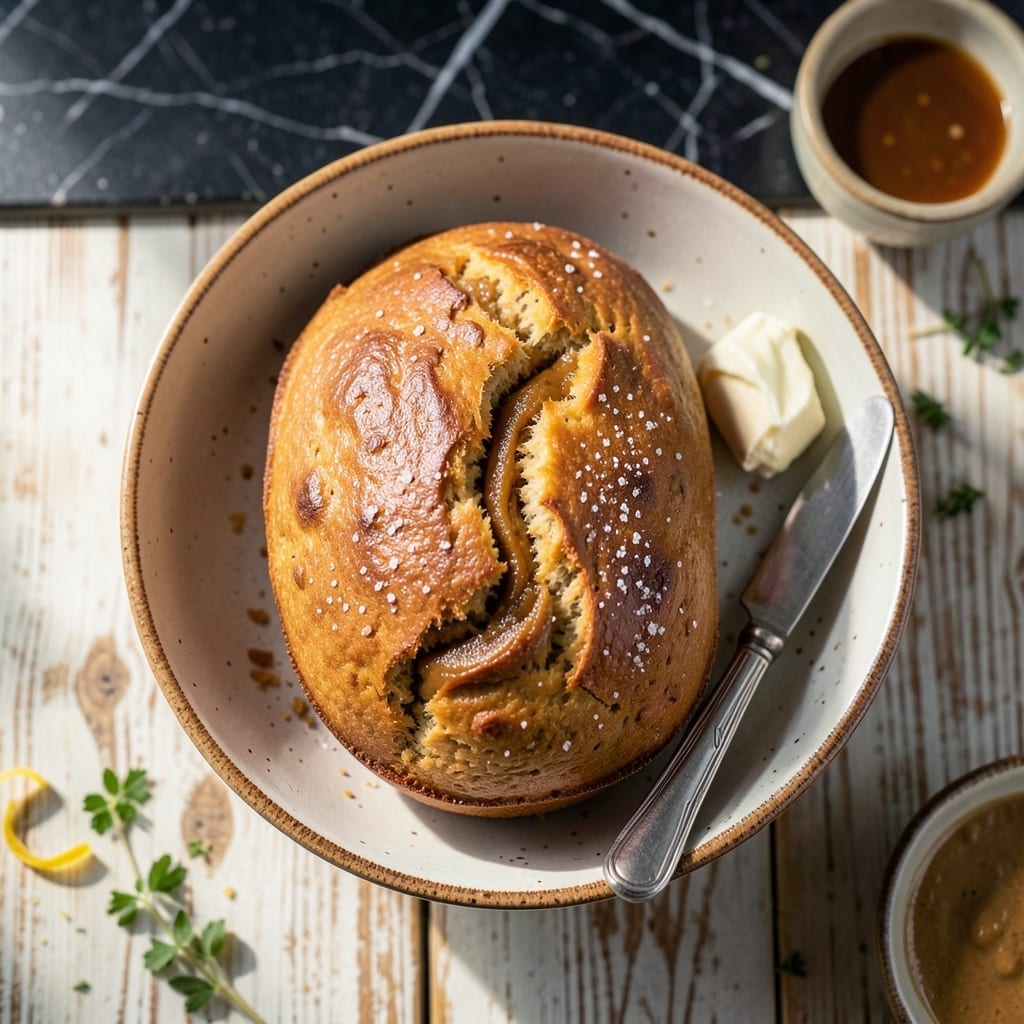
This 1932 peanut butter bread recipe captures the resourceful spirit of Depression-era cooking with rich flavor and minimal ingredients.
Created during a time when pantry staples needed to stretch, this recipe transforms basic items into a moist, flavorful loaf that still satisfies today.
What makes this version special is its simplicity—no yeast, no long rise time, just a straightforward method that delivers consistent results.
The result is a slightly sweet, nutty bread that pairs perfectly with jam or simply enjoyed on its own.
Ingredients for Peanut Butter Bread Recipe 1932
Simple Depression-era pantry staples create this rich, nourishing loaf with timeless appeal.
| Ingredient | Amount | Notes |
|---|---|---|
| Peanut Butter 🥜 | ¾ cup | Creamy, unsweetened preferred |
| All-Purpose Flour 🌾 | 2 ½ cups | Sifted for even texture |
| Granulated Sugar 🍚 | ¾ cup | Adjust to taste preference |
| Baking Powder 🧂 | 2 tsp | Fresh, for proper rise |
| Baking Soda 🧂 | ½ tsp | Balances acidity in batter |
| Salt 🧂 | ½ tsp | Fine table salt preferred |
| Large Eggs 🥚 | 2 whole | Room temperature for even mixing |
| Whole Milk 🥛 | 1 cup | Full-fat for moisture retention |
| Unsalted Butter 🧈 | ¼ cup | Melted, for richness |
| Vanilla Extract 🌿 | 1 tsp | Pure extract for best flavor |
The peanut butter is central here. Natural, no-sugar-added varieties deliver the authentic 1932 flavor profile, though modern creamy brands work too. Smucker’s Natural or Jif Creamy are reliable grocery store options. For flour, King Arthur all-purpose provides consistent results, but any major brand will do—just ensure it’s fresh, as old flour loses potency.
No peanut butter? Almond or cashew butter substitutes well (stick to unsweetened). Out of milk? Whole milk substitute at equal volume. Need a dairy-free version? Swap milk for oat milk and butter for coconut oil. The sugar can be reduced by half without compromising texture, and brown sugar adds molasses depth if you’re feeling experimental.
Store the cooled loaf wrapped in foil at room temperature for 3-4 days. For longer storage, slice and freeze for up to 3 months. Reheat slices in a toaster or warm oven to restore freshness. The batter comes together quickly, so pre-measure dry ingredients the night before for effortless morning prep.
Why You’ll Love This Recipe
- No Fuss Mixing: I just stir the peanut butter, flour, sugar, and leavening together—no yeast, no waiting, no fancy steps.
- Rich PB Flavor: That deep, nutty taste from the peanut butter shines through, sweetened just right by the sugar.
- Breakfast or Snack: Honestly, it’s my go-to for quick breakfasts or an after-school treat with a smear of jam.
- Penny-Wise Loaf: Between us, this recipe uses pantry staples and costs almost nothing to make.
Step-by-Step Instructions for Peanut Butter Bread
This Depression-era method delivers rich flavor with minimal effort and maximum reliability.
Step 1: Combine Wet Ingredients for Smooth Integration
In a large mixing bowl, whisk together the 0.75 cup Peanut Butter, 0.75 cup Granulated Sugar, 0.25 cup Unsalted Butter, and 1 tsp Vanilla Extract until the mixture is smooth and uniform. The peanut butter should lose its stiffness and blend seamlessly with the sugar.
Add the 2 whole Large Eggs one at a time, whisking after each addition until fully incorporated. The batter will lighten slightly in color and thicken. Watch for any streaks of egg—they should disappear completely before proceeding.
Step 2: Alternate Dry and Liquid Ingredients for Even Batter
In a separate bowl, sift together the 2.5 cups All-Purpose Flour, 2 tsp Baking Powder, 0.5 tsp Baking Soda, and 0.5 tsp Salt. This aerates the dry ingredients and ensures even distribution of leavening agents.
Add about one-third of the flour mixture to the wet ingredients, then pour in roughly one-third of the 1 cup Whole Milk. Stir just until the flour is mostly incorporated. Repeat this process twice more, ending with the final portion of flour. The batter will be thick but pourable—avoid overmixing, as this develops gluten and results in a dense loaf.
Step 3: Pour and Level the Batter for Even Baking
Preheat your oven to 350°F. Grease a standard 9×5-inch loaf pan or line it with parchment paper. Pour the batter into the pan, using a spatula to scrape out every last bit from the bowl. The batter will be quite thick, so spread it evenly with the spatula.
Tap the pan gently on the countertop once or twice to release any large air bubbles. This ensures a uniform texture without unsightly tunnels in the finished loaf. The surface should be smooth and level, with no peaks or valleys.
Step 4: Bake to Golden Perfection with Internal Doneness
Place the loaf pan in the center of the preheated oven. Bake for 50-60 minutes, or until the top is deep golden brown and a toothpick inserted into the center comes out clean or with a few moist crumbs clinging to it.
Check for doneness at the 50-minute mark—overbaking will dry out the bread. If the top begins to brown too quickly, tent the pan loosely with aluminum foil. The loaf should pull away slightly from the sides of the pan when fully baked.
Step 5: Cool Completely Before Slicing for Clean Results
Remove the pan from the oven and let it cool in the pan for 10 minutes. This allows the bread to set slightly and makes it easier to remove from the pan without breaking. After 10 minutes, transfer the loaf to a wire rack to cool completely.
Resist the urge to slice while warm—the texture continues to develop as it cools. Wait at least 1 hour before slicing to ensure clean, even cuts. The bread will have a tender crumb with a subtly crisp crust, and the peanut butter flavor will be rich and well-rounded.
Pro Tips For Making Peanut Butter Bread Recipe 1932
- Preheat the Oven: Set it to 350°F and give it a full 10 minutes—this vintage recipe needs steady heat to rise properly without a dense center.
- Use Creamy Peanut Butter: I learned this the hard way—chunky peanut butter makes the texture uneven, while creamy blends smoothly into the batter.
- Don’t Overmix: Stir just until the flour disappears; overworking the dough makes the bread tough, and nobody wants that.
- Check at 25 Minutes: My grandmother swore by this timing—start testing early, as ovens vary and this loaf can go from perfect to dry in a flash.
Troubleshooting peanut butter bread recipe 1932
Batter Too Thick
If your batter seems overly dense, add 1-2 tbsp more milk to reach a thick but pourable consistency. This often happens with natural peanut butters that have less moisture. I’ve found that stirring the peanut butter well before measuring helps prevent this issue. 💡
Dense or Flat Loaf
This usually means your leavening agents are outdated. Check that your baking powder and baking soda are fresh—replace any that have been in your pantry for over 6 months. Also, avoid overmixing the batter once flour is added.
Uneven Baking
If the top browns too quickly while the center stays raw, your oven may have hot spots. Try rotating the pan halfway through baking. For persistent issues, use an oven thermometer to verify your 350°F setting is accurate.
Dry or Crumbly Texture
Overbaking is the most common culprit. Start checking for doneness at 50 minutes and pull the loaf as soon as a toothpick comes out clean. If it’s already dry, brush the top with a simple syrup while warm to restore moisture.
Peanut Butter Separates
If you see oil pooling in the baked loaf, your peanut butter likely separated. Use a creamy, well-stirred variety next time. To salvage, let the loaf cool completely—the oil will reabsorb as it sits. 🥜
Sticking to Pan
Prevent this by properly greasing your 9×5-inch loaf pan or using parchment paper. If it still sticks, let it cool for 10 minutes before gently running a knife around the edges to loosen.
Nutrition Facts
Frequently Asked Questions
Can I use crunchy peanut butter instead?
Yes, but texture will differ. Crunchy adds nutty bits throughout the loaf. For authentic 1932 results, creamy is preferred. Stir well before measuring to ensure even distribution.
Why does this recipe work without yeast?
It relies on baking powder and baking soda for rise. This quick-bread method was common during the Depression for speed and pantry simplicity. Expect a denser but moist crumb.
How do I know when it’s fully baked?
Insert a toothpick into the center—it should come out clean or with a few moist crumbs. Also look for a deep golden brown top and slight pull from pan edges. Check at 50 minutes.
Can I make this gluten-free?
Substitute all-purpose flour with a 1:1 gluten-free blend. Add 1/2 tsp xanthan gum if your blend doesn’t include it. Texture may be slightly denser but still delicious.

- Beef Kidney Recipe Keto: Bold Flavors with Low-Carb Simplicity - October 8, 2026
- Pea Salad Recipe With Egg and Mayonnaise: Classic Creamy Potluck Favorite - October 8, 2026
- Peach Salsa Canning Recipe No Tomatoes: Sweet and Spicy Preservation - October 8, 2026