
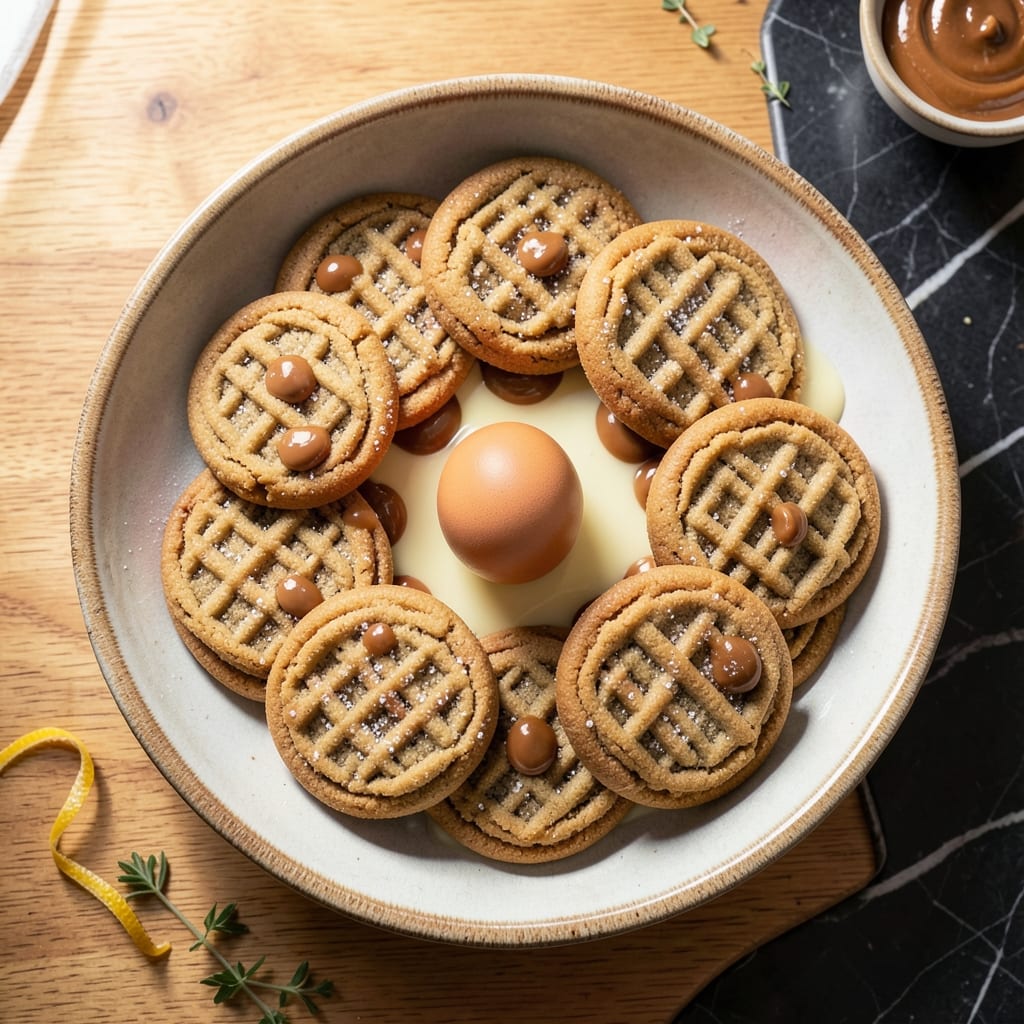
This recipe brings back the timeless appeal of peanut butter cookies with their signature crisscross pattern. No special skills are needed—just a cookie press and a few simple ingredients.
The dough comes together quickly with creamy peanut butter, sugar, and butter, creating a classic flavor that’s rich and comforting. Using a cookie press ensures that iconic design with minimal effort.
Once baked, these cookies emerge golden with a slightly crisp edge and a tender center. The peanut butter shines through, offering a nostalgic taste that’s hard to resist.
Perfect for holiday baking or a weekend treat, this method delivers consistent results every time.
Ingredients for Peanut Butter Cookie Recipe for Cookie Press
Simple ingredients for classic cookies with that nostalgic crisscross design everyone loves.
| Ingredient | Amount | Notes |
|---|---|---|
| Creamy Peanut Butter 🥜 | 1 cup | Natural or commercial variety |
| Granulated Sugar 🍚 | ¾ cup | For sweetness and texture |
| Unsalted Butter 🧈 | ½ cup | Softened to room temperature |
| Large Egg 🥚 | 1 whole | For binding the dough |
| Vanilla Extract 🌿 | 1 tsp | Pure extract for best flavor |
| All-Purpose Flour 🌾 | 1 ¼ cups | Sifted for even texture |
| Baking Soda 🧂 | ¾ tsp | For rise and spread |
| Salt 🧂 | ½ tsp | Fine grain for even distribution |
| Brown Sugar 🍚 | ¾ cup | Packed, for chewiness |
| Additional Granulated Sugar 🍚 | ¼ cup | For rolling dough balls |
The peanut butter is the soul of this recipe. Jif or Skippy creamy gives the most reliable results, but natural peanut butter works too as long as it’s well-stirred. Butter quality matters—stick with a trusted brand like Land O’Lakes for consistent flavor. Most grocery stores carry these basics, so no specialty shopping required. The vanilla extract should be pure, not imitation, for that classic depth of flavor.
Out of brown sugar? All granulated sugar works in a pinch, though the texture will be slightly different. Need a nut-free version? Sunflower seed butter swaps in perfectly. The flour can be all-purpose or a 1:1 gluten-free blend if needed. If you’re using salted butter, reduce the added salt by half. The egg can be replaced with a flax egg if necessary, but the texture won’t be identical.
Dough can be refrigerated for up to 3 days before baking. Baked cookies stay fresh in an airtight container for 1 week. For longer storage, freeze the dough balls uncooked for up to 3 months—bake straight from frozen, adding a minute or two to the baking time.
Why You’ll Love This Recipe
- I’ll be real: I always double the batch, bake half, and freeze the rest for fresh cookies in minutes.
- One-Bowl Wonder: I just dump the peanut butter, sugar, butter, egg, and vanilla in a single bowl—no mixer, no fuss.
- Rich PB Flavor: That creamy peanut butter shine comes through in every bite, with just the right sweetness from the sugar.
- Holiday Ready: I press these out for cookie swaps, lunchboxes, or last-minute gifts and they vanish every time.
Step-by-Step Instructions for Peanut Butter Cookies for Cookie Press
This method ensures perfect dough consistency and that signature crisscross pattern every time.
Step 1: Cream the Peanut Butter and Sugars
In a large mixing bowl, beat the 1 cup Creamy Peanut Butter and 0.5 cup Unsalted Butter with an electric mixer on medium speed until smooth and creamy. This takes about 2 minutes—you want a uniform, pale mixture with no butter streaks.
Add the 0.75 cup Granulated Sugar and 0.75 cup Brown Sugar, then beat for another 2-3 minutes until light and fluffy. The color should lighten visibly, and the texture should be airy. This step aerates the dough for the right texture.
Step 2: Incorporate Wet and Dry Ingredients
Beat in the 1 whole Large Egg and 1 tsp Vanilla Extract until fully combined, scraping the bowl as needed. The mixture should look homogeneous—no egg streaks should remain.
In a separate bowl, whisk together the 1.25 cups All-Purpose Flour, 0.75 tsp Baking Soda, and 0.5 tsp Salt. Gradually add this dry mixture to the wet ingredients, mixing on low speed just until combined. The dough will be slightly sticky but should pull away from the bowl.
Step 3: Prepare Dough for Cookie Press
Divide the dough into four equal portions. Roll each portion into a log about 1.5 inches in diameter. For the cookie press to work effectively, the dough must be firm but pliable—if it’s too soft, chill it for 20 minutes.
Preheat your oven to 375°F and line baking sheets with parchment paper. Fill the cookie press with one dough portion at a time, using the crisscross disk for the classic design.
Step 4: Press and Bake the Cookies
Press the dough onto the prepared baking sheets, spacing the cookies about 2 inches apart. If the dough sticks to the press, dip the disk in the 0.25 cup Additional Granulated Sugar between presses to prevent sticking.
Bake for 8-10 minutes until the edges are light golden brown. The centers may look slightly underdone, but they’ll set as they cool. Avoid overbaking to keep the cookies tender.
Step 5: Cool and Finish
Let the cookies cool on the baking sheet for 5 minutes before transferring them to a wire rack. They’ll firm up as they cool but remain soft and chewy inside.
For extra sweetness, sprinkle the warm cookies with a pinch of the 0.25 cup Additional Granulated Sugar. Store in an airtight container for up to 5 days—if they last that long.
Pro Tips For Making Peanut Butter Cookie Recipe For Cookie Press
- Chill the Dough: I learned this the hard way—warm dough sticks in the press. Pop it in the fridge for 30 minutes before pressing to get clean, sharp shapes.
- Use Natural Peanut Butter: Skip the “no-stir” kind; the oil separation in natural peanut butter makes the texture just right for pressing without clogging.
- Soften Butter Just Right: After burning a batch, I now pull the butter out exactly 1 hour before baking—soft enough to dent but not greasy.
- Press on Parchment: Sounds weird, but it works: line your tray with parchment so the pressed cookies lift off easily without breaking.
Essential Equipment for This Dish
Cookie Press Essentials
Invest in a quality cookie press—I recommend the Marcato Atlas for its durability and ease of use. Look for one with multiple disk designs, including the crisscross pattern that defines peanut butter cookies. Avoid cheap plastic models that break under pressure. 💪
Mixing Equipment
A stand mixer like the KitchenAid Classic makes creaming peanut butter and butter effortless. If using a hand mixer, choose one with at least 250 watts of power. A sturdy rubber spatula helps scrape the bowl clean between additions.
Baking Tools
Use light-colored baking sheets (I prefer Nordic Ware) for even browning. Parchment paper prevents sticking without altering bake times. A wire cooling rack ensures airflow for crisp edges and soft centers. 🔥
Measuring Accuracy
Precision matters in baking, so use nesting measuring cups for dry ingredients and liquid measuring cups for wet. A kitchen scale (like OXO Good Grips) guarantees exact 1.25 cups flour measurements every time.
Dough Preparation
Chill dough portions in the freezer for 20 minutes if they’re too soft for the press. Use a bench scraper to divide dough into even portions. A rolling pin helps shape logs to 1.5-inch diameter before pressing.
Optional Extras
For uniform cookie sizes, consider a portion scoop (#40 size works well). A pastry brush helps apply egg wash if you want a golden sheen. Store-bought cookie stamps can add decorative patterns if you lack a press.
Nutrition Facts
Frequently Asked Questions
Why does my dough stick to the cookie press?
Dip the press disk in granulated sugar between each use. If the dough is too soft, chill it for 20 minutes first.
Can I make these without a cookie press?
Yes! Roll dough into balls, then flatten with a fork in a crisscross pattern. They’ll still taste delicious.
How do I get the perfect crisscross design?
Use the crisscross disk on your press and press firmly onto the baking sheet. Keep the dough firm for clean lines.
Can I freeze the dough before pressing?
Shape into logs, wrap tightly, and freeze for up to 3 months. Thaw slightly before pressing.

- Pea Shoots Recipe Salad: Fresh Greens With Asian-Inspired Dressing - October 9, 2026
- Peanut Butter Bark Recipe With Pretzels: Sweet and Salty Holiday Treat - October 9, 2026
- Peach Crisp Recipe With Fresh Peaches: Buttery Oat Topping Over Juicy Summer Fruit - October 9, 2026