
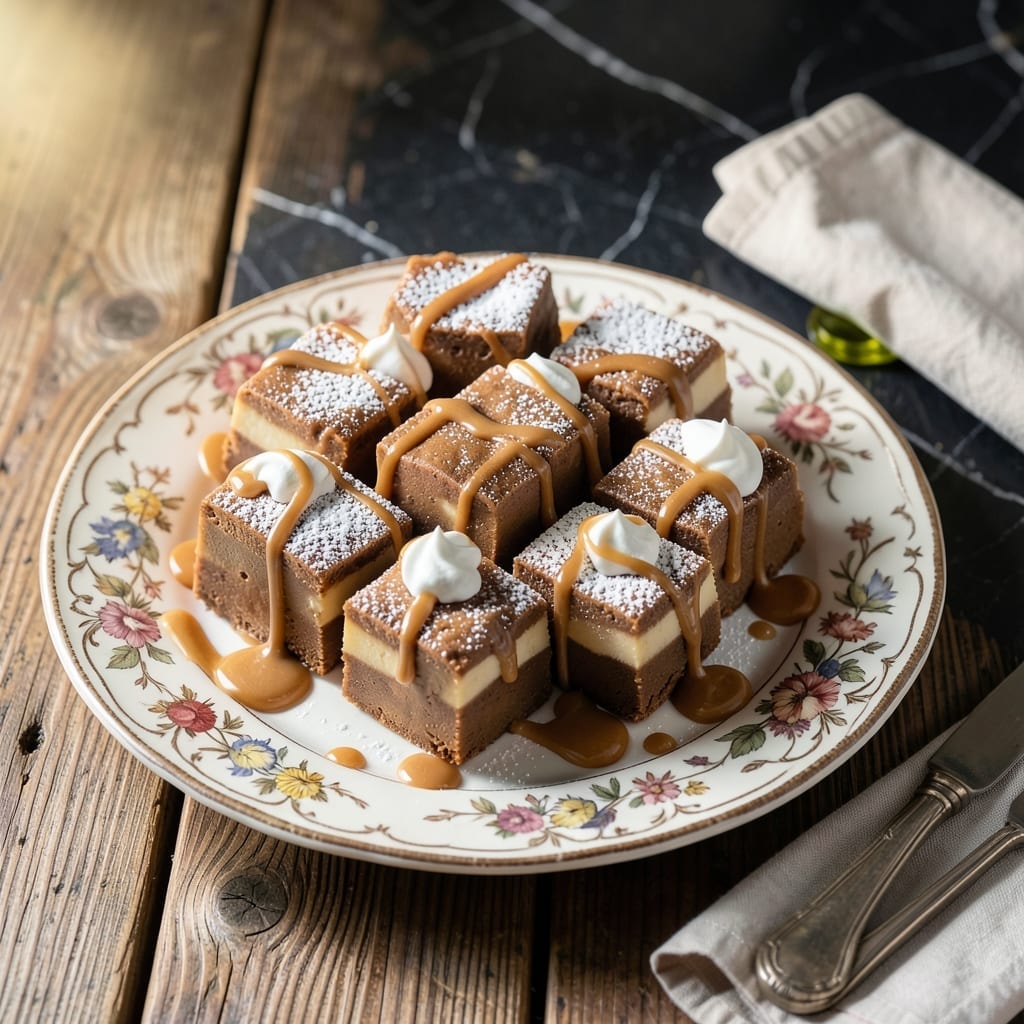
I’m about to share the easiest way to make fudge that tastes like a peanut butter dream. This recipe brings together creamy peanut butter and fluffy marshmallow creme for a texture that’s pure indulgence.
The secret is in the simple stovetop method—just melt, mix, and let it set. No candy thermometer, no complicated steps. The marshmallow creme gives it that signature smoothness while the peanut butter adds rich, nutty depth.
You’ll end up with squares of melt-in-your-mouth fudge that are sweet, creamy, and impossible to resist. It firms up perfectly in just a couple hours, making it great for last-minute treats or gifts.
Perfect for holiday trays or when you need a quick sweet fix. Here’s how to make this crowd-pleaser.
Ingredients for Peanut Butter Fantasy Fudge Recipe Marshmallow Creme
A handful of pantry staples transforms into rich, dreamy fudge in minutes.
| Ingredient | Amount | Notes |
|---|---|---|
| Granulated Sugar 🍚 | 1 ¾ cups | White sugar for sweetness |
| Butter 🧈 | ½ cup | Salted or unsalted |
| Evaporated Milk 🥛 | ⅔ cup | One 5 oz can |
| Marshmallow Creme 🍬 | 1 ½ cups | One 7 oz jar |
| Creamy Peanut Butter 🥜 | ¾ cup | Smooth, name brand preferred |
| Vanilla Extract 🌿 | 1 tsp | Pure extract for best flavor |
| Salt 🧂 | ¼ tsp | Enhances all flavors |
| Chopped Peanuts 🥜 | ½ cup | Optional for topping |
The peanut butter is the star here. Jif or Skippy give that perfect creamy texture—natural peanut butter can separate and make the fudge greasy. The marshmallow creme is non-negotiable (it’s what makes this fantasy fudge, not regular). Jet-Puffed is the easiest to find at any grocery store. Evaporated milk adds richness, so don’t swap in regular milk (it’ll be too thin).
No marshmallow creme? Mini marshmallows melted with a splash of cream can work in a pinch. Out of evaporated milk? Heavy cream at half the amount gets you close. For extra crunch, press chopped peanuts into the top right after pouring into the pan. The vanilla extract matters—use the pure stuff, not imitation for that deep flavor.
This fudge sets up fast. Store in an airtight container at room temp for up to 1 week, or freeze for 2 months (if it lasts that long). Cut into squares only after it’s fully set—otherwise it gets messy. Perfect for gifting in little boxes.
Why You’ll Love This Recipe
- No-Fuss Melting: That creamy peanut butter and marshmallow creme melt together in one pot—no candy thermometer, no fancy steps.
- Sweet Tooth Heaven: The combo of sugar, butter, and that fluffy marshmallow creme hits every craving with a rich, fudgy bite.
- Holiday MVP: I bring this to cookie swaps and it’s always the first to disappear, even next to the fancy stuff.
- Budget-Friendly Batch: Five simple ingredients and one pan make enough fudge to feed a crowd without breaking the bank.
Step-by-Step Instructions for Peanut Butter Fantasy Fudge
This foolproof method delivers smooth, creamy fudge with that perfect melt-in-your-mouth texture every time.
Step 1: Boil Sugar Mixture to Soft Ball Stage
In a heavy 3-quart saucepan, combine the 1.75 cups Granulated Sugar, 0.5 cup Butter, and 0.66 cup Evaporated Milk. Place over medium heat and stir constantly until the mixture comes to a full rolling boil.
Stop stirring once it boils and let it cook undisturbed for 4-5 minutes. You’re aiming for the soft ball stage (234-240°F on a candy thermometer). To test without a thermometer, drop a bit of the syrup into cold water—it should form a soft ball that flattens when removed.
Step 2: Incorporate Marshmallow Creme and Peanut Butter
Remove the saucepan from heat immediately once the mixture reaches temperature. Quickly stir in the 1.5 cups Marshmallow Creme until completely melted and smooth. The mixture will bubble vigorously at first—that’s normal.
Add the 0.75 cup Creamy Peanut Butter and stir until fully incorporated and no streaks remain. I’ve found that using smooth peanut butter gives the creamiest texture. The mixture should be thick and glossy at this point.
Step 3: Add Flavorings and Prepare for Setting
Stir in the 1 tsp Vanilla Extract and 0.25 tsp Salt until evenly distributed. The vanilla adds depth to the peanut butter flavor, while the salt balances the sweetness perfectly. Don’t skip the salt—it makes all the difference in flavor.
Continue stirring for another 1-2 minutes until the mixture starts to thicken slightly and loses its high gloss. This indicates it’s ready to set. The fudge will go from shiny to slightly matte as it cools.
Step 4: Pour and Top with Chopped Peanuts
Quickly pour the hot fudge mixture into a greased 8×8-inch pan or a parchment-lined dish. Use a silicone spatula to smooth the top. Work fast here—the mixture begins to set as it cools.
Immediately sprinkle the 0.5 cup Chopped Peanuts evenly over the surface, pressing them lightly so they stick. If you prefer, you can skip the peanuts for a smoother finish. Let the fudge cool at room temperature.
Step 5: Cut and Serve
Allow the fudge to cool completely at room temperature for 2-3 hours, or refrigerate for 1 hour to speed up the process. The fudge is ready when it’s firm to the touch and pulls away slightly from the edges of the pan.
Using a sharp knife, cut into 1-inch squares. For the cleanest cuts, run the knife under hot water and wipe it clean between each cut. Store in an airtight container at room temperature for up to 2 weeks, if it lasts that long!
Pro Tips For Making Peanut Butter Fantasy Fudge Recipe Marshmallow Creme
- Boil to Soft Ball: Use a candy thermometer and cook the sugar mixture to exactly 234°F—any higher and your fudge will turn grainy. I learned this the hard way after ruining two batches by guessing.
- Prep the Pan First: Line your 8×8 pan with foil and lightly grease it before starting—this isn’t the time to wing it. Marshmallow creme sticks like crazy, and you’ll regret skipping this when half your fudge tears apart.
- Warm the Peanut Butter: Microwave the peanut butter for 20-30 seconds to loosen it before mixing. Sounds weird, but it blends into the hot sugar mixture way smoother than straight-from-the-jar cold peanut butter.
- Beat by Hand: Skip the mixer and stir the fudge vigorously with a wooden spoon for 5-7 minutes once it’s off the heat. My grandmother swore by this, and it gives that perfect creamy texture electric mixers can’t quite match.
Dietary Considerations for This peanut butter fantasy fudge recipe marshmallow creme
Gluten-Free Friendly
This creation is naturally gluten-free since it contains no wheat, barley, or rye ingredients. Just ensure your peanut butter and marshmallow creme are certified gluten-free, as some brands process in shared facilities. Jif and Jet-Puffed both offer safe options. 💪
Vegetarian Status
The recipe fits perfectly into a vegetarian diet, as it contains no meat, fish, or animal flesh. The only dairy comes from butter and evaporated milk, which are standard in most vegetarian meal plans. Always check labels if strict vegetarianism is important to you.
Nut Allergy Warning
This is not safe for anyone with peanut allergies due to the peanut butter and optional chopped peanuts. For nut-free alternatives, consider sunflower seed butter, though the flavor and texture will differ significantly.
Dairy Considerations
The evaporated milk and butter make this a dairy-containing treat. For a dairy-free version, substitute coconut oil for butter and full-fat coconut milk for evaporated milk. The texture may vary slightly but remains delicious.
Diabetic Modifications
While naturally high in sugar, you can reduce the granulated sugar by ¼ cup and add 1 tsp stevia for sweetness. The marshmallow creme still contains sugar, so portion control is key for blood sugar management.
Vegan Adaptations
To make this vegan, swap butter for vegan butter and evaporated milk for full-fat coconut milk. Use a plant-based marshmallow creme like Dandies. The peanut butter and vanilla should already be vegan-friendly.
Nutrition Facts
Frequently Asked Questions
Can I use crunchy peanut butter instead of creamy?
Yes, but the texture will be different. Crunchy peanut butter adds a satisfying bite, while creamy gives that signature smooth melt. For best results, stick with creamy unless you prefer a nuttier texture.
How do I know when the sugar mixture is ready?
Watch for the soft ball stage at 234-240°F on a candy thermometer. Without one, test by dropping syrup in cold water—it should form a soft ball that flattens when removed.
Why did my fudge turn out grainy?
Graininess usually means the sugar crystallized. Stir constantly while heating and avoid scraping the pan sides. Also, don’t let the mixture boil too vigorously.
How long does it take to set?
At room temperature, it needs 2-3 hours. For faster results, refrigerate for 1 hour. Don’t cut until fully firm to avoid a messy texture.

- Pea Shoots Recipe Salad: Fresh Greens With Asian-Inspired Dressing - October 9, 2026
- Peanut Butter Bark Recipe With Pretzels: Sweet and Salty Holiday Treat - October 9, 2026
- Peach Crisp Recipe With Fresh Peaches: Buttery Oat Topping Over Juicy Summer Fruit - October 9, 2026