
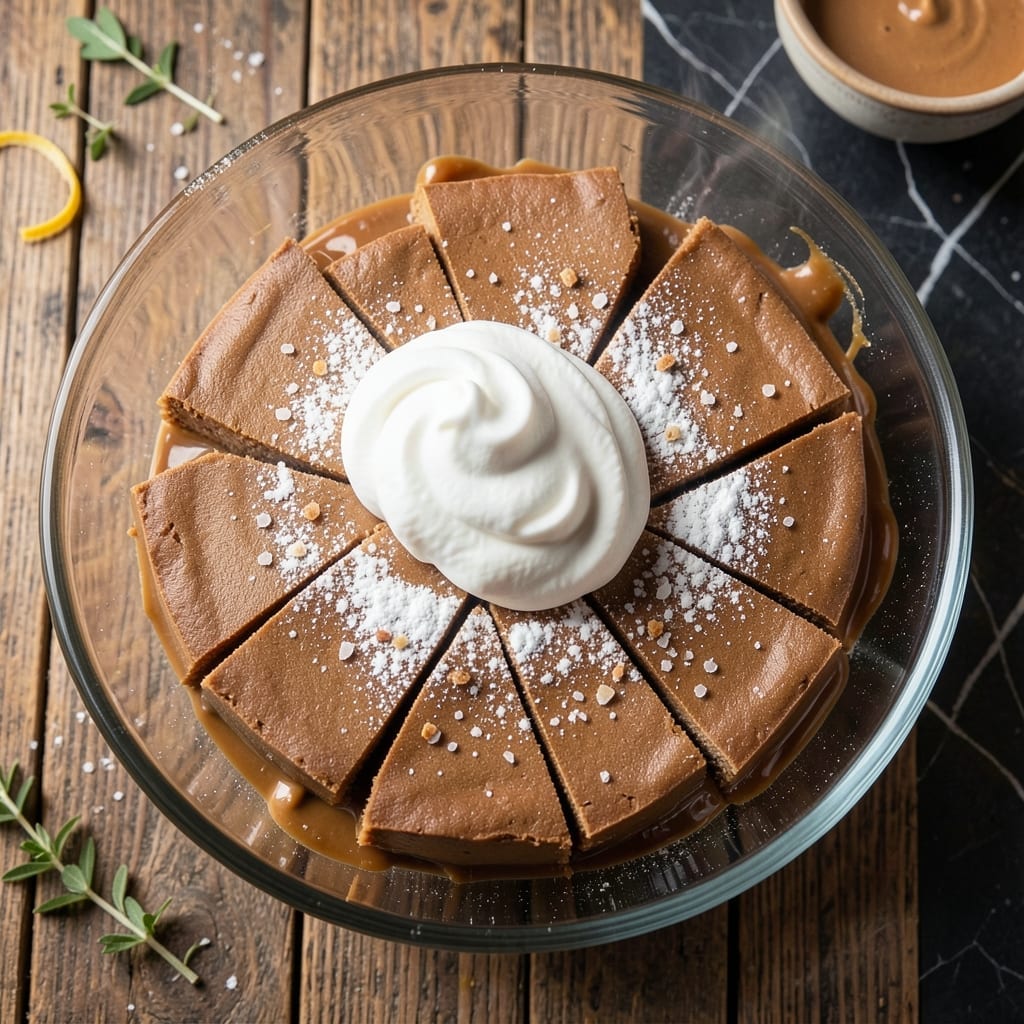
This no-bake fudge delivers smooth, velvety results with minimal effort. The secret lies in marshmallow cream, which creates the perfect creamy texture without requiring a candy thermometer.
I developed this method to achieve professional-quality fudge in under 15 minutes of active prep. The marshmallow cream acts as both sweetener and texture stabilizer, ensuring a consistent melt-in-your-mouth experience.
What emerges is a rich, peanut butter-packed treat that sets up beautifully every time. The marshmallow cream eliminates the guesswork common in traditional fudge recipes.
No oven, no thermometer, no stress. Just pure, creamy indulgence that keeps well for days.
Ingredients for Peanut Butter Fudge Recipe Using Marshmallow Cream
Eight ingredients. One bowl. No baking required for this rich treat.
| Ingredient | Amount | Notes |
|---|---|---|
| Smooth Peanut Butter 🥜 | 1 ½ cups | Creamy, no added sugar |
| Marshmallow Cream ⚪ | 1 ½ cups | 7 oz jar, fluffed |
| Powdered Sugar 🧂 | 4 cups | Sifted for smooth texture |
| Unsalted Butter 🧈 | ½ cup | Melted, cooled slightly |
| Vanilla Extract 🌿 | 1 tsp | Pure vanilla for best flavor |
| Sea Salt 🧂 | ¼ tsp | Fine grain preferred |
| Heavy Cream 🥛 | ¼ cup | Optional for extra creaminess |
| Semi-Sweet Chocolate Chips 🍫 | 1 cup | Melted, for richness |
The peanut butter is the base, so use a high-quality brand like Jif or Skippy—natural styles can separate and mess with the texture. Marshmallow cream is non-negotiable here; Jet-Puffed is the gold standard, but any store brand works. Grab it from the baking aisle, usually near the marshmallows. The powdered sugar should be fresh—old boxes can clump and ruin the smoothness.
No marshmallow cream? Mini marshmallows melted down can work in a pinch, but they won’t give the same creamy consistency. Swap the peanut butter for almond butter if you’re feeling fancy (the flavor’s deeper, but pricier). Dark chocolate chips instead of semi-sweet add a bittersweet edge. Skip the heavy cream if you’re keeping it simple—just know the fudge will be slightly denser.
This keeps beautifully at room temp for 1 week in an airtight container. For longer storage, stash it in the fridge for up to 2 weeks (if it lasts that long). Freezing? Wrap individual pieces in parchment—good for 3 months.
Why You’ll Love This Recipe
- No-Bake Magic: I just melt everything together—peanut butter, marshmallow cream, butter—then stir in powdered sugar. No oven, no fuss.
- Holiday MVP: I bring this to potlucks and it’s always the first to disappear. Between us, I’ve even stashed some in the freezer for emergencies.
- Budget-Friendly Batch: Five simple ingredients, most of which I already have, and it makes enough to share—or not. I’ll be real: it’s dangerous how easy it is to make again.
Step-by-Step Instructions for Peanut Butter Fudge
This no-bake method delivers silky fudge with minimal effort and maximum flavor.
Step 1: Melt and Combine the Base
In a large microwave-safe bowl, combine the 1.5 cups Smooth Peanut Butter, 1.5 cups Marshmallow Cream, and 0.5 cup Unsalted Butter. Microwave on high in 30-second intervals, stirring between each, until completely melted and smooth—this takes about 1.5 to 2 minutes total.
Watch for the mixture to turn glossy and fully integrated; no streaks of unmelted butter or marshmallow should remain. The peanut butter will loosen significantly as it warms, so don’t be tempted to add extra time—overheating can cause separation.
Step 2: Incorporate Flavor and Sweetness
Stir in the 1 tsp Vanilla Extract and 0.25 tsp Sea Salt until evenly distributed. Then gradually add the 4 cups Powdered Sugar, 1 cup at a time, mixing thoroughly after each addition. The texture will transform from liquid to thick and dough-like.
Here’s the thing—if the mixture becomes too stiff to stir, add the 0.25 cup Heavy Cream a little at a time. This keeps the fudge smooth and workable without making it greasy. You want a consistency that holds its shape when pressed but isn’t dry or crumbly.
Step 3: Fold in Chocolate for Depth
Melt the 1 cup Semi-Sweet Chocolate Chips in a microwave-safe bowl in 20-second bursts, stirring between each, until fully liquid and smooth. Let it cool for 1 minute to slightly thicken—this prevents it from seizing when mixed into the fudge base.
Pour the melted chocolate into the peanut butter mixture and fold gently but firmly until fully incorporated. You’ll notice the color deepen and the texture become richer. Avoid overmixing, which can introduce air and make the fudge grainy.
Step 4: Set and Cut
Line an 8×8-inch baking pan with parchment paper, leaving overhang on the sides for easy removal. Press the fudge mixture evenly into the pan using a spatula or your fingers (lightly greased with butter if sticking occurs). Smooth the top so it’s level for even cutting later.
Let the fudge set at room temperature for 2 hours, or refrigerate for 1 hour if you’re in a hurry. It’s ready when firm to the touch and holds a clean edge when cut. Use a sharp knife to slice into 1-inch squares, wiping the blade between cuts for clean lines.
Pro Tips For Making Peanut Butter Fudge Recipe Using Marshmallow Cream
- Melt Butter First: Start by melting the butter completely before mixing—it blends smoother with the marshmallow cream and prevents grainy fudge.
- Use Room-Temp Peanut Butter: Let the peanut butter sit out for 20-30 minutes; cold peanut butter seizes up when mixed with powdered sugar and ruins the texture.
- Skip the Overmixing: Fold the powdered sugar in just until combined, or the fudge turns dense and dry instead of light and creamy.
- Line the Pan: Press parchment into your dish before adding the fudge—saves time cutting and keeps it from sticking like glue.
Make-Ahead Tips for Leftovers
Room Temperature Storage
This fudge stays fresh at room temperature for up to 1 week in an airtight container. I line mine with parchment paper to prevent sticking. Keep it away from direct sunlight or heat sources to maintain the perfect texture. 💪
Refrigerator Storage
For longer freshness, store in the fridge for up to 2 weeks. Let the fudge come to room temperature for 15 minutes before serving to restore its creamy texture. I recommend using a glass container with a tight-sealing lid.
Freezing for Later
You can freeze this fudge for up to 3 months. Wrap individual pieces in parchment paper, then place them in a freezer-safe bag. Thaw at room temperature for 1 hour before serving. This method keeps pieces from sticking together.
Portioning Ahead
For easy grab-and-go treats, cut the fudge into 1-inch squares before storing. This way, you can pull out just what you need. I like to layer pieces with parchment in a Tupperware container to save space.
Gifting Preparation
To gift, place fudge in a parchment-lined tin and store in a cool, dark place until ready to give. It stays fresh for 3-4 days this way. Add a note that it’s best enjoyed at room temperature.
Reviving Dry Fudge
If your fudge dries out, place a slice of bread in the container overnight. The moisture from the bread will soften it up. This trick works wonders for reviving fudge that’s been stored too long. ✨
Nutrition Facts
Frequently Asked Questions
Why does this recipe use marshmallow cream?
It creates an ultra-smooth texture and acts as a stabilizer. Marshmallow cream prevents sugar crystallization, ensuring consistently creamy fudge without a candy thermometer.
Can I substitute regular marshmallows?
Yes, but melt 10 oz mini marshmallows first. They won’t blend as smoothly as fluff, so stir vigorously. The texture may be slightly grainier but still delicious.
How do I fix fudge that won’t set?
If too soft after 2 hours, refrigerate for 30 minutes. If still sticky, knead in 1/2 cup extra powdered sugar and re-chill.
Can I make this without chocolate chips?
Omit them for pure peanut butter flavor, or swap in 1/2 cup chopped nuts or white chocolate for variation.

- Potato Candy Recipe 1933: Vintage Peanut Butter Roll Delight - October 30, 2026
- Potato Chip Cookie Recipe With Pecans: Buttery Crunch Meets Nutty Richness - October 30, 2026
- Potato Patty Recipe No Egg: Crispy Edges Without the Binder - October 30, 2026