
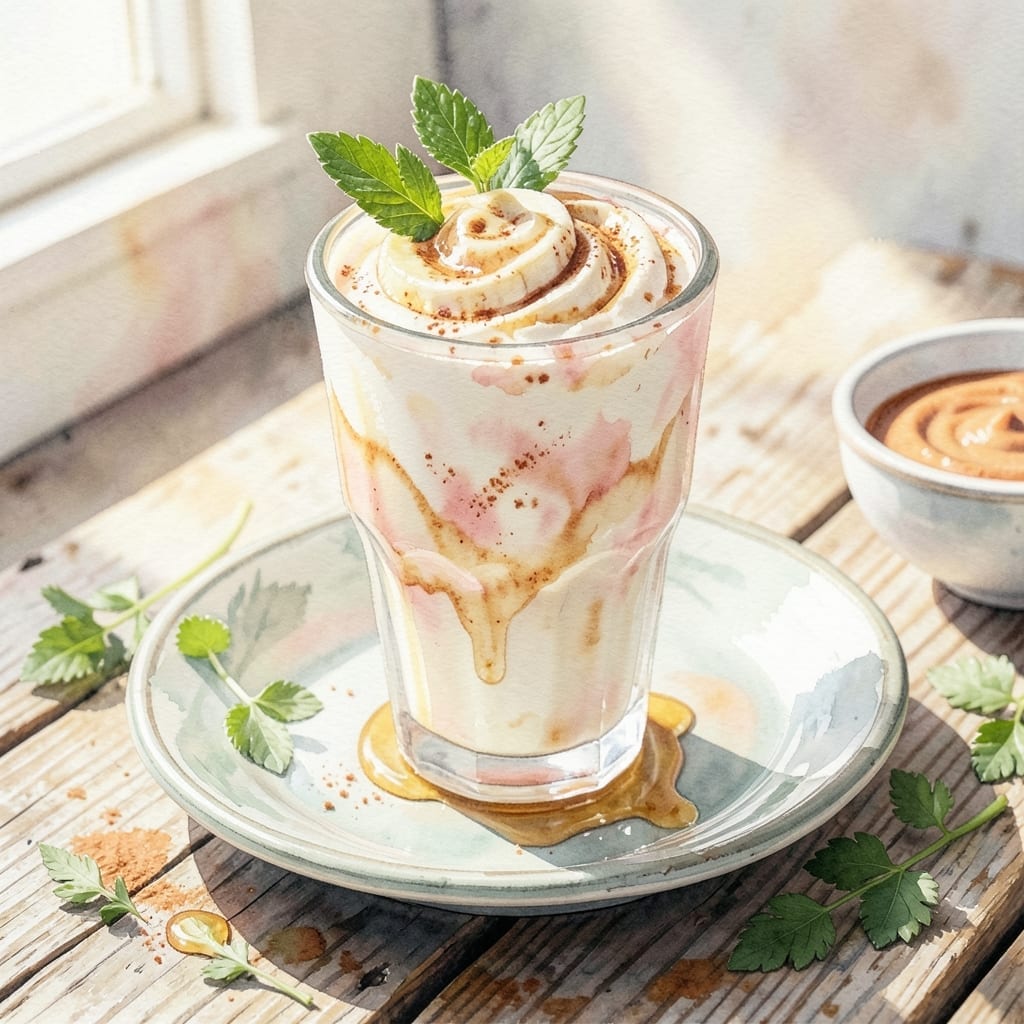
This peanut butter milkshake proves you don’t need ice cream for a velvety texture. The secret lies in frozen bananas, which blend into a creamy base that rivals any classic shake.
With just a handful of pantry staples, you can create a rich, satisfying drink that’s naturally sweet and packed with flavor. The banana and peanut butter combo delivers a smooth, thick consistency without dairy.
No ice cream maker or special equipment required—just a blender and 5 minutes of your time. The result is a shake so indulgent, you won’t miss the traditional version.
Perfect for a quick treat, post-workout snack, or a nostalgic sip any time of day. Here’s how to make it.
Ingredients for Peanut Butter Milkshake Recipe Without Ice Cream
A few pantry staples and frozen bananas create this indulgent, creamy shake.
| Ingredient | Amount | Notes |
|---|---|---|
| Frozen Bananas 🍌 | 2 whole | Peeled, sliced before freezing |
| Creamy Peanut Butter 🥜 | ½ cup | Natural or regular variety |
| Whole Milk 🥛 | 1 cup | Cold for best texture |
| Vanilla Extract 🌿 | 1 tsp | Pure extract recommended |
| Honey 🍯 | 2 tbsp | Adjust to taste preference |
| Ground Cinnamon 🌿 | ¼ tsp | Optional for warmth |
| Ice Cubes ❄️ | 6 pieces | For chilled consistency |
| Sea Salt 🧂 | 0.125 tsp | Enhances peanut butter flavor |
The bananas are everything here—overripe, heavily speckled ones (the kind you’d normally toss) work best. Freeze them peeled and sliced on a tray first so they don’t clump. I grab mine from Trader Joe’s when I’m doing a big batch. For peanut butter, Jif or Skippy give that classic smooth texture, but natural works too (just stir it well). The milk should be as cold as possible for maximum creaminess.
No honey? Maple syrup or agave at the same amount works fine. Want it sweeter? Add another tablespoon. Skipping the cinnamon? No problem—a pinch of nutmeg or cocoa powder adds nice depth. For a thicker shake, use less milk or add another frozen banana. If it’s too thick, splash in milk a tablespoon at a time (don’t overdo it).
This is best fresh, but leftovers freeze well for 1-2 weeks. Thaw in the fridge overnight, then re-blend with a splash of milk. The banana might brown slightly, but it won’t affect flavor. Perfect for post-workout fuel or a sweet afternoon pick-me-up.
Why You’ll Love This Recipe
- No Blender Hassle: I just toss in frozen bananas, peanut butter, and milk—no ice cream scooping or waiting for it to soften.
- Creamy Dream: The honey and vanilla turn the peanut butter and banana combo into this rich, velvety shake I crave daily.
- Kid-Approved Fuel: Between us, it’s my go-to for breakfast on the run or a post-practice pick-me-up for the kids.
Step-by-Step Instructions for Peanut Butter Milkshake Without Ice Cream
This banana-based method creates a luscious, thick texture that rivals any classic milkshake.
Step 1: Prepare the Frozen Bananas Properly
Start by peeling and slicing the 2 whole Frozen Bananas before freezing. I’ve found that slicing them first makes blending smoother and prevents overworking your blender. Freeze the slices on a tray for 2 hours or overnight until completely solid—this is crucial for achieving that thick, creamy texture.
The frozen bananas replace ice cream by providing natural sweetness and body. If they’re not frozen solid, your milkshake will be thin and watery. Don’t skip this prep step; it’s the foundation of the entire recipe.
Step 2: Blend the Liquid Base with Flavorings
In your blender, combine the 1 cup Whole Milk, 1 tsp Vanilla Extract, and 0.125 tsp Sea Salt. Pulse on low for 5-10 seconds just until the sea salt dissolves. The salt enhances the peanut butter flavor, so don’t omit it even though the amount seems small.
I always use cold whole milk for the creamiest results. The vanilla extract adds depth, while the salt balances the sweetness. This liquid base ensures the other ingredients blend smoothly without straining your appliance.
Step 3: Incorporate the Peanut Butter and Sweetener
Add the 0.5 cup Creamy Peanut Butter and 2 tbsp Honey to the blender. Blend on medium speed for 20-30 seconds until the mixture is completely smooth with no peanut butter streaks. Stop and scrape down the sides as needed—peanut butter tends to stick to the blender walls.
For best texture, use natural or regular creamy peanut butter. The honey adds natural sweetness and helps create a velvety mouthfeel. If you prefer a sweeter shake, you can add more honey later, but start with the 2 tbsp to avoid over-sweetening.
Step 4: Achieve the Perfect Thick Consistency
Add the frozen banana slices and 6 pieces Ice Cubes to the blender. Blend on high speed for 30-45 seconds, stopping to scrape the sides and push ingredients toward the blades as needed. The mixture should be thick and smooth, with a soft-serve texture.
If it’s too thin, add 2-3 more ice cubes and blend again. If it’s too thick, add a splash of whole milk. The frozen bananas and ice cubes work together to create that signature milkshake thickness without any dairy ice cream.
Step 5: Add the Final Flavor Touch and Serve
Finally, add the 0.25 tsp Ground Cinnamon and blend for just 5-10 seconds to distribute it evenly. The cinnamon adds a subtle warmth that complements the peanut butter beautifully, but it’s optional if you prefer a purer peanut butter flavor.
Pour immediately into chilled glasses and serve with a straw. The milkshake will be thickest right after blending, so don’t let it sit. For an extra touch, drizzle a little extra honey on top or sprinkle with a pinch of cinnamon. This serves 2 generously.
Pro Tips For Making Peanut Butter Milkshake Recipe Without Ice Cream
- Freeze Bananas Solid: Use bananas frozen for at least 6 hours—they should be rock-hard to mimic ice cream texture. I learned this the hard way when my first attempt tasted like chilled banana soup.
- Warm the Peanut Butter: Microwave the peanut butter for 15-20 seconds to loosen it before blending, or you’ll end up with stubborn chunks no matter how long you mix.
- Skip the Ice: Resist the urge to add ice cubes—they water down the flavor. Frozen bananas already give you that thick, creamy consistency without dilution.
- Blend in Stages: Start with milk and bananas first, then add peanut butter and sweeteners. This prevents overworking the blender and guarantees a smoother shake every time.
Common Mistakes When Making Perfect Results
Skipping the Freeze
Using bananas straight from the counter is my most common mistake. They must be frozen solid for 2+ hours to create that creamy texture. Unfrozen bananas make a sad, thin drink that’s more smoothie than shake. 🥄
Overfilling the Blender
Adding all ingredients at once strains the motor. I blend the 1 cup Whole Milk, 0.5 cup Creamy Peanut Butter, and 2 tbsp Honey first, then add the frozen bananas and 6 pieces Ice Cubes in batches. This prevents uneven blending and motor burnout.
Under-Sweetening
Peanut butter can taste bland if undersweetened. I always start with the full 2 tbsp Honey, then adjust. Natural peanut butter especially needs this balance. A pinch of 0.125 tsp Sea Salt also enhances the sweetness.
Ignoring the Scrape
Peanut butter clings to blender walls. I stop every 15-20 seconds to scrape down the sides with a spatula. Skipping this leaves streaks in your shake and wasted ingredients. The final texture depends on this step.
Letting It Sit
This milkshake separates quickly. I pour and serve immediately after blending for the thickest, creamiest results. If it sits for 5+ minutes, the bananas release liquid and the texture thins. Stir vigorously if you must wait. 💡
Wrong Milk Choice
Whole milk is non-negotiable for creaminess. I learned the hard way that skim or almond milk makes a watery version. The fat in whole milk emulsifies with the peanut butter for that classic shake mouthfeel.
Nutrition Facts
Frequently Asked Questions
What can I use instead of honey?
Maple syrup or agave work perfectly at a 1:1 ratio. For a sugar-free option, try 1-2 pitted dates blended with the milk first. Each adds sweetness while keeping the creamy texture.
Why does my shake turn out thin?
Either the bananas weren’t frozen long enough or too much milk was added. Use frozen solid bananas for 2+ hours and add milk gradually. For a thicker result, add 2-3 more ice cubes and blend again.
Can I make this vegan?
Swap whole milk for oat or almond milk and use a plant-based sweetener. The texture may be slightly less creamy, but adding 1 tbsp chia seeds helps thicken it.
How long will leftovers keep?
Store in an airtight container in the freezer for up to 1 week. Thaw in the fridge overnight, then re-blend with a splash of milk. The flavor stays fresh, but the texture is best enjoyed immediately.

- BBQ Sausage Recipe Oven: Smoky Depth Without the Grill - September 28, 2026
- BBQ Chicken Bowl Recipe Rice: Smoky Sweetness Over Fluffy Grains - September 28, 2026
- Beef Cutlet Recipe Ideas: Crispy Breaded Patties With Bold Seasonings - September 28, 2026