
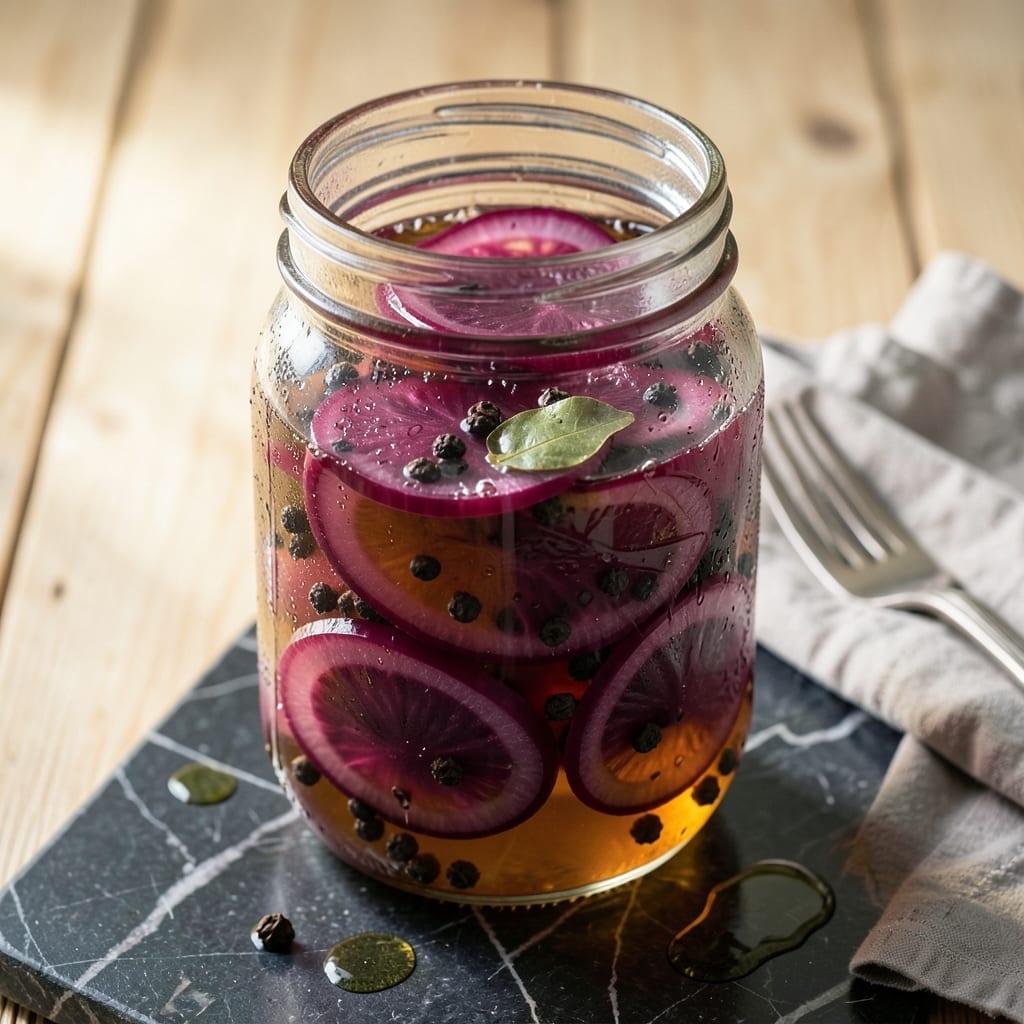
This no-sugar pickled red onion recipe delivers bold, tangy flavor with just a few simple ingredients. Vinegar, water, and salt create the perfect brine to transform raw onions into a crisp, vibrant condiment.
I developed this method to preserve onions without sweetness while maintaining their natural crunch. Optional spices like peppercorns or bay leaves add depth without overpowering the sharp, clean acidity.
The onions are ready in 24 hours but improve with time, developing more complex flavor over 2 weeks. Stored in a sealed jar, they’ll keep in the refrigerator for up to 1 month.
Use them to brighten tacos, salads, or sandwiches with a zesty kick. Here’s how to make this versatile condiment.
Ingredients for Pickled Red Onion Recipe No Sugar
Vinegar, salt, and onions transform into a bold, no-sugar tangy condiment with ease.
| Ingredient | Amount | Notes |
|---|---|---|
| Red Onion 🧅 | 2 whole | Thinly sliced into half-moons |
| White Vinegar 💧 | 1 ½ cups | 5% acidity standard for pickling |
| Water 💧 | ½ cup | Filtered or distilled preferred |
| Kosher Salt 🧂 | 1 tbsp | Diamond Crystal brand recommended |
| Black Peppercorns 🌶️ | 1 tsp | Whole, optional for depth |
| Bay Leaves 🍃 | 2 pieces | Dried, optional for aroma |
| Mustard Seeds 🌿 | ½ tsp | Yellow or brown, optional |
The vinegar quality matters here. Standard white vinegar at 5% acidity is ideal for clean, sharp pickling. For organic options, Bragg’s or Heinz are reliable. The onions should be firm with vibrant purple-red skin—avoid any with soft spots. Kosher salt (like Diamond Crystal) dissolves evenly and avoids iodine aftertaste. Most grocery stores carry all these in the baking or canning aisle.
No white vinegar? Apple cider vinegar works at a 1:1 ratio but adds fruity notes. For a milder flavor, use rice vinegar with an extra splash of water. Skipping salt? Not recommended—the brine won’t preserve properly. Sea salt can substitute at the same volume, but measure by weight for precision. The optional spices are flexible: coriander seeds or red pepper flakes add different depth.
These keep beautifully. Refrigerate in a sterilized glass jar for up to 1 month. The flavor peaks by 2 weeks but stays crisp. For longer storage, process in a water bath for shelf stability. Always use clean, dry utensils to prevent spoilage.
Why You’ll Love This Recipe
- No Fuss Prep: I slice the onions, toss them in a jar with vinegar, salt and peppercorns, and they’re pickling while I make dinner.
- Tangy Crunch: The sharp vinegar mellows into a bright, crisp bite that cuts through rich dishes like tacos or grilled meats.
- Meal Prep Hero: I keep a jar in the fridge for weeks—ready to add a pop of color and zing to salads, sandwiches, or even eggs.
- Budget Keeper: Red onions are cheap, and with just vinegar and spices I already have, I get a gourmet touch for pennies.
Step-by-Step Instructions for Pickled Red Onions No Sugar
Here’s the method. Straightforward, tested, works every time.
Step 1: Thinly Slice the Red Onions
Start by cutting the 2 whole Red Onion in half through the root end, then place each half cut-side down on your cutting board. Using a sharp chef’s knife, slice the onions into thin half-moons, about ⅛-inch thick for optimal texture.
This uniform thickness ensures even pickling and a consistent crunch. As you slice, separate the layers slightly—this helps the pickling liquid penetrate more effectively. You should end up with about 4 cups of sliced onions, which will soften slightly but retain a satisfying bite.
Place the sliced onions into a clean 1-quart jar or similar heatproof container. Pack them in tightly but leave about 1 inch of headspace at the top for the brine.
Step 2: Prepare the Pickling Brine
In a small saucepan, combine the 1.5 cups White Vinegar, 0.5 cup Water, 1 tbsp Kosher Salt, 1 tsp Black Peppercorns, 2 pieces Bay Leaves, and 0.5 tsp Mustard Seeds. Place the saucepan over medium-high heat and bring to a gentle boil.
Stir occasionally to help dissolve the salt completely. The brine is ready when the salt is fully incorporated and the liquid is steaming hot—this usually takes about 3-4 minutes. The aroma of the spices will become noticeable as the brine heats.
Remove the saucepan from heat immediately once boiling. Allow the brine to sit for 2-3 minutes to let the spices infuse slightly before pouring it over the onions.
Step 3: Combine and Cool
Carefully pour the hot brine over the sliced onions in the jar, ensuring all the onions are fully submerged. Use a spoon to press down on the onions if needed, eliminating any air pockets. The onions should be completely covered by the liquid to pickle evenly.
Let the jar sit at room temperature for 30-45 minutes to begin the pickling process. You’ll notice the onions start to soften slightly and the liquid will take on a faint pink hue from the onions. This initial cooling period jumpstarts the flavor development.
The brine will still be warm at this stage, which helps soften the onions without cooking them. Don’t be concerned if the jar feels warm to the touch—this is normal and part of the process.
Step 4: Refrigerate and Allow to Pickle
Once the jar has cooled to room temperature, seal it with a lid and transfer it to the refrigerator. For best results, let the onions pickle for at least 24 hours before using. This allows the flavors to fully develop and the onions to achieve the perfect balance of tang and crunch.
During the first few hours in the refrigerator, you may hear a slight popping sound as the jar seals—this is normal. The onions will continue to soften slightly but should retain a pleasant crispness. After 24 hours, the onions will have developed their characteristic tangy flavor without any sweetness.
These pickled red onions will keep in the refrigerator for up to 3 weeks. The flavor will continue to intensify over time, becoming more complex as the spices infuse the brine. Always use clean utensils when removing onions from the jar to prevent contamination.
Pro Tips For Making Pickled Red Onion Recipe No Sugar
- Slice Evenly: Cut the red onion into consistent 1/8-inch half-moons—thin enough to soften quickly but thick enough to hold texture. I learned this the hard way after ending up with mushy bits and crunchy strips in the same jar.
- Heat the Brine: Warm the vinegar, water, salt, and peppercorns just until the salt dissolves, then cool slightly before pouring. Sounds weird, but it works: the heat helps the flavors meld faster without cooking the onions.
- Skip the Rinse: Resist the urge to rinse the onions after slicing—those raw edges actually help absorb the brine. After burning three batches of over-rinsed onions, I finally figured out they need that starchy surface.
- Wait 24 Hours: Give them a full day in the fridge before using—yes, even if you’re impatient like me. The flavor deepens overnight, and the harsh vinegar edge mellows into something actually delicious.
Pro Cooking Tips for This Dish
Uniform Slicing Matters
Use a sharp chef’s knife and cut onions into ⅛-inch half-moons for consistent texture. This thickness ensures even pickling while maintaining that perfect crunch. I use a Wüsthof 8-inch for precision. 💡
Brine Clarity
Stir the brine until salt fully dissolves before adding spices. A fine-mesh strainer helps remove any undissolved bits. The vinegar should be clear with no floating particles.
Submerge Completely
Press onions under the brine with a spoon to eliminate air pockets. If needed, add a small weight like a fermentation glass or zip-top bag filled with water to keep them submerged during pickling.
Spice Infusion
Let the brine steep for 2-3 minutes after boiling to extract maximum flavor from peppercorns and bay leaves. This small step makes a noticeable difference in the final taste.
Patience Pays Off
Wait the full 24 hours before tasting—this allows the flavors to fully develop. The onions will transform from harsh to perfectly tangy with that signature crispness. 🔥
Storage Tips
Always use clean, dry utensils when removing onions to prevent contamination. A sterilized glass jar extends shelf life to the full 1 month in the refrigerator.
Nutrition Facts
Frequently Asked Questions
What kind of vinegar works best?
Standard white vinegar at 5% acidity gives the cleanest, sharpest flavor. Apple cider vinegar adds fruity notes but works in a 1:1 ratio. Avoid balsamic—it’s too sweet and dark.
Can I use table salt instead of kosher?
Yes, but measure by weight: 1 tbsp kosher salt = 1.5 tsp table salt. Table salt is denser and contains additives that may cloud the brine.
Why are my onions turning blue?
This harmless reaction happens when anthocyanins in red onions meet acid. It’s safe to eat and fades over time. To prevent it, use distilled white vinegar and avoid metal utensils.
How long until they’re ready to eat?
They’re technically edible after 4 hours, but the flavor peaks at 24 hours. For maximum tang and crunch, wait the full day before serving.

- BBQ Sausage Recipe Oven: Smoky Depth Without the Grill - September 28, 2026
- BBQ Chicken Bowl Recipe Rice: Smoky Sweetness Over Fluffy Grains - September 28, 2026
- Beef Cutlet Recipe Ideas: Crispy Breaded Patties With Bold Seasonings - September 28, 2026