
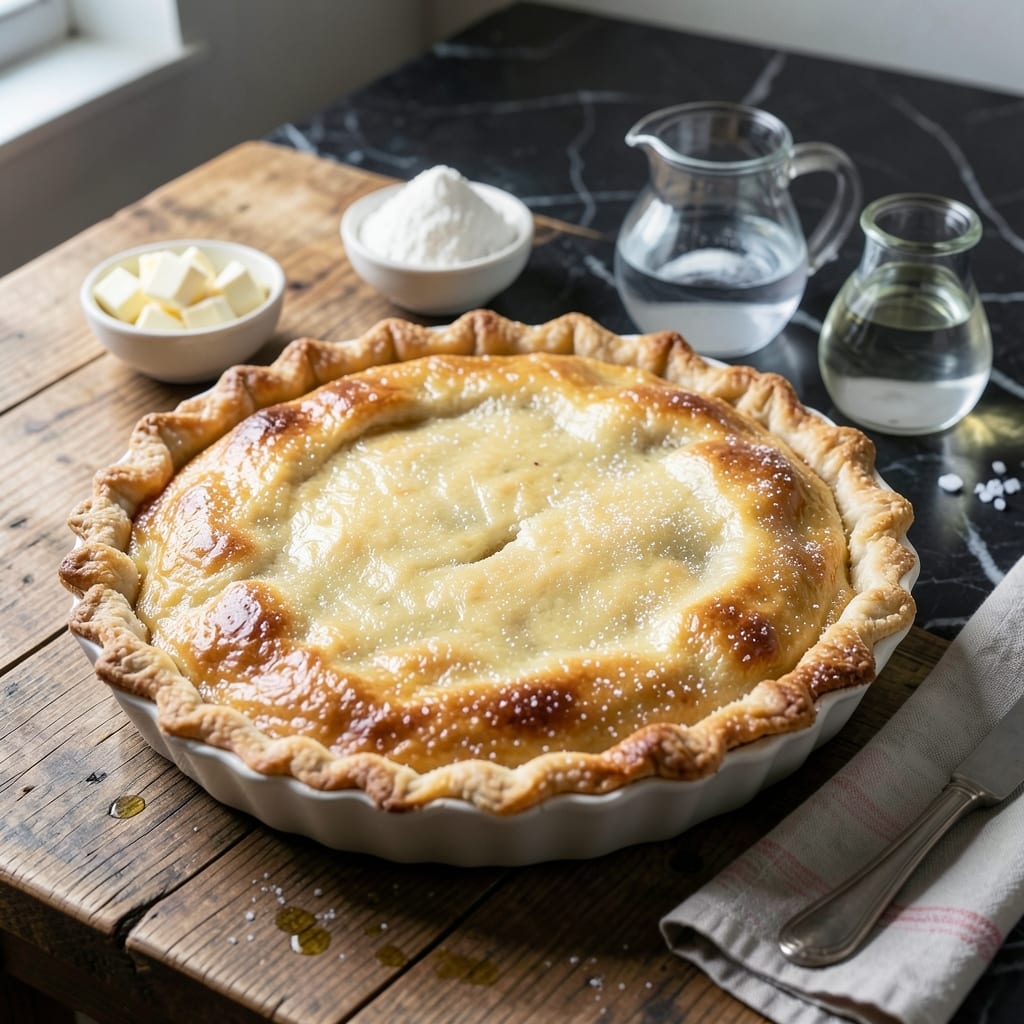
Butter makes the difference in this crust—every layer stays flaky and tender without shortening. I developed this method after years of testing, focusing on temperature control and precise technique.
Cold ingredients and minimal handling prevent gluten development, which keeps the dough from becoming tough. The all-butter base delivers superior richness and that classic golden finish everyone expects from a perfect pie crust.
You’ll achieve restaurant-quality results at home with just a few simple steps. The key is working quickly and keeping everything chilled until it hits the oven.
This version works for sweet and savory pies alike. David always requests an extra batch for his famous chicken pot pie.
Ingredients for Pie Crust Recipe Butter Only
Six simple ingredients create that perfect flaky, all-butter crust you have been dreaming about.
| Ingredient | Amount | Notes |
|---|---|---|
| All-Purpose Flour 🌾 | 2 ½ cups | Plus extra for dusting surface |
| Unsalted Butter 🧈 | 1 cup | Very cold, cut into cubes |
| Ice Water 💧 | ⅓ cup | Divided into tablespoons |
| Salt 🧂 | 1 tsp | Fine sea salt preferred |
| Granulated Sugar 🍚 | 1 tbsp | Optional for sweet pies |
| White Vinegar 🍋 | 1 tsp | Or lemon juice alternative |
The butter is everything here. Use a high-quality European-style butter like Plugrá or Kerrygold for superior flavor and fat content. It must be ice-cold—keep it in the fridge until the very last moment. The flour should be all-purpose with a moderate protein content (10-12%). King Arthur is a reliable brand that performs consistently for pie crusts.
No unsalted butter on hand? Use salted and reduce the added salt by half. The vinegar or lemon juice tenderizes the gluten—don’t skip it. For a richer flavor in sweet pies, swap the water for milk or heavy cream. The sugar is optional but helps with browning. If you’re in a pinch, shortening can be mixed in, but it won’t deliver the same flaky layers.
The dough can rest in the fridge for up to 3 days or freeze for 3 months. For best results, let it sit at room temperature for 10 minutes before rolling. Wrap tightly in plastic to prevent drying out. Pre-baked crusts keep for 2 days at room temperature in an airtight container.
Why You’ll Love This Recipe
- No-Fuss Mixing: I just dump flour, cold butter, and a pinch of salt in the bowl—no fancy techniques, just my hands and a little ice water.
- Buttery Perfection: That flaky, golden crust with the rich taste of pure butter? Worth every minute of chilling.
- Endless Possibilities: Sweet or savory, it’s my base for everything from apple pie to quiche. Honestly, I’ve used it for pot pie too.
- Budget Friendly: Flour, butter, water—no pricey ingredients, and it makes enough for two pies. I’ll be real: it’s cheaper than store-bought.
Step-by-Step Instructions for Pie Crust Butter Only
Master these steps and you’ll achieve the flakiest, most tender all-butter crust every time.
Step 1: Chill and Prepare the Dough Components
Begin by ensuring all ingredients are ice cold. Place the 1 cup Unsalted Butter in the freezer for 10 minutes if it’s not already very cold, then cut it into ½-inch cubes. Measure out the 0.33 cup Ice Water and add the 1 tsp White Vinegar to it—this acid helps tenderize the gluten for extra flakiness.
In a large bowl, whisk together the 2.5 cups All-Purpose Flour, 1 tsp Salt, and 1 tbsp Granulated Sugar until evenly combined. The sugar is optional, but I include it for sweet pies to balance the richness of the butter.
Step 2: Cut in the Cold Butter
Add the cold butter cubes to the flour mixture. Using a pastry cutter or your fingertips, work the butter into the flour until the mixture resembles coarse crumbs with some pea-sized butter pieces remaining. This step is critical—you want visible butter chunks to create those flaky layers.
Work quickly to prevent the butter from warming and melting into the flour, which would result in a tough, dense crust rather than a flaky one. If your kitchen is warm, briefly chill the bowl in the freezer between mixing.
Step 3: Add Ice Water Gradually
Create a well in the center of the flour-butter mixture. Add the ice water-vinegar mixture 1 tablespoon at a time, gently tossing with a fork after each addition. You’ll need about 5-6 tablespoons total, but stop as soon as the dough just begins to come together.
The dough should look shaggy and slightly dry—don’t overwork it. Overmixing develops gluten, which makes the crust tough. The residual flour will hydrate during chilling.
Step 4: Shape and Chill the Dough
Turn the dough out onto a lightly floured surface and gently press it into a rough rectangle. Divide it in half and shape each portion into a 1-inch thick disc. Wrap each disc tightly in plastic wrap.
Refrigerate the dough for at least 1 hour, or up to 2 days. This chilling step is non-negotiable—it relaxes the gluten, hydrates the flour, and firms up the butter, ensuring a flaky, easy-to-roll crust.
Step 5: Roll and Fit the Crust
On a generously floured surface, roll one disc of dough into a 12-inch circle, about ⅛-inch thick. Use a bench scraper to lift and turn the dough frequently to prevent sticking. For extra flakiness, fold the dough in thirds like a letter, turn it 90 degrees, and roll it out again—this creates additional layers.
Transfer the rolled dough to a pie dish, ease it into the corners without stretching, and trim the edges, leaving a ½-inch overhang. Fold the overhang under and crimp the edges with your fingers or a fork. Chill the fitted crust for 20 minutes before blind baking or filling to prevent shrinking.
Pro Tips For Making Pie Crust Recipe Butter Only
- Chill the Butter: Cut your unsalted butter into 1/2-inch cubes and freeze for 10-15 minutes before mixing—I learned this the hard way after ending up with a tough, greasy crust.
- Use Ice Water: Fill a glass with water and ice cubes, then measure from that—cold water prevents the butter from melting too soon, which is non-negotiable for flakiness.
- Skip Overworking: Mix just until the dough comes together, even if it looks shaggy—overworking develops gluten, and that’s what makes pie crust tough.
- Rest the Dough: Wrap it in plastic and refrigerate for at least 30 minutes, or up to 2 days—this relaxes the gluten and makes rolling out way easier (yes, even if you’re impatient like me).
Storing and Reheating This Dish
Unbaked Dough Storage
Wrap your dough discs tightly in plastic wrap and refrigerate for up to 3 days. For longer storage, freeze for up to 3 months. I always label mine with the date—I learned this the hard way after pulling out mystery dough from Nana Mae’s freezer. ❄️
Fridge Storage Tips
Keep the wrapped dough in the coldest part of your fridge, not the door. If storing for more than 24 hours, flatten the discs slightly before refrigerating to speed up thawing later. David swears this makes his pot pie crust even flakier.
Freezing Instructions
For freezing, double-wrap in plastic wrap and then in a freezer bag. When ready to use, thaw overnight in the fridge. Never microwave frozen dough—it warms the butter unevenly and ruins the layers.
Pre-Baked Crust Storage
Blind-baked crusts keep at room temperature in an airtight container for up to 2 days. For filled pies, refrigerate and consume within 4 days. The Austin humidity means I never leave mine out longer than 1 day.
Reheating Pre-Baked Crust
Preheat oven to 350°F and warm the crust for 5-10 minutes until crisp. For filled pies, cover edges with foil and reheat at 325°F for 15-20 minutes. Test with a fork—it should feel warm throughout. 🔥
Nutrition Facts
Frequently Asked Questions
Why does the butter need to stay cold?
Cold butter creates steam pockets when baking, which makes flaky layers. If it melts prematurely, the crust becomes dense and tough instead of light and crisp.
Can I use salted butter instead?
Yes, but reduce the added salt by half. Salted butter contains about ¼ tsp salt per stick, so adjust to avoid an overly salty crust.
How do I prevent the crust from shrinking?
Chill the dough thoroughly before rolling and again after fitting it into the pan. This relaxes the gluten and prevents shrinkage during baking.
What if my dough cracks while rolling?
Simply press the edges back together with your fingers. Small cracks won’t affect the final result. For larger tears, patch with scraps and seal with a bit of water.

- Potato Candy Recipe 1933: Vintage Peanut Butter Roll Delight - October 30, 2026
- Potato Chip Cookie Recipe With Pecans: Buttery Crunch Meets Nutty Richness - October 30, 2026
- Potato Patty Recipe No Egg: Crispy Edges Without the Binder - October 30, 2026