
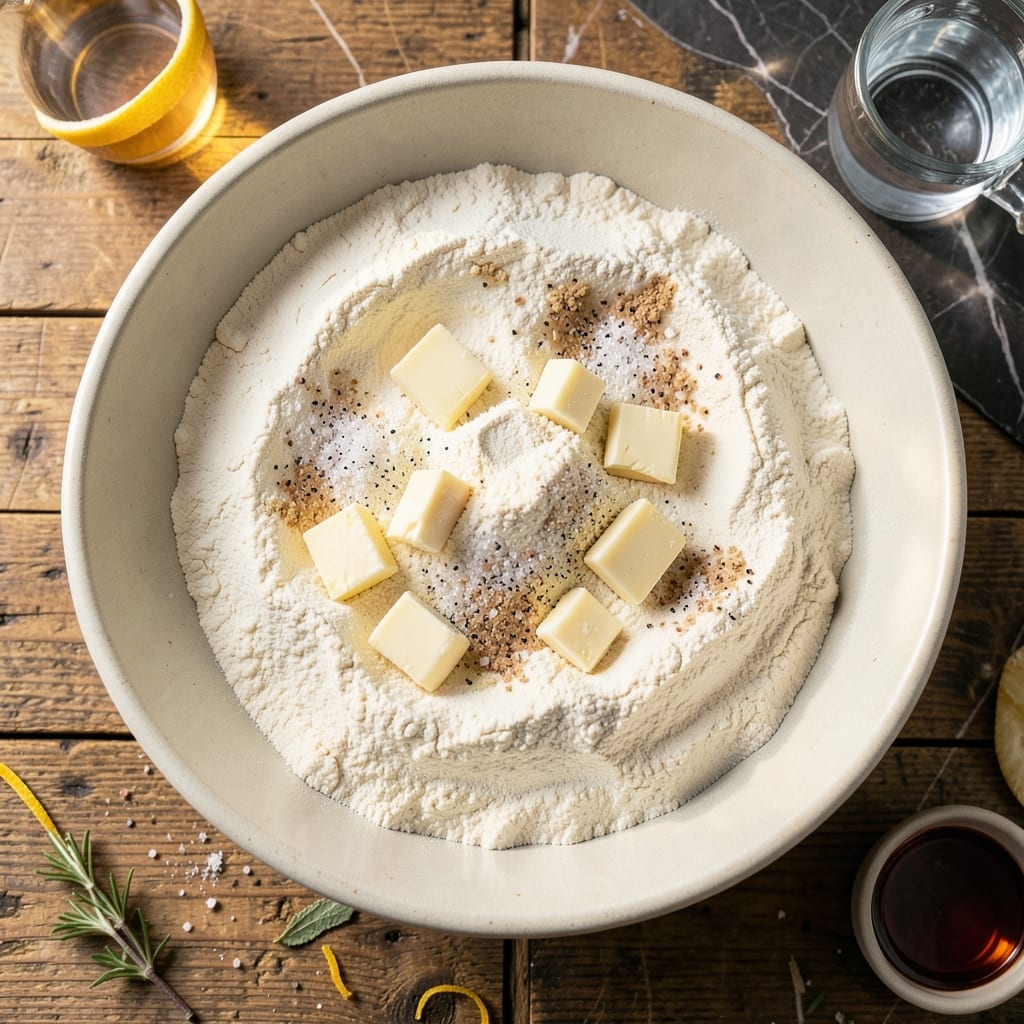
This double pie crust recipe delivers flaky, buttery layers that elevate any filling you choose. I developed this method after years of testing ratios to ensure consistent results for two perfect crusts every time.
The key is using cold ingredients and minimal handling to prevent tough pastry. A simple blend of flour, salt, and chilled butter creates the foundation, while ice water binds it together without overworking the dough.
After a 30-minute rest in the refrigerator, the dough rolls out smoothly and bakes to golden perfection. The result is a crust that’s crisp yet tender, with distinct layers that shatter at the touch of a fork.
Ideal for fruit pies, custards, or savory fillings. This recipe makes exactly enough for two standard 9-inch pies.
Ingredients for Pie Crust Recipe for Two Pies
Cold butter, simple ratios, and minimal handling create two perfect pie crusts every time.
| Ingredient | Amount | Notes |
|---|---|---|
| All-Purpose Flour 🌾 | 2 ½ cups | Plus extra for dusting surface |
| Salt 🧂 | 1 tsp | Fine grain for even distribution |
| Unsalted Butter 🧈 | 1 cup | Chilled and cubed into 1/2-inch pieces |
| Ice Water 💧 | ½ cup | Plus 1-2 tbsp as needed |
| Granulated Sugar 🍚 | 1 tbsp | Optional for sweet crusts |
| Apple Cider Vinegar 🍏 | 1 tbsp | Or lemon juice for tenderness |
The butter must stay cold—cut it into cubes and chill 30 minutes before starting. Use a high-quality all-purpose flour like King Arthur for consistent results. The ice water should be genuinely icy, not just cold tap water. I keep a bowl of ice cubes in water right next to my work surface. For the salt, Diamond Crystal is my go-to for its clean flavor and fine texture.
No apple cider vinegar? Lemon juice or white vinegar work the same. Want a sweeter crust? Increase the sugar to 2 tbsp for fruit pies. If you’re out of unsalted butter, use salted but reduce the added salt by half. The vinegar isn’t for flavor—it’s for tenderness, so don’t skip it (it won’t taste vinegary in the final crust).
The dough needs that 30-minute rest—don’t rush it. Wrap each disk tightly in plastic and refrigerate. It’ll keep 2-3 days in the fridge or 3 months frozen. For best results, let it sit at room temperature for 10 minutes before rolling.
Why You’ll Love This Recipe
- No Fuss Dough: I just pulse flour, cold butter, and a pinch of sugar in the food processor—no fancy techniques, and it comes together in minutes.
- Buttery Layers: The unsalted butter and ice water create the flakiest crust, with that perfect golden crunch in every bite.
- Double the Fun: One batch makes two full pie crusts, so I can prep a fruit pie today and save the second for a quiche next week.
- Budget Win: All-purpose flour and basic pantry staples mean I spend pennies for a homemade crust that tastes like a bakery’s.
Step-by-Step Instructions for Pie Crust for Two Pies
Here is the method. Tested, reliable, and designed for consistent results.
Step 1: Combine Dry Ingredients
In a large bowl, whisk together the 2.5 cups All-Purpose Flour, 1 tsp Salt, and 1 tbsp Granulated Sugar. The whisking ensures even distribution of the salt and sugar throughout the flour, which is essential for consistent flavor in every bite.
I always use fine grain salt for this step because it dissolves more evenly into the dough. If you’re making a savory pie, you can omit the granulated sugar, but for sweet pies, it adds just the right amount of sweetness to balance the buttery richness.
Step 2: Cut in Chilled Butter
Add the 1 cup Unsalted Butter, which should be chilled and cubed into ½-inch pieces. Using a pastry cutter or your fingertips, work the butter into the flour mixture until the texture resembles coarse crumbs with some pea-sized butter pieces remaining.
This step is critical—keep the butter cold to prevent it from melting into the flour. The visible butter pieces will create flaky layers as the crust bakes. If your kitchen is warm, chill the bowl and mixture for 10 minutes before proceeding.
Step 3: Add Liquid Ingredients
Create a well in the center of the flour-butter mixture. Pour in the 0.5 cup Ice Water and 1 tbsp Apple Cider Vinegar. The vinegar tenderizes the gluten, making the crust flakier and easier to handle.
Using a fork, gently mix the liquid into the dry ingredients until the dough just begins to come together. It will look shaggy—that’s perfect. Avoid overmixing, which can develop gluten and make the crust tough.
Step 4: Form and Chill the Dough
Turn the dough out onto a lightly floured surface and divide it into two equal portions. Shape each into a disk, about 1 inch thick, without kneading. Wrap each disk tightly in plastic wrap and refrigerate for at least 1 hour or up to 2 days.
Chilling relaxes the gluten and solidifies the butter, making the dough easier to roll out and preventing shrinkage during baking. If the dough cracks while rolling later, let it warm slightly at room temperature for 5-10 minutes before continuing.
Step 5: Roll and Fit the Crust
On a lightly floured surface, roll one disk of dough into a 12-inch circle, about ⅛-inch thick. To transfer it to the pie dish, roll the dough loosely around the rolling pin, then unroll it over the dish. Press the dough gently into the bottom and sides without stretching it.
Trim the edges, leaving a ½-inch overhang for crimping. Repeat with the second disk. If the dough becomes too soft while working, return it to the refrigerator for 15 minutes to firm up. This ensures a clean, even crust for both pies.
Pro Tips For Making Pie Crust Recipe For Two Pies
- Chill the Butter: Cut the unsalted butter into small cubes and refrigerate for 30 minutes before mixing—this keeps it cold and flaky during handling.
- Use Ice Water: Fill a glass with water and ice cubes, then measure from that for the coldest possible liquid, which prevents the dough from getting tough.
- Don’t Overwork Dough: Stop mixing as soon as the dough comes together; overworking develops gluten, making the crust tough instead of tender.
- Rest Before Rolling: Let the dough rest in the fridge for at least 1 hour before rolling—this relaxes the gluten and makes it easier to shape without cracking.
Make-Ahead Tips for Leftovers
Freeze for Later
Shape your dough disks and wrap each tightly in plastic wrap, then place in a ziplock freezer bag. Squeeze out excess air before sealing. This dough freezes beautifully for up to 3 months without losing quality. 💡
Thawing Properly
Transfer frozen dough to the refrigerator and let it thaw overnight, or about 8-10 hours. For quicker results, set it on the counter for 1-2 hours, but don’t rush it—partial thawing can make rolling difficult.
Pre-Roll Prep
Let refrigerated dough sit at room temperature for 10 minutes before rolling. This slight softening prevents cracking. If it’s been in the fridge for 2 days, let it warm for 15 minutes to relax the gluten.
Make-Ahead Assembly
You can fully line your pie dishes with rolled-out crust, then wrap tightly and refrigerate for up to 24 hours. This works especially well for custard pies where you’ll blind bake the crust later.
Blind Baking Prep
If pre-baking crusts, prick the bottom with a fork and freeze for 20 minutes before baking. This prevents shrinking. I always use dried beans or pie weights for even blind baking results.
Double Batch Tip
This recipe scales perfectly. Make 4 disks and freeze half for future use. I test every variation in my home kitchen, and this method consistently delivers flaky, reliable results. ❄️
Nutrition Facts
Frequently Asked Questions
Can I use shortening instead of butter?
Yes, substitute an equal amount of cold shortening for a flakier texture. Butter adds flavor, while shortening creates more layers. For best results, keep it chilled until use.
Why does the dough need to rest?
Resting relaxes the gluten and lets the butter solidify. This prevents shrinking during baking and makes rolling easier. 30 minutes is the minimum for best texture.
What if my crust cracks while rolling?
Let it warm slightly at room temperature for 5-10 minutes. If cracks persist, patch with small dough pieces. Cold dough is more brittle.
Can I make this in a food processor?
Pulse dry ingredients first, then add cold butter until pea-sized. Add liquid through the feed tube just until combined. Avoid over-processing.

- Potato Candy Recipe 1933: Vintage Peanut Butter Roll Delight - October 30, 2026
- Potato Chip Cookie Recipe With Pecans: Buttery Crunch Meets Nutty Richness - October 30, 2026
- Potato Patty Recipe No Egg: Crispy Edges Without the Binder - October 30, 2026