
Achieving flaky pie crust doesn’t require hours of chilling or meticulous hand-cutting. This food processor method delivers professional results with minimal effort.
The key is pulsing cold butter into flour until just pea-sized crumbs form, then adding ice water sparingly. Overworking the dough is the enemy of flaky layers.
What emerges is a tender, layered crust that holds its shape when baked. The processor ensures even butter distribution without warming the fat, which guarantees those coveted flaky layers.
This technique works for sweet and savory pies alike. The entire process takes less than 10 minutes from start to finish.
Ingredients for Pie Crust Recipe Made in Food Processor
Six ingredients transform into that perfect flaky crust in minutes.
| Ingredient | Amount | Notes |
|---|---|---|
| All-Purpose Flour 🌾 | 2 ½ cups | Spoon and level, not scooped |
| Cold Unsalted Butter 🧈 | 1 lb | Cut into 1/2-inch cubes |
| Ice Water 💧 | ½ cup | Plus 1-2 tbsp as needed |
| Granulated Sugar 🍚 | 1 tbsp | Omit for savory crust |
| Fine Sea Salt 🧂 | 1 tsp | Diamond Crystal preferred |
| White Vinegar 🍋 | 1 tsp | Or apple cider vinegar |
The butter must stay cold—European-style unsalted is ideal for its higher fat content and lower water. Plugra or Kerrygold are excellent brands. Cut it into uniform cubes so it distributes evenly in the processor. The flour should be unbleached all-purpose like King Arthur for consistent results. Weighing (300g) is more accurate than scooping, which compacts the flour.
No food processor? A pastry blender works, though the texture may vary slightly. For a richer flavor, substitute 1/4 cup lard for an equal amount of butter. The vinegar tenderizes the dough—lemon juice works too. Skip the sugar for savory applications. If your kitchen is warm, chill the flour for 30 minutes before starting.
The dough keeps 2-3 days wrapped tightly in the fridge. For longer storage, freeze for up to 3 months. Let it thaw in the fridge overnight before rolling. Unlike hand-cut dough, this version can be rerolled once if it tears (the processor ensures even fat distribution).
Why You’ll Love This Recipe
- No-Mess Magic: The food processor does all the work—cold butter stays perfectly flaky without warming from my hands.
- Buttery Perfection: That hint of sugar and salt makes the crust taste like it came from a bakery, not my kitchen.
- Endless Options: Sweet or savory, this crust handles fruit pies, quiches, even pot pies with zero fuss.
- Pantry Staples: I always have flour, butter, and salt on hand—no special trips to the store for this.
Step-by-Step Instructions for Pie Crust Made in Food Processor
This method ensures supremely flaky layers with minimal effort and maximum precision.
Step 1: Pulse the Dry Ingredients
Add the 2.5 cups All-Purpose Flour, 1 tbsp Granulated Sugar, and 1 tsp Fine Sea Salt to the bowl of your food processor. Pulse 3-4 times until the mixture is evenly combined and aerated. This brief pulsing prevents overworking while ensuring uniform distribution of the leavening agents.
I always use the pulse function rather than continuous processing—it gives you better control over the texture. The mixture should look like fine, homogeneous crumbs with no visible sugar or salt granules. This step takes less than 10 seconds total.
Step 2: Cut in the Cold Butter
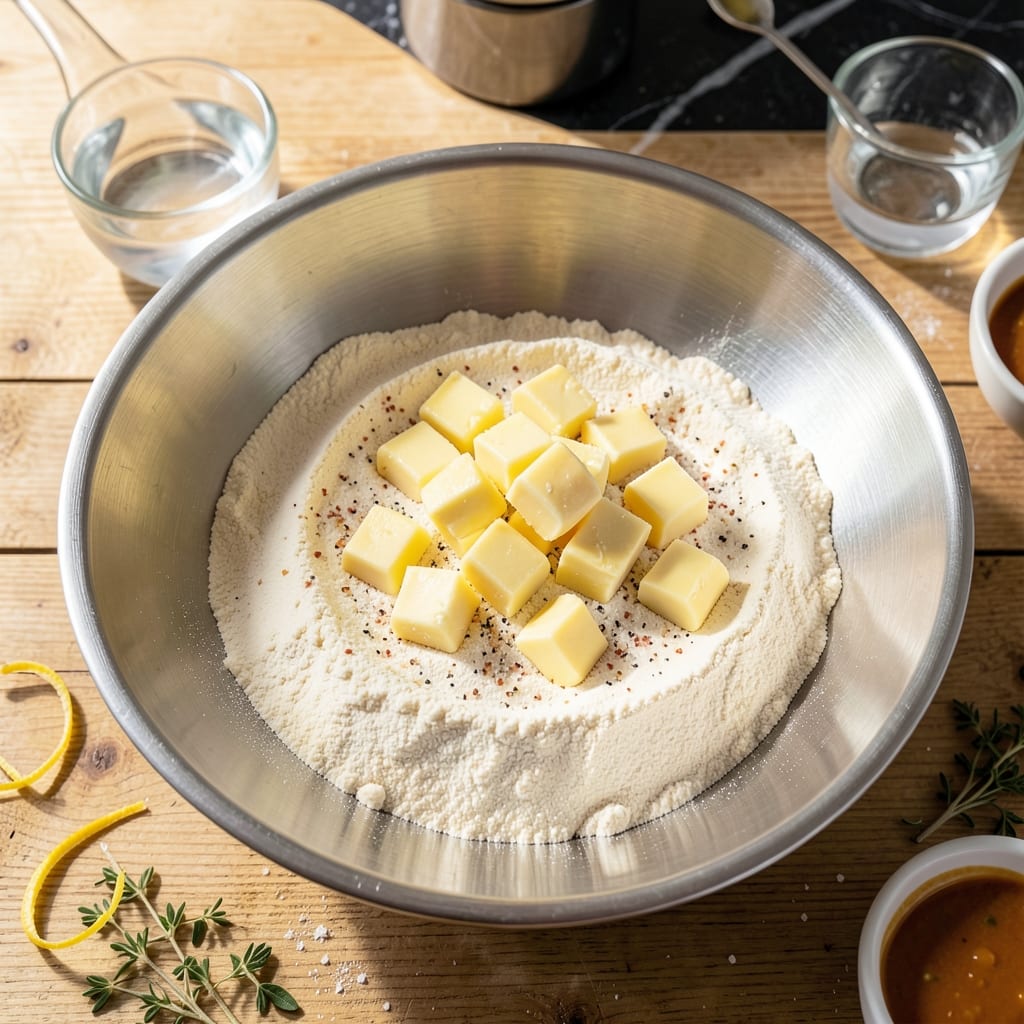
Scatter the 1 lb Cold Unsalted Butter (cut into 1/2-inch cubes) over the flour mixture. Pulse 8-10 times in 1-second bursts until the butter is broken down into pea-sized pieces with some larger, flat shards remaining. The key is visible butter pieces—this creates the flaky layers.
Stop before the mixture becomes sandy or the butter fully disappears. You should see distinct butter pieces coated in flour. If the butter starts to cream together, you’ve over-processed. The cold temperature of the butter is non-negotiable—it must stay solid until it hits the oven.
Step 3: Add the Liquid Ingredients
Combine the 0.5 cup Ice Water and 1 tsp White Vinegar in a small bowl. With the food processor running on low, pour the liquid through the feed tube in a slow, steady stream. Process just until the dough begins to come together—about 15-20 seconds.
The dough will look shaggy and slightly crumbly, with some dry bits remaining. This is perfect. The vinegar tenderizes the gluten slightly, contributing to that coveted flaky texture. If the dough seems too dry after 20 seconds, add 1-2 tbsp of additional ice water and pulse once more.
Step 4: Form and Chill the Dough
Turn the dough out onto a lightly floured surface. It will be slightly sticky but should hold together when pressed. Gather it into a rough rectangle, then divide into two equal portions. Shape each into a 1-inch thick disc without overworking the dough.
Wrap each disc tightly in plastic wrap and refrigerate for at least 1 hour, or up to 2 days. This chilling period allows the gluten to relax and the butter to firm up, which prevents shrinking during baking and ensures those distinct flaky layers we’re after.
Step 5: Roll and Use for Your Pie
On a lightly floured surface, roll one disc to a 12-inch circle about 1/8-inch thick. For a perfect transfer, roll the dough onto your rolling pin, then unroll it over your pie dish. Press it gently into the bottom and sides without stretching.
Trim the edges, leaving a 1/2-inch overhang. For a pre-baked crust, chill for 30 minutes, then blind bake at 375°F for 15-20 minutes until light golden brown. The raw dough can also be frozen for up to 3 months.
Pro Tips For Making Pie Crust Recipe Made In Food Processor
- Chill the Butter Hard: Cut your unsalted butter into 1-inch cubes and freeze for 15 minutes before pulsing—I learned this the hard way after ending up with a tough crust from butter that was just “cold” but not cold enough.
- Pulse, Don’t Blend: Use 1-second pulses (about 8-10 times) to cut the butter into the flour until pea-sized crumbs form. Over-processing melts the butter, and melted butter means a dense, sad crust.
- Measure Water Precisely: Start with 3 tablespoons of ice water, then add more a teaspoon at a time. After ruining a batch with too much water, I now know the dough should just barely hold together—it’s not pretty, but it bakes up flaky.
- Rest Before Rolling: Wrap the dough and refrigerate for at least 1 hour (2 is better). Skipping this makes the gluten tighten up, and you’ll fight the dough when you roll it out—your future self will thank you.
Essential Equipment for pie crust recipe made in food processor
Food Processor Essentials
A 10-12 cup food processor is ideal for this recipe—I use my Cuisinart DFP-14BCNY for consistent results. The larger capacity prevents overcrowding, which can lead to uneven texture. A 7-9 cup model works for single crusts but may require processing in batches. 💡
Blade Considerations
Always use the standard S-blade that comes with your processor. The dough blade (if your model includes one) can overwork the gluten, resulting in a tougher crust. Clean the blade thoroughly before starting to avoid any residue affecting the dough.
Temperature Control
Chill your processor bowl and blade for 15 minutes before beginning. This extra step helps maintain the cold temperature of your butter, which is critical for flaky layers. I keep a spare bowl in the freezer for this purpose.
Uniform Cutting
Cut your butter into uniform ½-inch cubes for even distribution. I recommend using a bench scraper for precise cuts. The processor will create pea-sized crumbs faster when the butter pieces are consistent in size.
Pulse Technique
Use 1-second pulses rather than continuous processing. This gives you better control over the texture. I count aloud to maintain consistency—8-10 pulses for the butter step, watching for pea-sized crumbs to form.
Cleanup Tools
A silicone spatula helps scrape every bit of dough from the processor bowl. I also keep plastic wrap nearby for immediate wrapping after forming the discs. These small tools make the process smoother and more efficient. ✨
Nutrition Facts
Frequently Asked Questions
How cold should the butter be?
Keep it straight from the fridge, cut into ½-inch cubes. If your kitchen is warm, chill the cubes for 10-15 minutes before adding to the processor. Cold butter creates steam during baking, which makes the layers flaky.
Why add vinegar to the dough?
The 1 tsp vinegar tenderizes the gluten slightly, preventing a tough crust. It doesn’t affect flavor but helps create that perfect, delicate texture. Apple cider vinegar works just as well.
Can I make this dough ahead?
Yes! Wrap the discs tightly and refrigerate for up to 2 days or freeze for 3 months. Thaw overnight in the fridge before rolling. Avoid room-temperature thawing to keep the butter cold.

- Potato Candy Recipe 1933: Vintage Peanut Butter Roll Delight - October 30, 2026
- Potato Chip Cookie Recipe With Pecans: Buttery Crunch Meets Nutty Richness - October 30, 2026
- Potato Patty Recipe No Egg: Crispy Edges Without the Binder - October 30, 2026