
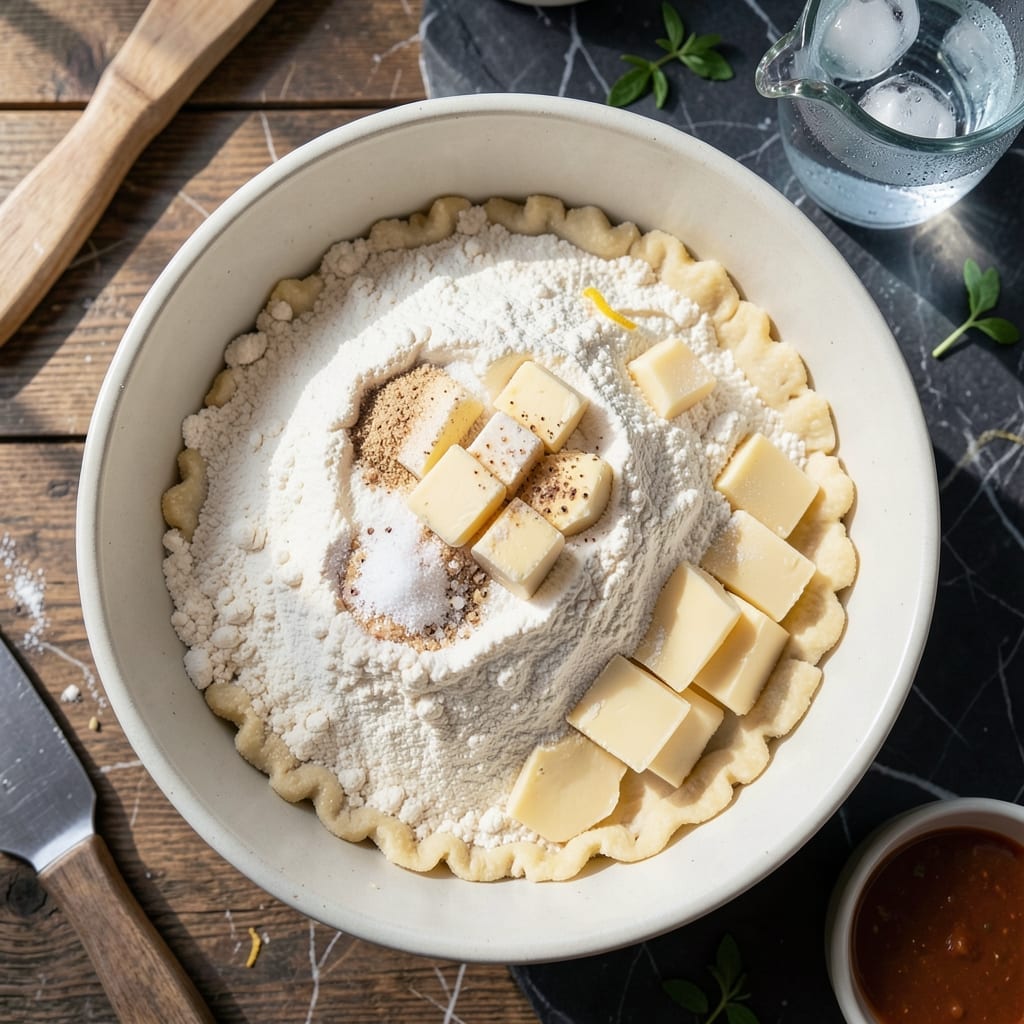
I’ve made more pie crusts than I can count, and this method is my favorite—no shortening, no food processor, just buttery flakes with your hands. It’s the kind of recipe that proves simple techniques often yield the best results.
Cold butter and a light touch are the secrets here. Work quickly to keep the butter from melting, and don’t overmix. The dough should come together just enough to hold when pressed, with visible butter pieces for that flaky texture.
What you’ll get is a golden, tender crust that’s as good as any made with fancy equipment. It bakes up crisp and holds its shape, whether you’re making a fruit pie or a quiche.
No special tools, no complicated steps—just perfect pie crust every time. Let’s get started.
Ingredients for Pie Crust Recipe No Shortening No Food Processor
Five simple ingredients stand between you and flaky, buttery perfection every single time.
| Ingredient | Amount | Notes |
|---|---|---|
| All-Purpose Flour 🌾 | 2 ½ cups | Spoon and level, plus extra for dusting |
| Salt 🧂 | 1 tsp | Fine sea salt preferred |
| Granulated Sugar 🍚 | 1 tsp | Optional for sweet crusts |
| Unsalted Butter 🧈 | 1 cup | Cold, cut into small cubes |
| Ice Water 💧 | ½ cup | Plus 1-2 tbsp as needed |
The butter is non-negotiable here. Use high-quality unsalted so you control the salt level—European-style (like Plugrá) has less water, which means flakier layers. Cold is key: I cut mine into small cubes, then pop the bowl in the freezer for 10 minutes before starting. All-purpose flour is all you need (no fancy pastry flour required), but make sure it’s fresh—old flour loses its lift.
No unsalted butter on hand? Salted works in a pinch, but skip the added salt in the dough. For a richer flavor, swap 1-2 tbsp of the water for vodka (it evaporates faster, making the crust extra flaky). If you’re making a sweet pie, the sugar can be doubled. The water amount will vary slightly depending on humidity—add it slowly.
Dough can be wrapped tightly and refrigerated for up to 2 days or frozen for 3 months. Let it thaw in the fridge overnight before rolling. For extra insurance against a soggy bottom, dust your pie plate with a bit of flour before adding the dough (worth the extra minute).
Why You’ll Love This Recipe
- No-Fuss Mixing: I just use my hands to work the cold butter into the flour—no gadgets, no mess.
- Buttery Richness: The unsalted butter gives it that melt-in-your-mouth flakiness I crave.
- Endless Options: Sweet pies, savory quiches—this crust handles both like a champ.
- Pantry Staples: Honestly, I always have flour, butter, and ice water on hand, so it’s ready whenever.
Step-by-Step Instructions for Pie Crust No Shortening No Food Processor
This hands-on method delivers flaky, buttery layers with minimal tools and effort.
Step 1: Combine Dry Ingredients and Chill Everything
In a large bowl, whisk together the 2.5 cups All-Purpose Flour, 1 tsp Salt, and 1 tsp Granulated Sugar until fully incorporated. The sugar adds just a touch of sweetness perfect for fruit pies, but you can omit it for savory applications.
Place the bowl along with the 1 cup Unsalted Butter (already cut into small cubes) and 0.5 cup Ice Water in the freezer for 10 minutes. This keeps everything ice-cold, which is the secret to flaky layers. Cold butter creates steam as it bakes, lifting the dough into those coveted flakes.
Step 2: Cut in the Butter by Hand
Remove everything from the freezer. Working quickly, add the cold butter cubes to the flour mixture. Use a pastry cutter or your fingers to work the butter into the flour until the mixture resembles coarse crumbs with pea-sized butter pieces visible.
I prefer using my fingertips for this—press each cube between thumb and fingers, flattening it into the flour. You want uneven chunks, not a uniform mixture. Those visible butter pieces create the flaky texture. If the butter starts to soften or stick to your fingers, pop the bowl back in the freezer for 2-3 minutes to rechill.
Step 3: Add Water Gradually and Form the Dough
Create a well in the center of the flour-butter mixture. Add the 0.5 cup Ice Water 1 tablespoon at a time, gently mixing with a fork after each addition. You’ll likely need about 8-10 tablespoons total, but stop when the dough just begins to come together when pressed.
Here’s the thing—overworking the dough develops gluten, which makes it tough. You want it to hold together when pressed but still look shaggy. If it’s too dry, add more water 1 teaspoon at a time. If it’s too sticky, sprinkle in a bit more flour. The dough should feel cold and slightly firm, not soft or warm.
Step 4: Shape and Chill the Dough
Turn the dough onto a lightly floured surface and divide it into two equal portions. Gently shape each into a disk about 1 inch thick. Don’t knead or press too hard—just enough to bring it together.
Wrap each disk tightly in plastic wrap and refrigerate for at least 1 hour (or up to 2 days). This resting period allows the gluten to relax and the butter to firm up, making the dough easier to roll out. Chilling also prevents shrinking during baking, ensuring your crust holds its shape beautifully in the pie plate.
Step 5: Roll and Fit Into Pie Plate
On a well-floured surface, roll one disk into a 12-inch circle, about ⅛-inch thick. To prevent sticking, lift and rotate the dough frequently while rolling. Use a light touch—press down just enough to flatten, not to stretch the dough.
Carefully transfer the rolled dough to a 9-inch pie plate, letting the excess hang over the edge. Gently press it into the plate without stretching. Trim the edges, leaving a ½-inch overhang, then crimp or flute the edges as desired. Your crust is now ready for filling and baking into a golden, flaky masterpiece.
Pro Tips For Making Pie Crust Recipe No Shortening No Food Processor
- Chill the Butter: Cut your unsalted butter into small cubes and refrigerate for 20 minutes before mixing—I learned this the hard way after my first three crusts turned into tough cookies.
- Use Ice-Cold Water: Fill a glass with ice and water, then measure from that—about 3-4 tablespoons max. Warmer water makes the gluten develop too fast.
- Skip Overworking: Mix just until the dough comes together, even if it looks shaggy. After burning three batches, I finally figured out that overmixing = tough crust.
- Rest the Dough: Give it a solid 30 minutes in the fridge before rolling—my grandmother swore by this, and she was right: it rolls out smoother and bakes flakier.
Essential Equipment for Perfect Results
Must-Have Tools
You only need a few basics for this crust. A large mixing bowl (I use a stainless steel one) keeps everything cold. A pastry cutter helps work the butter into flour, though your fingers work just as well. 💡
Rolling Essentials
A rolling pin (wooden or French-style) is key for even thickness. I prefer a 12-inch pin for better control. A lightly floured surface, like a marble slab or clean countertop, prevents sticking.
Precision Matters
A 9-inch pie plate (glass or ceramic) conducts heat evenly. I love my Pyrex dish because I can see the bottom browning. A ruler helps check dough thickness—aim for ⅛-inch.
Chilling Solutions
Plastic wrap keeps dough fresh during its 1-hour rest. A freezer is essential for pre-chilling ingredients. For easy transfer, use a bench scraper to lift rolled dough into the plate.
Finishing Touches
A sharp paring knife trims excess dough cleanly. For decorative edges, a fork or your fingers create simple crimps. I also keep a pastry brush handy for egg washes if making a double-crust pie. ✨
Nutrition Facts
Frequently Asked Questions
Can I use margarine instead of butter?
Yes, but butter gives the best flavor and flakiness. Margarine has more water content, which can make the crust less tender. If using margarine, ensure it’s very cold and high-fat for best results.
Why does the dough need to rest in the fridge?
Chilling relaxes the gluten and firms up the butter. This prevents shrinking during baking and ensures those perfect flaky layers. Skip this step, and your crust may toughen.
What if my dough cracks while rolling?
Don’t panic! Press the edges back together with your fingers. If it’s too dry, sprinkle a little ice water. Avoid stretching the dough—this can cause more cracking.
How do I prevent a soggy bottom crust?
Pre-bake (blind bake) the crust for 10-12 minutes before adding wet fillings. Or, brush the crust with a thin layer of egg white before filling. Both methods create a barrier against moisture.

- Potato Candy Recipe 1933: Vintage Peanut Butter Roll Delight - October 30, 2026
- Potato Chip Cookie Recipe With Pecans: Buttery Crunch Meets Nutty Richness - October 30, 2026
- Potato Patty Recipe No Egg: Crispy Edges Without the Binder - October 30, 2026