
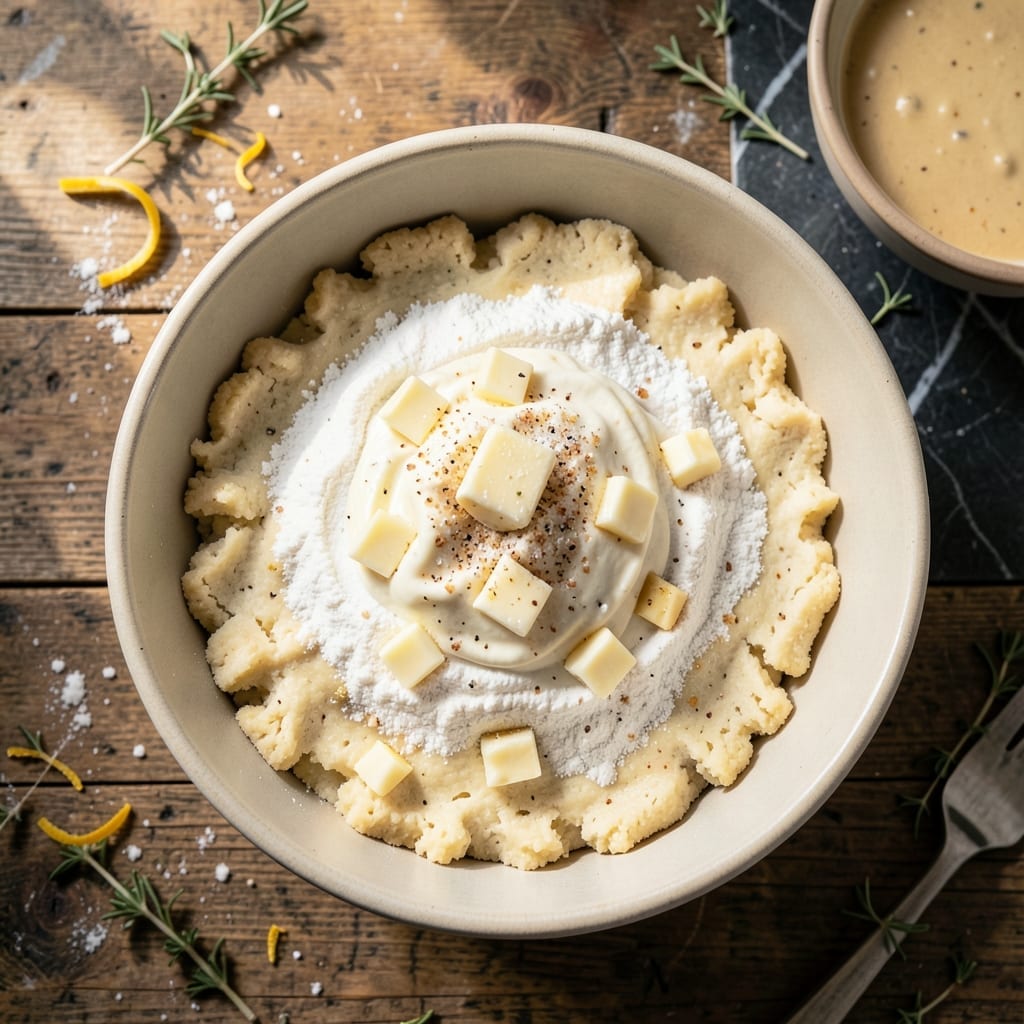
This pie crust recipe transforms ordinary dough into something extraordinary with one unexpected addition. The secret ingredient creates layers so flaky they shatter at the touch, while maintaining a tender, melt-in-your-mouth quality that defines perfect pastry.
I developed this method after years of testing different fats and liquids, always searching for that ideal balance between crispness and tenderness. Sour cream proves to be the game-changer, adding richness without sacrificing structure. The acidity also helps inhibit gluten formation for a more delicate texture.
The process remains simple despite the impressive results. With just a few basic ingredients and proper technique, you’ll achieve a crust that rivals any bakery version. The dough comes together quickly and requires minimal handling for optimal flakiness.
Use this for fruit pies, quiches, or any recipe where a superior crust makes all the difference. Here’s how to make it.
Ingredients for Pie Crust Recipe with Sour Cream
Cold butter, sour cream, and flour transform into a crust that shatters with every bite.
| Ingredient | Amount | Notes |
|---|---|---|
| All-Purpose Flour 🌾 | 2 ½ cups | Sifted for even texture |
| Unsalted Butter 🧈 | 1 cup | Cold, cubed into 1/2-inch pieces |
| Full-Fat Sour Cream 🥛 | ½ cup | Cold, for tenderness and flakiness |
| Ice Water 💧 | ¼ cup | Plus 1 tbsp as needed |
| Granulated Sugar 🍚 | 1 tsp | Fine grain for even distribution |
| Kosher Salt 🧂 | 1 tsp | Diamond Crystal preferred |
| Apple Cider Vinegar 🍏 | 1 tsp | Enhances acidity and flakiness |
The butter must stay cold—cut it into cubes and chill before using. Full-fat sour cream is non-negotiable here; low-fat versions add too much moisture. I recommend Breakstone’s or Daisy brand for consistency. All-purpose flour works best, though pastry flour can substitute for an even more delicate texture. Look for butter with at least 80% fat content.
No sour cream? Full-fat Greek yogurt works in a pinch, though the flavor will differ slightly. For a dairy-free version, coconut cream (chilled) can substitute, but the texture won’t be identical. The vinegar can be swapped for lemon juice—same acidic purpose. If your kitchen is warm, chill the flour and mixing bowl for 15 minutes beforehand.
Dough can be refrigerated for 2-3 days or frozen for 1 month. Thaw overnight in the fridge before rolling. Baked crusts keep 1 week at room temperature in an airtight container. For best flakiness, use within 48 hours of making the dough.
Why You’ll Love This Recipe
- One Bowl Wonder: I just dump, mix, and roll—no food processor, no fuss, and the sour cream makes it forgiving if I overwork it a little.
- Velvety Crisp: The butter and sour cream create this flaky, tender crust that melts in your mouth. Honestly, it’s the best texture I’ve gotten from a homemade pie.
- Freezer Friendly: I make a double batch, wrap the extras, and pull them out for last-minute desserts or pot pies. Saved me more than once on busy nights.
- Budget Stretcher: Flour, butter, and sour cream are pantry staples for me. Between us, it’s cheaper than store-bought and tastes way better.
Step-by-Step Instructions for Pie Crust With Sour Cream
This proven method delivers exceptionally flaky layers with minimal effort and maximum reliability.
Step 1: Combine Dry Ingredients for Foundation
In a large mixing bowl, whisk together the 2.5 cups All-Purpose Flour, 1 tsp Granulated Sugar, and 1 tsp Kosher Salt until evenly distributed. I always sift the flour first to prevent dense pockets that could compromise the flakiness.
The sugar adds subtle sweetness while the salt enhances overall flavor. This dry mixture creates the structural base that will hold the fat and liquid components in suspension, creating those coveted flaky layers.
Step 2: Cut in the Cold Butter
Add the 1 cup Unsalted Butter, cubed into ½-inch pieces, to the flour mixture. Using a pastry cutter or your fingertips, work the butter into the flour until the mixture resembles coarse crumbs with some pea-sized butter pieces remaining visible.
This is critical—those visible butter pieces will create steam pockets during baking, which separate the dough into flaky layers. Keep the butter as cold as possible throughout this process to prevent it from melting and creating a tough crust.
Step 3: Incorporate Wet Ingredients Strategically
Create a well in the center of the butter-flour mixture. Add the 0.5 cup Full-Fat Sour Cream, 0.25 cup Ice Water, and 1 tsp Apple Cider Vinegar. The sour cream adds tenderness while the vinegar inhibits gluten development, both contributing to that perfect flakiness.
Using a fork, gradually incorporate the wet ingredients into the dry, mixing just until the dough begins to come together. Be careful not to overwork it—the dough should look shaggy with some dry bits remaining. This prevents developing too much gluten, which would make the crust tough.
Step 4: Shape and Chill the Dough
Turn the dough out onto a lightly floured surface and gently press it into a cohesive disk, handling it as little as possible. Divide the dough into two equal portions and shape each into a 1-inch thick disk.
Wrap each disk tightly in plastic wrap and refrigerate for at least 1 hour, or up to 2 days. This chilling period allows the gluten to relax and the butter to firm up, making the dough easier to roll out and preventing shrinkage during baking.
Step 5: Roll and Blind Bake for Perfect Results
On a lightly floured surface, roll one disk of dough to a 12-inch circle about ⅛-inch thick. Transfer to a pie dish, press gently into the bottom and sides, then trim the edges, leaving a ½-inch overhang.
For pre-baking, line the crust with parchment paper and fill with pie weights or dried beans. Bake at 375°F for 15 minutes, then remove the weights and bake for another 10-12 minutes until the edges are just beginning to turn light golden brown. This creates a crisp, flaky foundation for your filling.
Pro Tips For Making Pie Crust Recipe With Sour Cream
- Chill the Butter: Cut the butter into small cubes and refrigerate for 15 minutes before mixing—I learned this the hard way after ending up with a greasy, flat crust.
- Use Ice-Cold Water: Keep your water truly icy by adding a few ice cubes to the measuring cup, then use only the water, not the melted ice.
- Skip Warm Sour Cream: Sounds weird, but it works: pull your sour cream straight from the fridge—warm sour cream makes the dough sticky and hard to handle.
- Rest Before Rolling: After mixing, wrap the dough and let it rest in the fridge for at least 30 minutes—this makes rolling out a smooth, crack-free crust way easier.
Health Benefits of This pie crust recipe with sour cream
Rich in Healthy Fats
Full-fat sour cream provides conjugated linoleic acid (CLA), a beneficial fat linked to improved heart health and metabolism. The butter adds vitamin A and vitamin K2, essential for immune function and bone health. Together they create a more nutritionally balanced crust. 💪
Protein Boost
This crust contains about 5 grams of protein per serving from the flour and sour cream. Protein helps stabilize blood sugar, keeping you satisfied longer after enjoying a slice of pie.
B Vitamin Source
You’ll get several B vitamins from the enriched flour, including thiamine, riboflavin, and niacin. These support energy metabolism and nervous system health, making your dessert a little more nourishing. ✨
Calcium Contribution
Sour cream and butter provide a modest amount of calcium—about 8% of your daily needs per serving. This mineral is crucial for bone strength and muscle function.
Low Sugar Content
With only 1 tsp of sugar in the entire recipe, this crust keeps added sugars minimal. The natural lactose in sour cream is also present in smaller quantities than in many other baked goods.
Gluten Considerations
While not gluten-free, the acidity from sour cream and vinegar helps inhibit some gluten formation. This may make it slightly easier to digest for those with mild gluten sensitivities, though it’s not suitable for celiac disease.
Nutrition Facts
Frequently Asked Questions
Why use sour cream in pie crust?
Sour cream adds richness and tenderness while its acidity inhibits gluten formation. This creates a more flaky texture that’s still sturdy enough to hold fillings. The fat content also enhances flavor.
Can I make this ahead of time?
Yes! The dough can be refrigerated for 2-3 days or frozen for 1 month. Thaw overnight in the fridge before rolling. Baked crusts keep 1 week in an airtight container.
What if my dough cracks when rolling?
If cracks appear, press the edges together with your fingers and continue. For prevention, let the dough sit at room temperature for 5-10 minutes before rolling to soften slightly.
Can I substitute the sour cream?
Full-fat Greek yogurt works in a pinch, though the flavor differs slightly. For dairy-free, try chilled coconut cream, but expect a slightly different texture.

- Potato Candy Recipe 1933: Vintage Peanut Butter Roll Delight - October 30, 2026
- Potato Chip Cookie Recipe With Pecans: Buttery Crunch Meets Nutty Richness - October 30, 2026
- Potato Patty Recipe No Egg: Crispy Edges Without the Binder - October 30, 2026